在android项目中使用FontAweSome图标集,可以方便的适配各种屏幕分辨率,不必在各种不同分辨率文件夹中新建资源文件。使用字体是一种很巧妙的方法,把图像以字体的方式呈现,这样以前设置为android:background的属性,现在只需要设置android:text就可一搞定,而且还可一适配不同的分辨率。
在XML文件中设置字体时,只需要指定android:typeface属性即可,但是 这个值只支持系统内置的几种字体。
导入FontAwesome字体,需要在项目中导入第三方字体。方式是在assets目录中新建一个fonts目录,然后将我们需要的ttf文件导入即可。以FontAwesome为例,git clone FontAwesome的地址为https://github.com/FortAwesome/Font-Awesome.git ,下载之后在提取fonts目录下的fontawesome-webfont.ttf文件拷贝到fonts目录中。
建立一个帮助类:
1 public class FontManager {
2     public static final String root = "fonts/";
3     public static final String FONTAWESOME = root + "fontawesome-webfont.ttf";
4
5     public static Typeface getTypeFace(Context context, String font) {
6         return Typeface.createFromAsset(context.getAssets(), font);
7     }
8
9 }
布局文件:
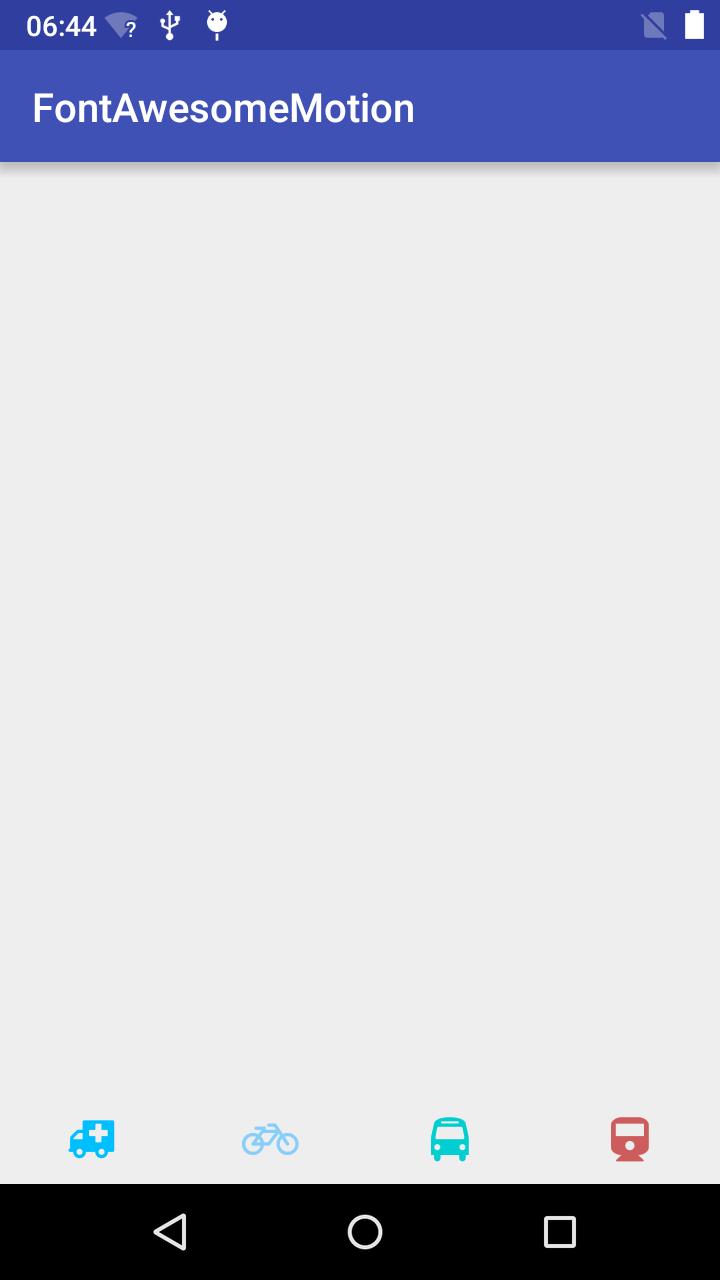
 1 <?xml version="1.0" encoding="utf-8"?>
 2 <RelativeLayout xmlns:android="http://schemas.android.com/apk/res/android"
 3     xmlns:tools="http://schemas.android.com/tools"
 4     android:layout_width="match_parent"
 5     android:layout_height="match_parent"
 6     android:id="@+id/root"
 7     tools:context=".MainActivity">
 8
 9     <LinearLayout
10         android:layout_width="match_parent"
11         android:layout_height="wrap_content"
12         android:layout_alignParentBottom="true"
13         android:orientation="horizontal">
14
15         <TextView
16             android:id="@+id/tv1"
17             android:layout_width="0dp"
18             android:layout_height="45dp"
19             android:layout_weight="1"
20             android:gravity="center"
21             android:textColor="#00BFFF"
22             android:textSize="22sp"
23             android:typeface="monospace"
24             android:text="@string/ambulance"/>
25
26         <TextView
27             android:id="@+id/tv2"
28             android:layout_width="0dp"
29             android:layout_height="45dp"
30             android:layout_weight="1"
31             android:gravity="center"
32             android:textSize="22sp"
33             android:textColor="#87CEFA"
34             android:text="@string/bicycle"/>
35
36         <TextView
37             android:id="@+id/tv3"
38             android:layout_width="0dp"
39             android:layout_height="45dp"
40             android:layout_weight="1"
41             android:gravity="center"
42             android:textSize="22sp"
43             android:textColor="#00CED1"
44             android:text="@string/bus"/>
45         <TextView
46             android:id="@+id/tv4"
47             android:layout_width="0dp"
48             android:layout_height="45dp"
49             android:layout_weight="1"
50             android:gravity="center"
51             android:textSize="22sp"
52             android:textColor="#CD5C5C"
53             android:text="@string/train"/>
54     </LinearLayout>
55 </RelativeLayout>
strings.xml:
1 <resources> 2 <string name="app_name">FontAwesomeMotion</string> 3 <string name="ambulance"></string> 4 <string name="bus"></string> 5 <string name="bicycle"></string> 6 <string name="train"></string> 7 </resources>
在strings.xml的资源文件中,这样资源string,代表了不同的图标。可以通过 http://fortawesome.github.io/Font-Awesome/cheatsheet/ 查询具体的图标。
 1 package com.app.motiongear.fontawesomemotion;
 2
 3 import android.graphics.Typeface;
 4 import android.support.v7.app.AppCompatActivity;
 5 import android.os.Bundle;
 6 import android.view.View;
 7 import android.widget.RelativeLayout;
 8 import android.widget.TextView;
 9
10 import com.app.motiongear.utils.FontManager;
11
12 import java.lang.reflect.Type;
13
14 public class MainActivity extends AppCompatActivity {
15
16     RelativeLayout mContainer;
17
18     @Override
19     protected void onCreate(Bundle savedInstanceState) {
20         super.onCreate(savedInstanceState);
21         setContentView(R.layout.activity_main);
22         final Typeface tf = FontManager.getTypeFace(this, FontManager.FONTAWESOME);
23         mContainer = (RelativeLayout) this.findViewById(R.id.root);
24         for (int i = 0; i < mContainer.getChildCount(); i++) {
25             View currentView = mContainer.getChildAt(i);
26             if (currentView instanceof TextView) {
27                 ((TextView) currentView).setTypeface(tf);
28             }
29         }
30
31     }
32 }
实际的显示效果如下: