第一章 入门
1.1 Spring风云再起
Spring为企业级Java开发提供了一种相对简单的方法,通过 依赖注入 和 面向切面编程,用简单的Java对象实现EJB的功能。
1.2 Spring Boot精要
Spring Boot将很多魔法带入了Spring应用程序的开发之中,其中最重要的是下面四个:
自动配置:针对很多Spring应用程序常见的应用功能,Spring Boot能自动提供相关配置。
起步依赖:Spring Boot需要什么功能,它就能引入需要的库。
命令行界面:这是Spring Boot的可选特性,借此你只需要写代码就能完成完整的应用程序,无需传统项目构建。
ACctuator:让你能够深入运行中的Spring Boot应用程序,一探究竟。
1.3 Spring Boot入门
从根本上来说,Spring Boot的项目只是普通的Spring项目。
构建Spring Boot项目 :
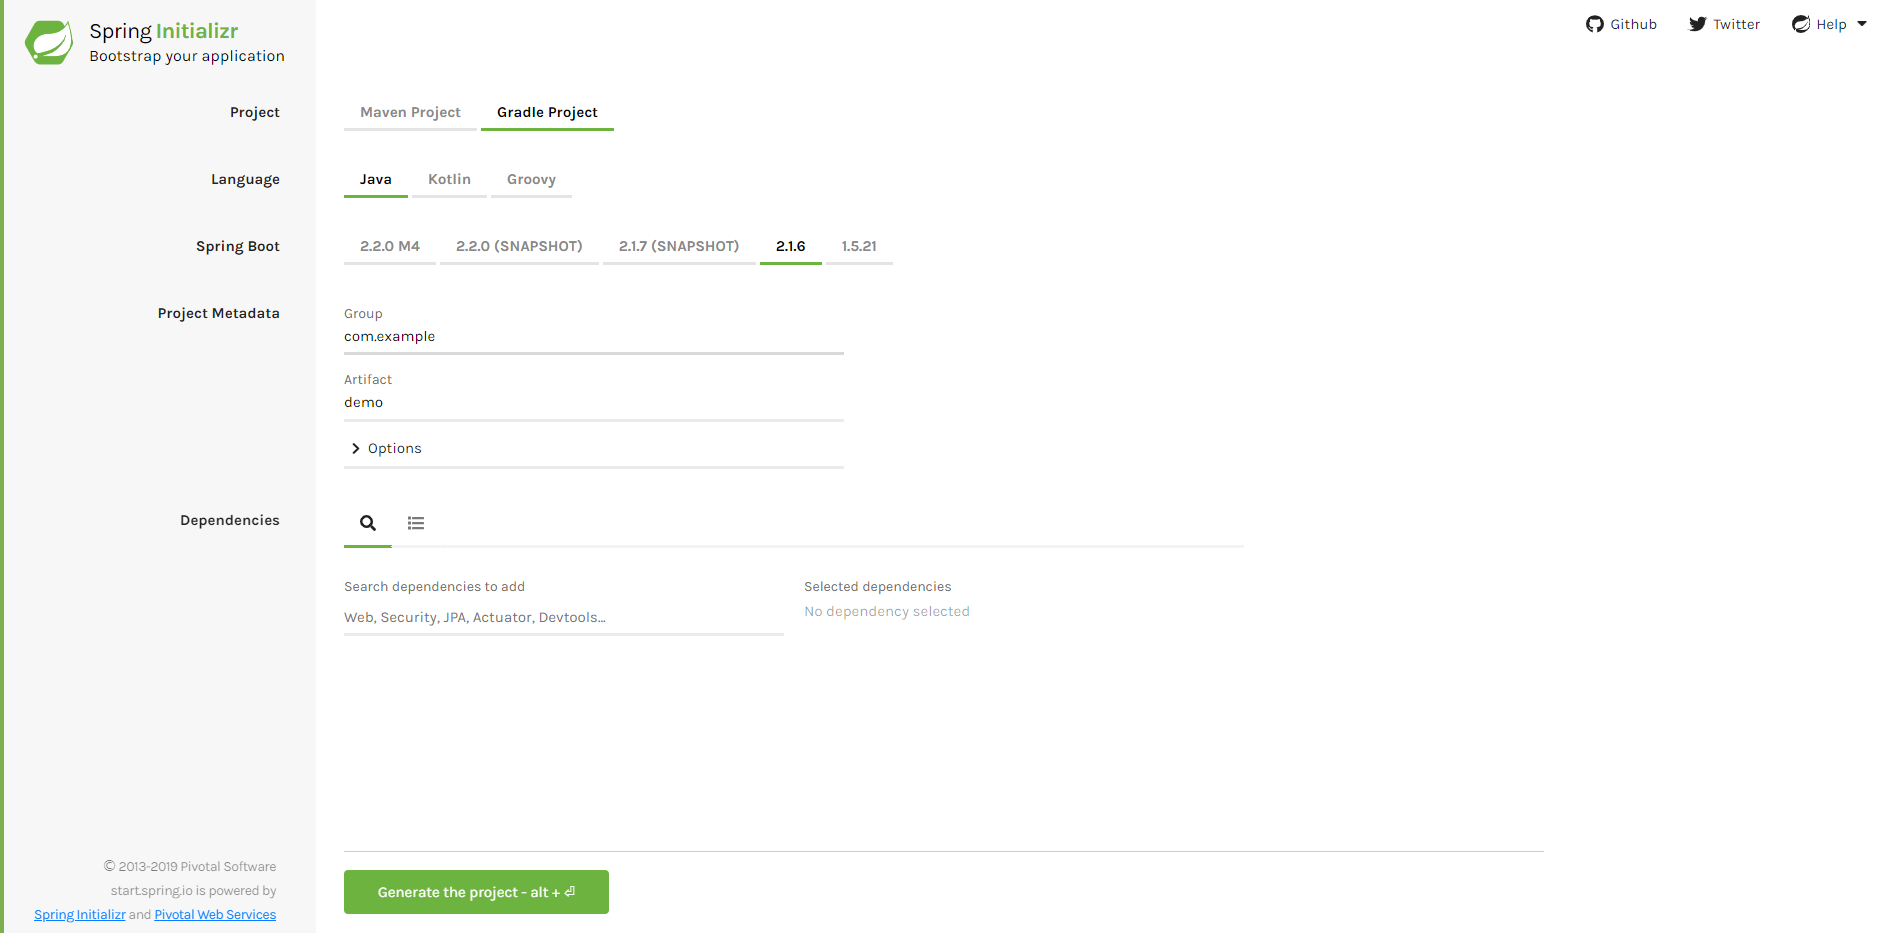
使用 Spring Initializr 构建,用浏览器打开 https://start.spring.io/,可以看到:
1.4 Spring Boot项目配置
<?xml version="1.0" encoding="UTF-8"?> <project xmlns="http://maven.apache.org/POM/4.0.0" xmlns:xsi="http://www.w3.org/2001/XMLSchema-instance" xsi:schemaLocation="http://maven.apache.org/POM/4.0.0 http://maven.apache.org/xsd/maven-4.0.0.xsd"> <modelVersion>4.0.0</modelVersion> <parent> <groupId>org.springframework.boot</groupId> <artifactId>spring-boot-starter-parent</artifactId> <version>2.1.5.RELEASE</version> <relativePath/> <!-- lookup parent from repository --> </parent> <groupId>com.java</groupId> <artifactId>springbootdemo</artifactId> <version>0.0.1-SNAPSHOT</version> <name>springbootdemo</name> <description>Demo project for Spring Boot</description> <properties> <java.version>1.8</java.version> </properties> <dependencies> <dependency> <groupId>org.springframework.boot</groupId> <artifactId>spring-boot-starter-web</artifactId> </dependency> <dependency> <groupId>org.springframework.boot</groupId> <artifactId>spring-boot-starter-test</artifactId> <scope>test</scope> </dependency> </dependencies> <build> <plugins> <plugin> <groupId>org.springframework.boot</groupId> <artifactId>spring-boot-maven-plugin</artifactId> </plugin> </plugins> </build> </project>
在 Spring Boot 中有很多的Starter,主要为第三方库提供自动配置。
1.5 Spring Boot 启动类
1 package com.java.springbootdemo; 2 3 import org.springframework.boot.SpringApplication; 4 import org.springframework.boot.autoconfigure.SpringBootApplication; 5 6 @SpringBootApplication 7 public class SpringbootdemoApplication { 8 9 public static void main(String[] args) { 10 SpringApplication.run(SpringbootdemoApplication.class, args); 11 } 12 }
一般我们使用 @Spring BootApplication, 代替@EnableAutoConfiguration 和 @ComponentScan。
1.6 Spring Boot 自定义类
1 package com.java.springbootdemo; 2 3 import org.springframework.web.bind.annotation.GetMapping; 4 import org.springframework.web.bind.annotation.RestController; 5 6 @RestController 7 public class HelloController { 8 @GetMapping("/hello") 9 public String hello() { 10 return "Hello Spring Boot!"; 11 } 12 }
1.7 Spring Boot 项目启动
1.7.1 使用Maven命令启动
mvn spring-boot:run
1.7.2 直接运行main方法

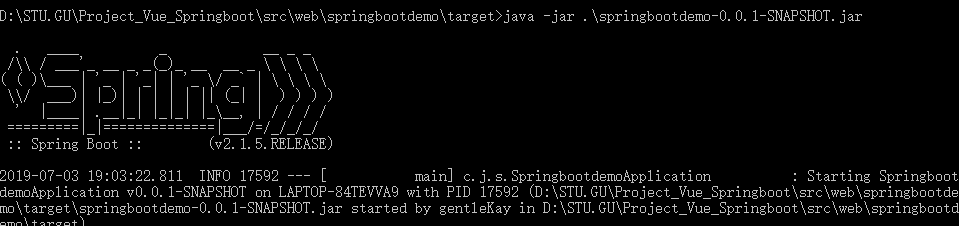
1.7.3 打包启动
Spring Boot应用也可以直接打成 jar 包运行,需要添加一个plugin 到 pom.xml文件中,
1  <build>
2         <plugins>
3             <plugin>
4                 <groupId>org.springframework.boot</groupId>
5                 <artifactId>spring-boot-maven-plugin</artifactId>
6             </plugin>
7         </plugins>
8     </build>
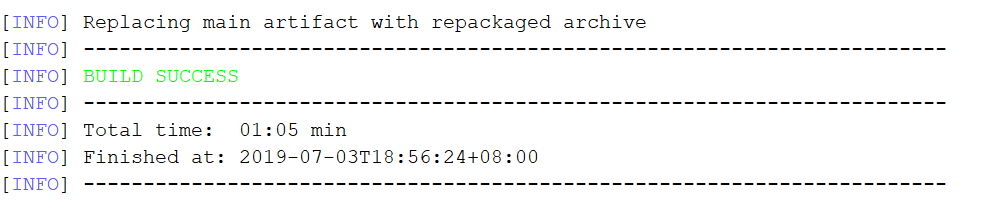
然后运行mvn命令进行打包,代码如下:
mvn package