===============================================
20171009_第2次修改 ccb_warlock
===============================================
今天调试gitlab接入AD域控,找了很多资料才解决了问题,在此处做记录。
gitlab有自己的用户机制,但其也兼容ldap的用户验证机制(本质上openldap和AD域控都是基于ldap机制),由于公司内部的统一账户机制正在调整,故需要将gitlab进行配置,试验下来社区版的gitlab经过修改配置文件后可以使用openldap和微软ad域控作为其用户机制。
版本:gitlab 社区版 9.3.4(汉化)
gitlab目录:/etc/gitlab
gitlab配置文件:/etc/gitlab/gitlab.rb(社区版初始该文件内容为空)
一、接入openldap
1.1 修改配置文件gitlab.rb
在gitlab.rb文件中添加下面配置,其中:
1.host,是搭建的openldap的ip,根据实际情况修改;
2.uid,可以配置cn,也可以配置uid,都能识别(具体为什么没深入研究);
3.bind_dn,openldap的管理员账号,根据实际情况修改;
4.password,openldap的管理员,根据实际情况修改;
5.active_directory,似乎是针对连接是否是ad域控的标示,因为这部分是openldap的配置,故为false;
6.allow_username_or_email_login,用户登录是否用户名和邮箱都可以,方便用户故配置true;
7.base,用户列表所在的目录,因为新增的用户都在openldap的People下,故这么配置,根据实际情况修改;
 1 # 指明服务的地址
 2 external_url = 'http://localhost'
 3
 4 # 开启ldap
 5 gitlab_rails['ldap_enabled'] = true
 6 gitlab_rails['ldap_servers'] = YAML.load <<-'EOS' ###! **remember to close this block with 'EOS' below**
 7 main: # 'main' is the GitLab 'provider ID' of this LDAP server
 8      label: 'LDAP'
 9      host: '192.168.6.4'
10      port: 389
11      uid: 'uid'
12      method: 'plain' # "tls" or "ssl" or "plain"
13      bind_dn: 'cn=Manager,dc=abc,dc=cn'
14      password: '123456'
15      active_directory: false
16      allow_username_or_email_login: true
17      block_auto_created_users: false
18      base: 'ou=People,dc=abc,dc=cn'
19      user_filter: ''
20 EOS
1.2 重新加载新配置
# gitlab-ctl reconfigure
运行后最后一行为“gitlab Reconfigured!”才说明是加载新配置成功,否则就是根据报错信息找错误。
1.3 查看是否能正常获取用户列表
# gitlab-rake gitlab:ldap:check
正常连接的情况下执行之后能看到用户的列表
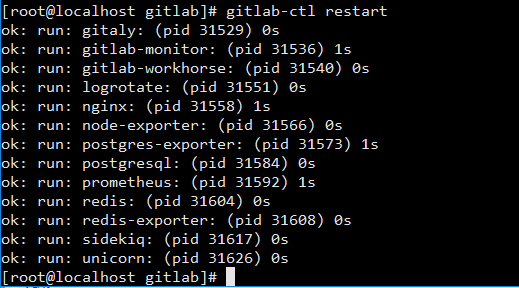
1.4 重启gitlab
# gitlab-ctl restart
重启成功后,gitlab的界面就会变成下面这样。
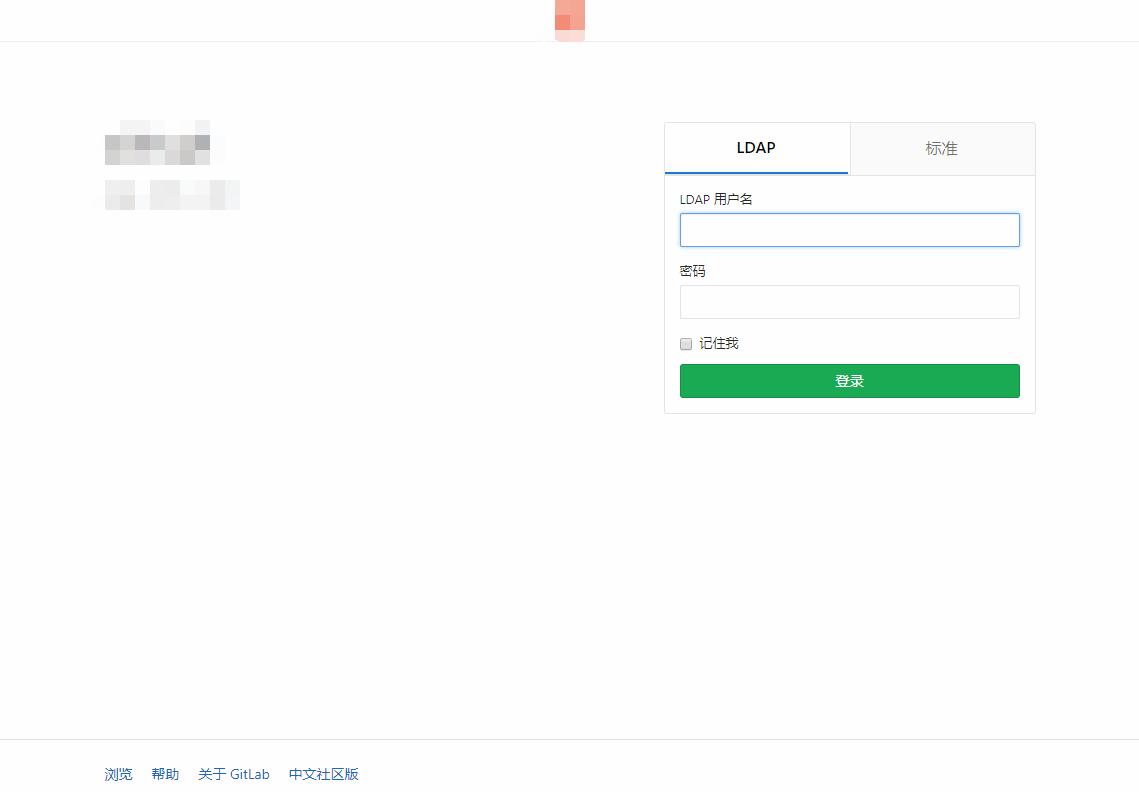
openldap的用户通过“LDAP”页进入,管理员root通过“标准”页进入。
二、接入AD
2.1 修改配置文件gitlab.rb
在gitlab.rb文件中添加下面配置,其中:
1.host,是搭建的微软域服务器的ip,根据实际情况修改;
2.uid,必须配sAMAccountName才能识别;
3.bind_dn,域服务器的管理员账号,根据实际情况修改;
4.password,域服务器的管理员,根据实际情况修改;
5.active_directory,似乎是针对连接是否是ad域控的标示,因为这部分是域服务器的配置,故为true;
6.allow_username_or_email_login,用户登录是否用户名和邮箱都可以,方便用户故配置true;
7.base,用户列表所在的目录,因为新增的用户都在People下(试验了用户放在User时gitlab检测不到用户,故新建了一个目录People,并将新建的用户移入了该目录下),故这么配置,根据实际情况修改;
external_url = 'http://localhost'

gitlab_rails['ldap_enabled'] = true
gitlab_rails['ldap_servers'] = YAML.load <<-'EOS' ###! **remember to close this block with 'EOS' below**
main: # 'main' is the GitLab 'provider ID' of this LDAP server
  label: 'LDAP'
  host: '192.168.6.1'
  port: 389
  uid: 'sAMAccountName'
  method: 'plain' # "tls" or "ssl" or "plain"
  bind_dn: 'cn=Administrator,cn=users,dc=myad,dc=cn'
  password: '123456'
  active_directory: true
  allow_username_or_email_login: true
  block_auto_created_users: false
  base: 'ou=People,dc=myad,dc=cn'
  user_filter: ''
EOS
2.2 重新加载新配置
# gitlab-ctl reconfigure
运行后最后一行为“gitlab Reconfigured!”才说明是加载新配置成功,否则就是根据报错信息找错误。
2.3 查看是否能正常获取用户列表
# gitlab-rake gitlab:ldap:check
正常连接的情况下执行之后能看到用户的列表
2.4 重启gitlab
# gitlab-ctl restart
重启成功后,gitlab的界面就会变成下面这样。
openldap的用户通过“LDAP”页进入,管理员root通过“标准”页进入。
2.5 确认该用户不处于特殊状态
1.不处于“禁用账户”的状态;
2.不处于“需要首次登录修改密码”的状态;
(处于上面任意一种状态的账户在登录gitlab时都会报“Cloud not authenticate you from Ldapmain because "Invalid creadentials".”)
参考资料:
1.https://my.oschina.net/firxiao/blog/357559
2.https://ssorc.tw/6358
3.https://docs.gitlab.com/ee/administration/auth/ldap.html