1.安装依赖
# yum install -y curl policycoreutils-python openssh-server

# systemctl enable sshd
# systemctl start sshd
#一般都已安装ssh服务
2.开放http或关闭防火墙
# firewall-cmd --permanent --add-service=http
# systemctl stop firewalld
3.安装邮件服务
# yum -y install postfix
# systemctl enable postfix
# systemctl start postfix
# 一般已安装
4.下载安装脚本,添加gitlab源
# curl https://packages.gitlab.com/install/repositories/gitlab/gitlab-ee/script.rpm.sh > rpm.sh
# bash rpm.sh
5.安装gitlab
# yum -y install gitlab-ee
6.修改配置
# vim /etc/gitlab/gitlab.rb

# 修改 external_url 'http://gitlab.example.com'
# 例:external_url 'http://192.168.80.121:9090'

7.重置并启动gitlab
# gitlab-ctl reconfigure
# 一般需等待几分钟

# gitlab-ctl restart

8.访问
浏览器访问时,第一次会修改root密码。

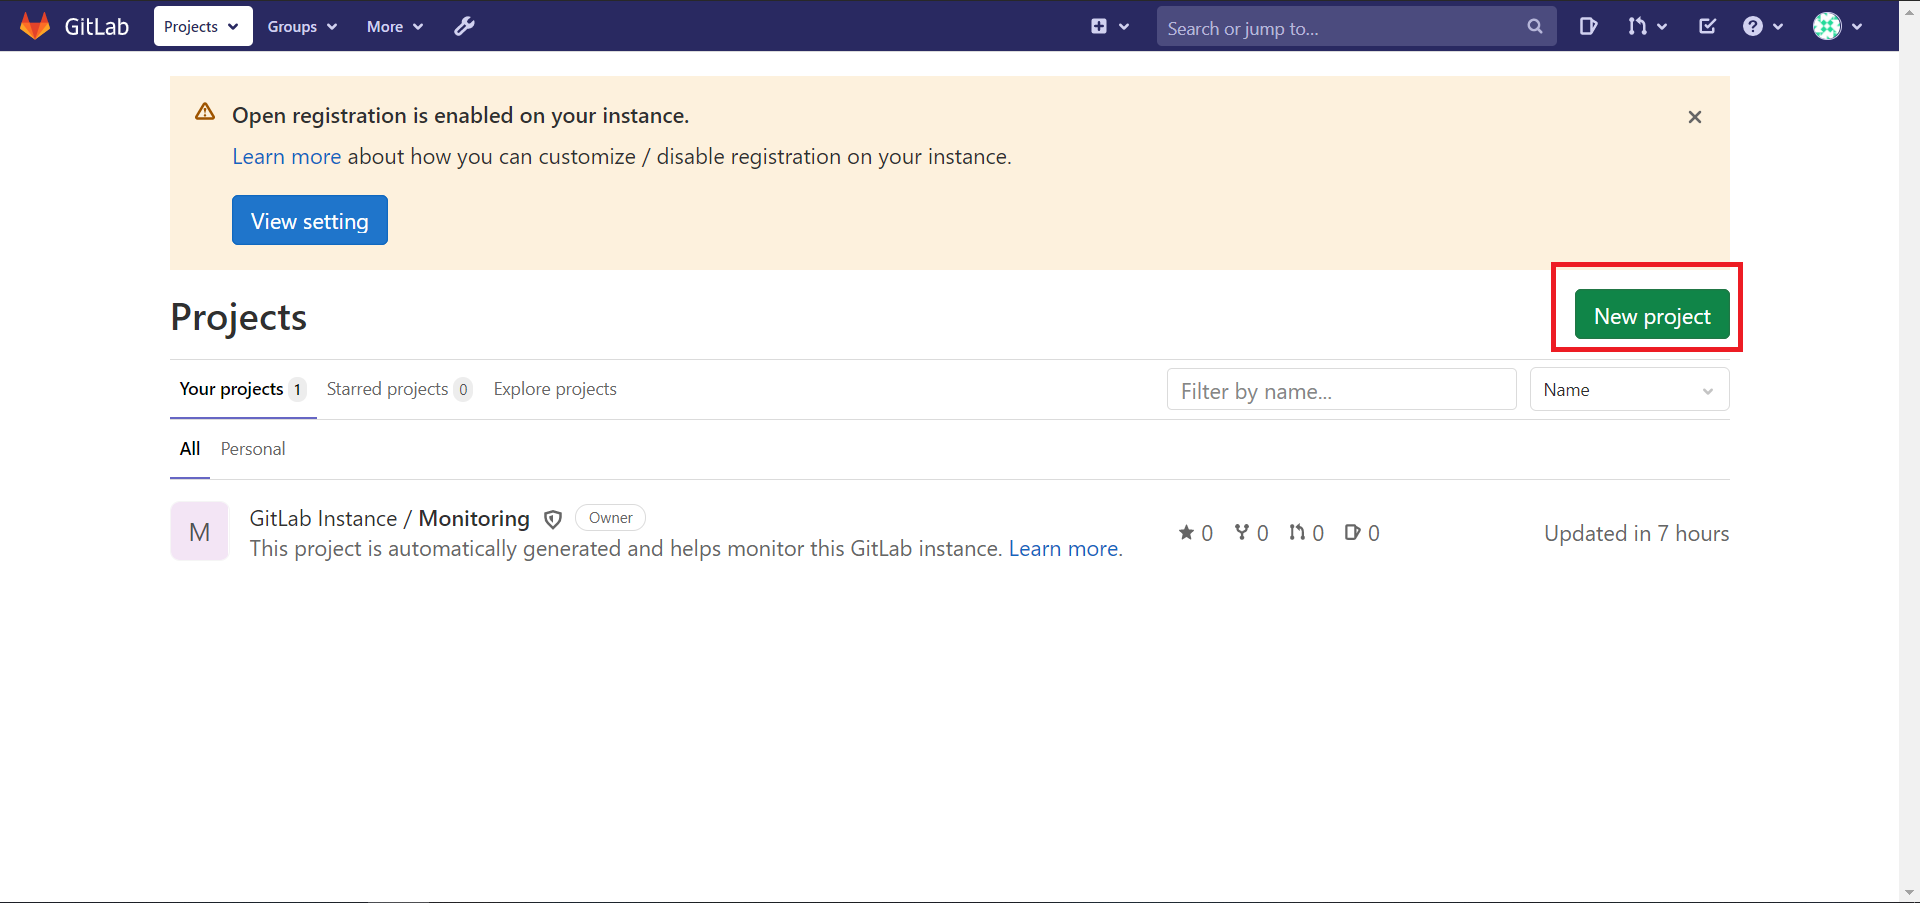
8.1创建项目


8.2添加公钥

将客户端公钥复制粘贴进去即可。标题与生效日期自己选择。

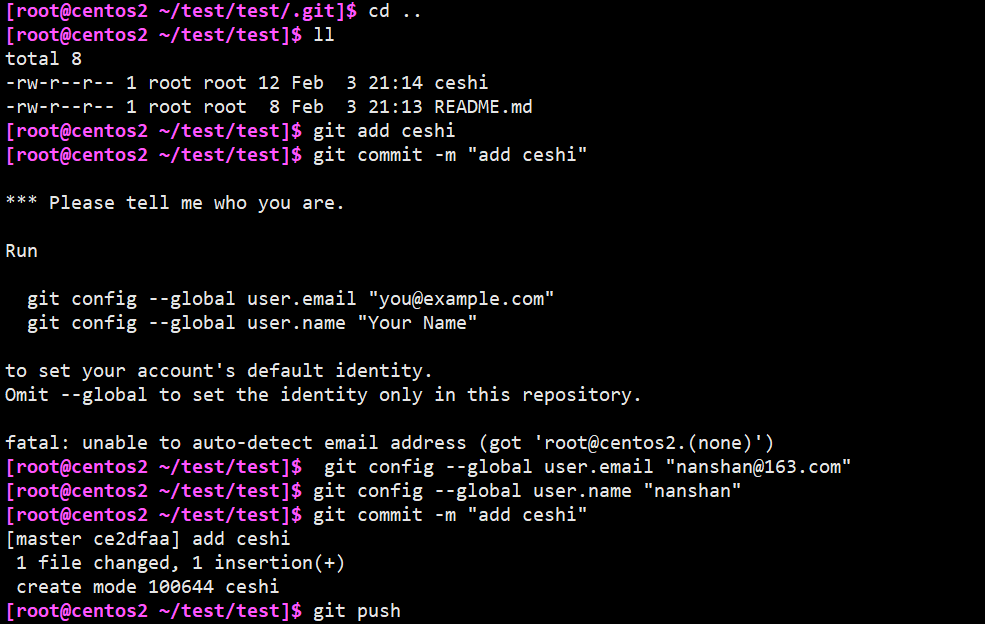
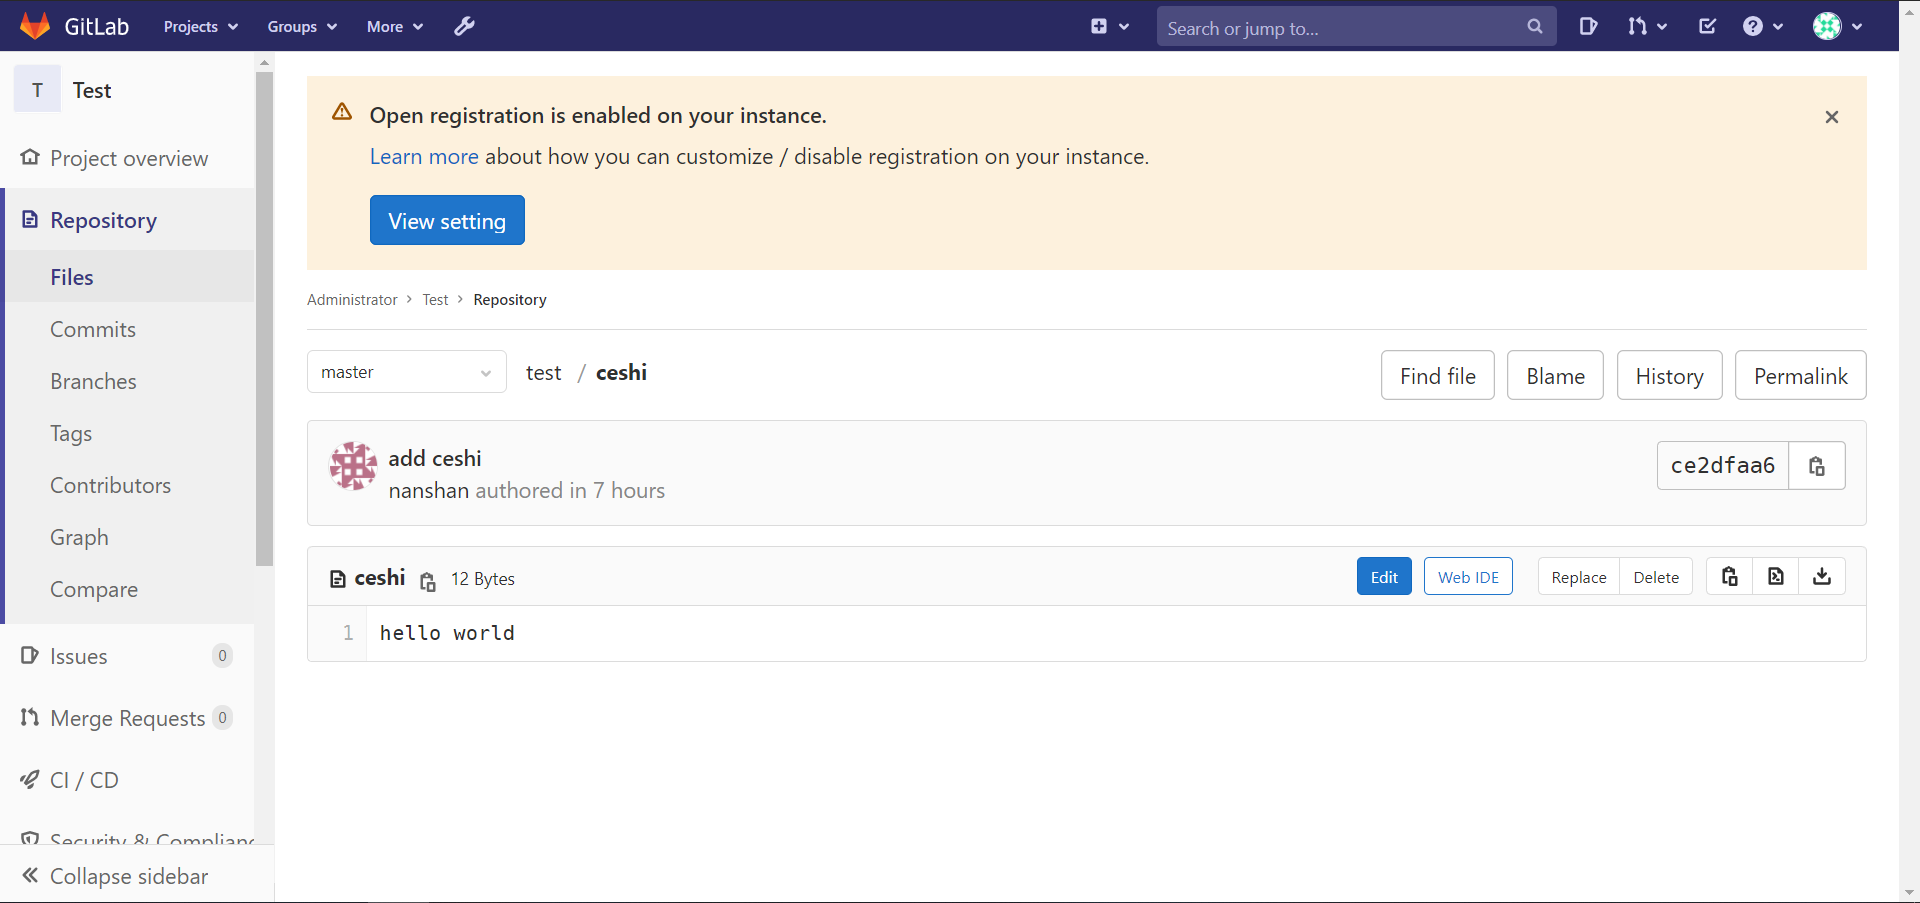
8.3克隆与上传
#安装git
yum -y install git-all
#克隆
git clone git@192.168.80.121:root/test.git
#新建文件并上传
git config --global user.email "nanshan@163.com"
git config --global user.name "nanshan"
vim ceshi
    hello world

git add ceshi
git commit -m "add ceshi"
git push


9.访问报错 502 Whoops, GitLab is taking too much time to respond.
gitlab运行最小内存为4G
重启后需等待一段时间。