phpMyAdmin搭建及管理多台数据库服务器
环境说明:
系统版本 CentOS 6.9 x86_64
软件版本 nginx-1.12.2 php-5.5.38 phpMyAdmin 4.8.0.1
1、phpMyAdmin介绍
phpMyAdmin 是一个以PHP为基础,以Web-Base方式架构在网站主机上的MySQL的数据库管理工具,让管理者可用Web接口管理MySQL数据库。借由此Web接口可以成为一个简易方式输入繁杂SQL语法的较佳途径,尤其要处理大量资料的汇入及汇出更为方便。其中一个更大的优势在于由于phpMyAdmin跟其他PHP程式一样在网页服务器上执行,但是您可以在任何地方使用这些程式产生的HTML页面,也就是于远端管理MySQL数据库,方便的建立、修改、删除数据库及资料表。也可借由phpMyAdmin建立常用的php语法,方便编写网页时所需要的sql语法正确性。
2、安装phpMyAdmin的环境要求

3、步骤
3.1、编译安装nginx和php可以参照前面的博文,这里不再赘述,但是基于phpMyAdmin的环境要求,编译php的时候采用的编译参数是:
- ./configure --prefix=/application/php5.5.38 --with-jpeg-dir=/usr/lib64 --with-freetype-dir=/usr/lib64/ --with-curl --enable-fpm --enable-mbstring --with-gd --with-fpm-user=nginx --with-fpm-group=nginx --with-mysqli=mysqlnd --with-mysql-sock=/tmp/mysql.sock --with-openssl --enable-zip
3.2、配置phpMyAdmin
将下载的phpmyadmin源码包放到nginx的站点根目录即html目录下,解压并修改nginx配置文件,重命名默认的phpMyAdmin配置文件cp config.sample.inc.php config.inc.php
3.3、搭建数据库并进行创库授权(参照前面的博文)
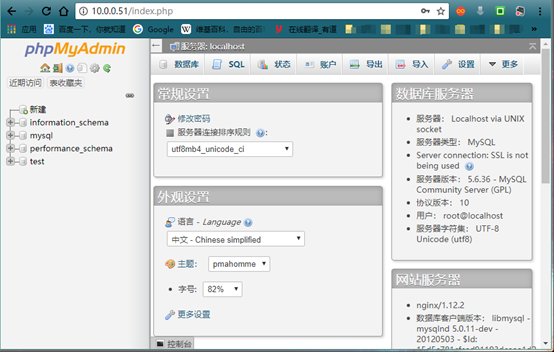
3.4、浏览器访问登入
4、配置phpMyAdmin管理多台数据库服务器
以10.0.0.51和10.0.0.52为例
4.1 在10.0.0.52上安装mysql
设置密码,登录mysql
- [root@db02 mysql]# mysql -uroot -p123456
授权数据库给10.0.0.51
- mysql> grant all on *.* to root@'10.0.0.51' identified by '123456';
4.2 配置安装了phpMyAdmin的db01
- vim /application/nginx/html/phpMyAdmin-4.8.0.1-all-languages/config.inc.php
- 复制粘贴并修改
- $i++;
- /* Authentication type */
- $cfg['Servers'][$i]['auth_type'] = 'cookie';
- /* Server parameters */
- $cfg['Servers'][$i]['host'] = '10.0.0.52';
- $cfg['Servers'][$i]['compress'] = false;
- $cfg['Servers'][$i]['AllowNoPassword'] = false;
刷新页面即可登录到10.0.0.52数据库
博主原创文章,转载请务必注明出处