一.Web开发步骤
1.新建一个SpringBoot项目(springboot-web)
2.写一个HelloWorld的简单程序
(1)新建一个HelloController
package com.bao.web.controller;
import org.springframework.web.bind.annotation.RequestMapping;
import org.springframework.web.bind.annotation.RestController;
@RestController
public class HelloController {
@RequestMapping("hello")
public String hello(){
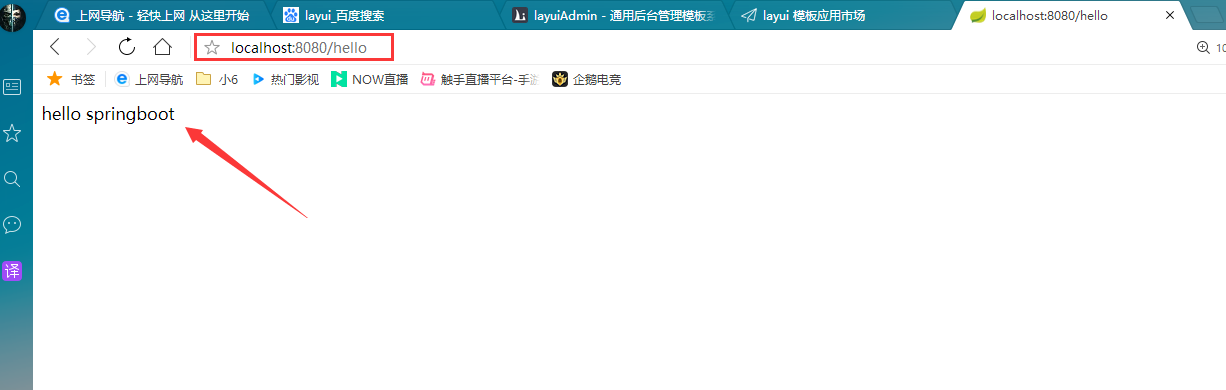
return "hello springboot";
}
}
(2)启动项目
3.使用webjars
1.webjars介绍
Web前端使用了越来越多的JS或CSS,如jQuery,Backbone.js和Bootstrap。一般情况下,我们是将这些Web资源拷贝到Java Web项目的webapp相应目录下进行管理。这种通过人工方式管理可能会产生版本误差,拷贝版本错误,漏拷等现象,导致前端页面无法正确展示,版本不一致,文件混乱等,导致出现一些莫名其妙的错误等。
WebJars是将web前端资源(js,css等)打成jar包文件,然后借助Maven工具,以jar包形式对web前端资源进行统一依赖管理,保证这些Web资源版本唯一性。WebJars的jar包部署在Maven中央仓库上。
WebJars官网:https://www.webjars.org/
2.SpringBoot使用WebJars
@Override
public void addResourceHandlers(ResourceHandlerRegistry registry) {
    if (!this.resourceProperties.isAddMappings()) {
        logger.debug("Default resource handling disabled");
        return;
    }
    Duration cachePeriod = this.resourceProperties.getCache().getPeriod();
    CacheControl cacheControl = this.resourceProperties.getCache().getCachecontrol().toHttpCacheControl();
    if (!registry.hasMappingForPattern("/webjars/**")) {
        customizeResourceHandlerRegistration(registry.addResourceHandler("/webjars/**")
                                             .addResourceLocations("classpath:/META-INF/resources/webjars/")
                                             .setCachePeriod(getSeconds(cachePeriod)).setCacheControl(cacheControl));
    }
    String staticPathPattern = this.mvcProperties.getStaticPathPattern();
    if (!registry.hasMappingForPattern(staticPathPattern)) {
        customizeResourceHandlerRegistration(registry.addResourceHandler(staticPathPattern)
                                             .addResourceLocations(getResourceLocations(this.resourceProperties.getStaticLocations()))
                                             .setCachePeriod(getSeconds(cachePeriod)).setCacheControl(cacheControl));
    }
}
(1)导入依赖
<dependency>
    <groupId>org.webjars</groupId>
    <artifactId>jquery</artifactId>
    <version>3.4.1</version>
</dependency>
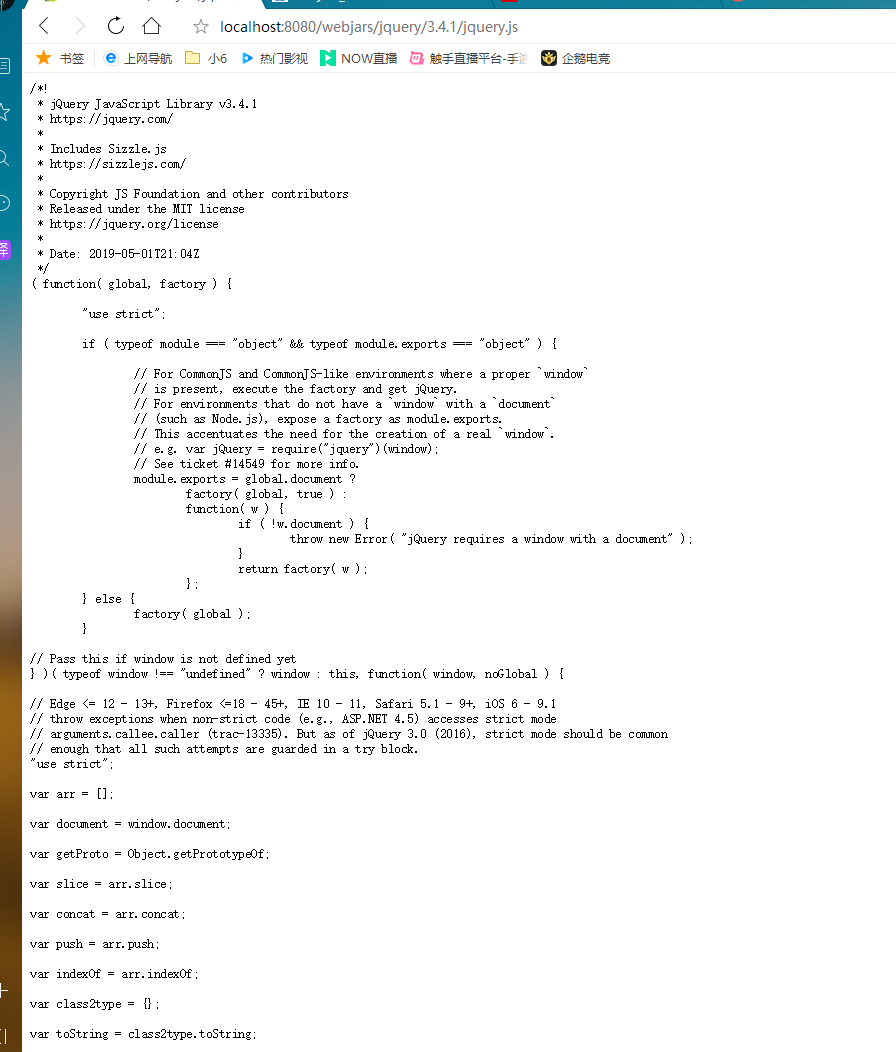
(2)启动项目
访问http://localhost:8080/webjars/jquery/3.4.1/jquery.js
(3)资源存放路径

"classpath:/META-INF/resources/",
"classpath:/resources/",
"classpath:/static/",
"classpath:/public/",
"/" :当前项目的根目录
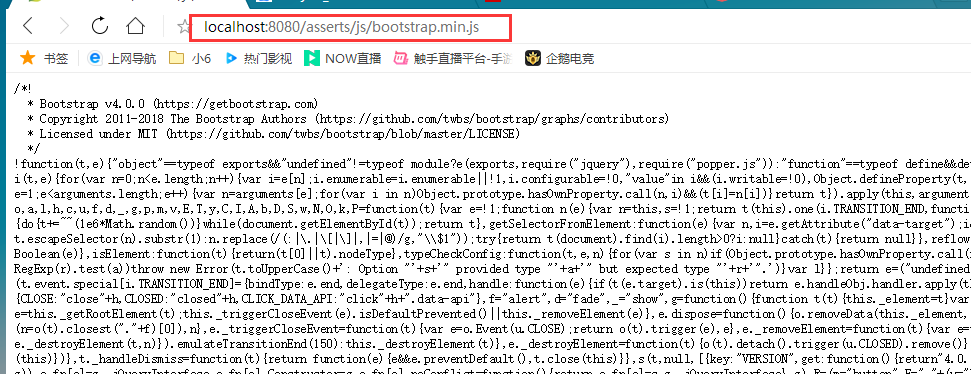
我们一般放在static下面,例如我们访问bootstrap.min.js,会遍历上面的4个文件夹,就可以帮我们找到
访问:localhost:8080/asserts/js/bootstrap.min.js
可以通过spring.resources.static-locations配置指定静态文件的位置。但是要特别注意,一旦自己指定了静态资源目录,系统默认的静态资源目录就会失效。所以系统默认的就已经足够使用了,尽量不要自定义。
#配置静态资源
spring:
  resources:
    #指定静态资源目录
    static-locations: classpath:/mystatic/
4.使用自定义图标
favicon.ico图标
如果在配置的静态资源目录中有favicon.ico文件,SpringBoot会自动将其设置为应用图标。
推荐放在resources下
"classpath:/META-INF/resources/",
"classpath:/resources/",
"classpath:/static/",
"classpath:/public/",
"/" :当前项目的根目录
自己放一个图标进去,然后在配置文件中关闭SpringBoot默认的图标!
#关闭默认图标
spring.mvc.favicon.enabled=false
清除浏览器缓存!刷新网页,发现图标已经变成自己的了!
springboot2.2.0以上版本没有了自定义图标
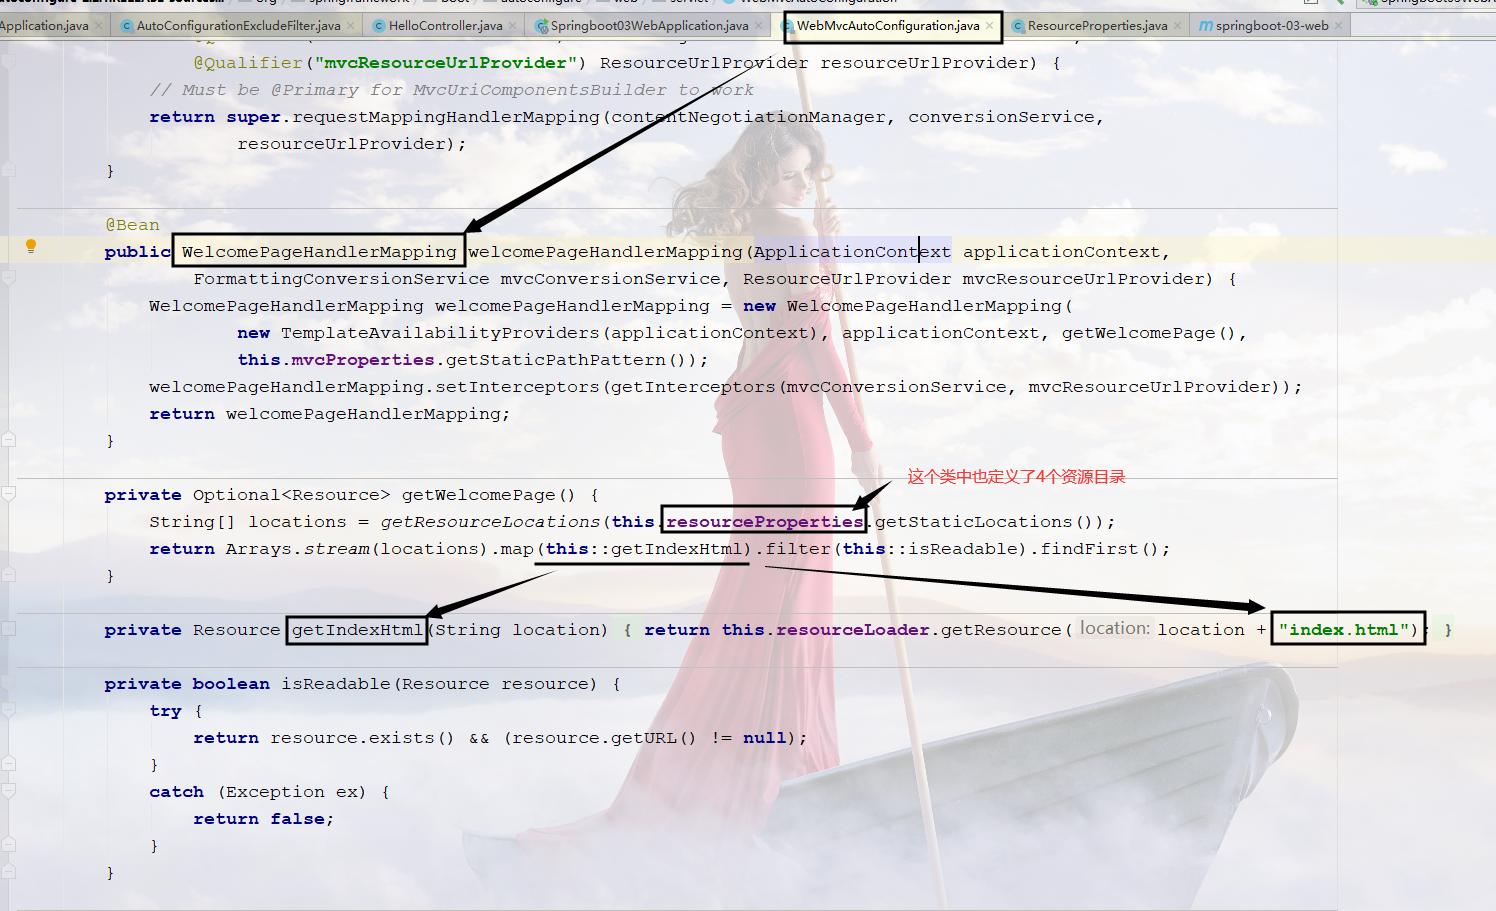
5.网站首页的定制
1.可以放在静态资源文件夹下
2.推荐放在public文件夹下
3.Ctrl+F9刷新静态资源文件,访问即可
我们自己写一个示例

解决方法,添加依赖
<dependency>
    <groupId>org.springframework.boot</groupId>
    <artifactId>spring-boot-starter-thymeleaf</artifactId>
</dependency>
