2019 SDN上机第4次作业
1. 解压安装OpenDayLight控制器(本次实验统一使用Beryllium版本)
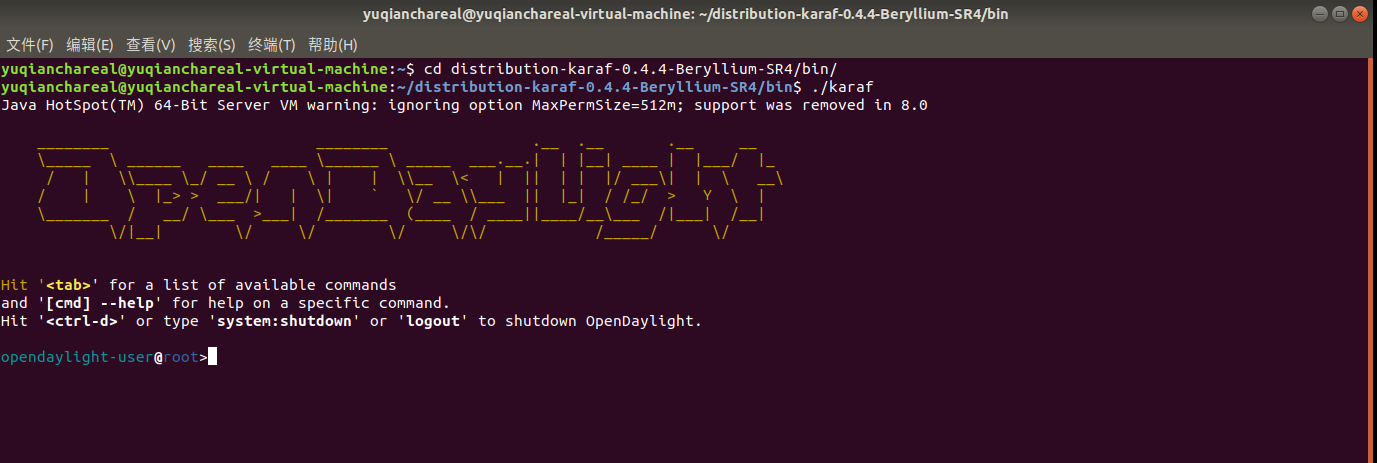
2. 启动并安装插件

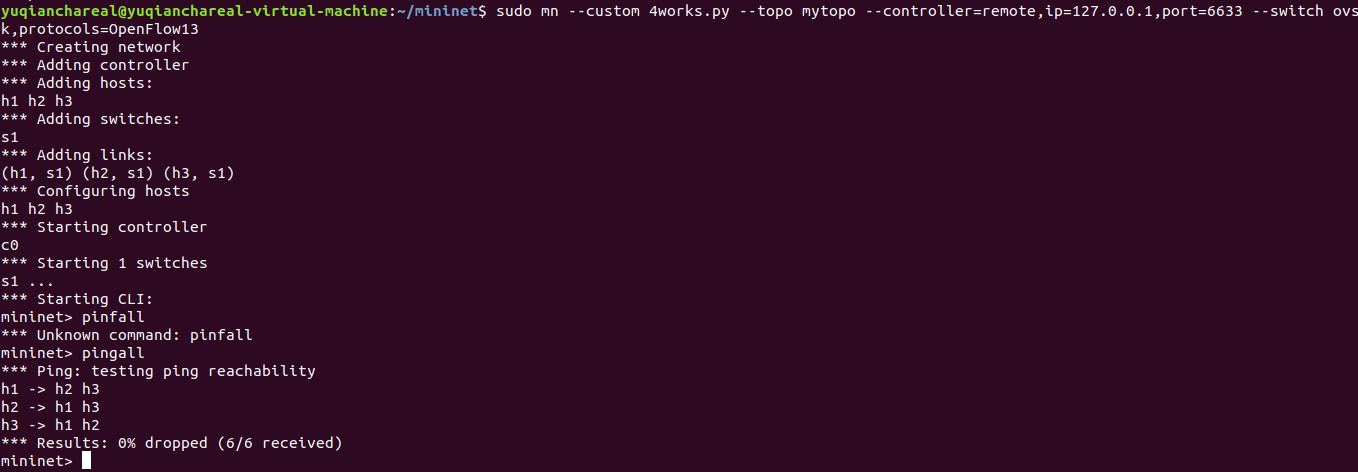
3. 用Python脚本搭建如下拓扑,连接OpenDayLight控制器
代码
from mininet.topo import Topo
class 4topo(Topo):
    def __init__(self):
        Topo.__init__(self)
        sw=self.addSwitch('s1')
        count=1
        for i in range(3):
                host = self.addHost('h{}'.format(count))
                self.addLink(host,sw,1,count)
                count = count + 1
topos = {'mytopo': (lambda:4topo())}
建立成功

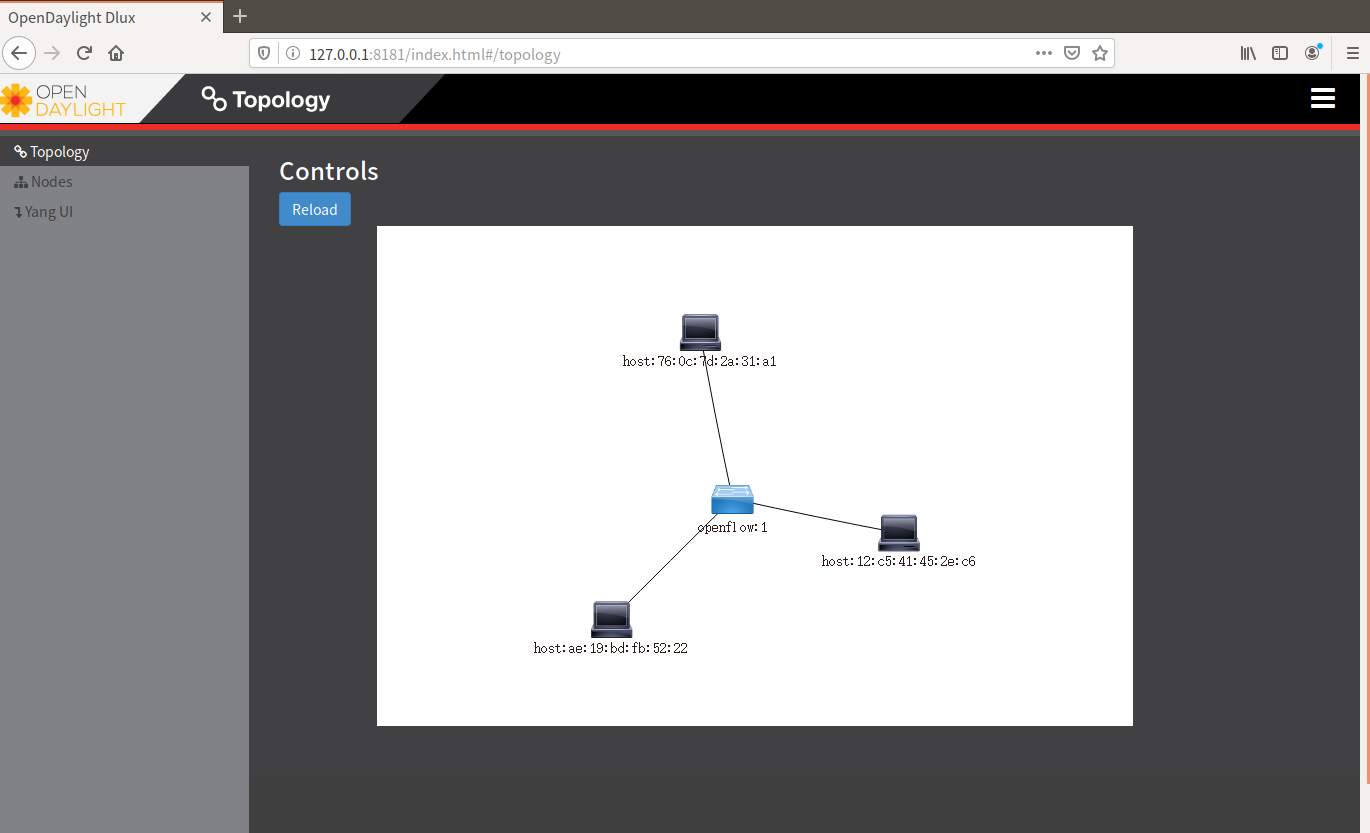
在控制器端查看拓扑建立成功
4. 在控制器提供的WEB UI中下发流表使h2 20s内ping不通h3,20s后恢复
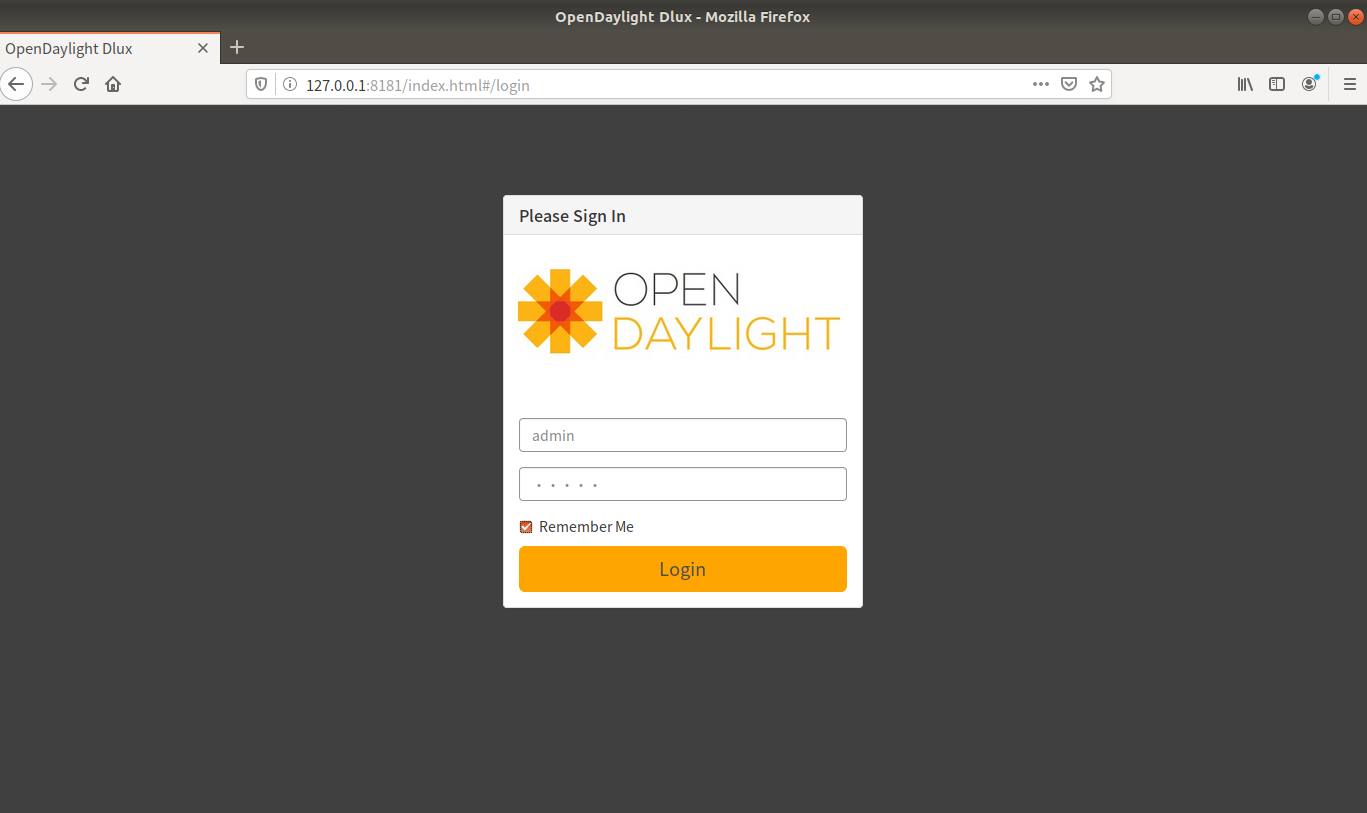
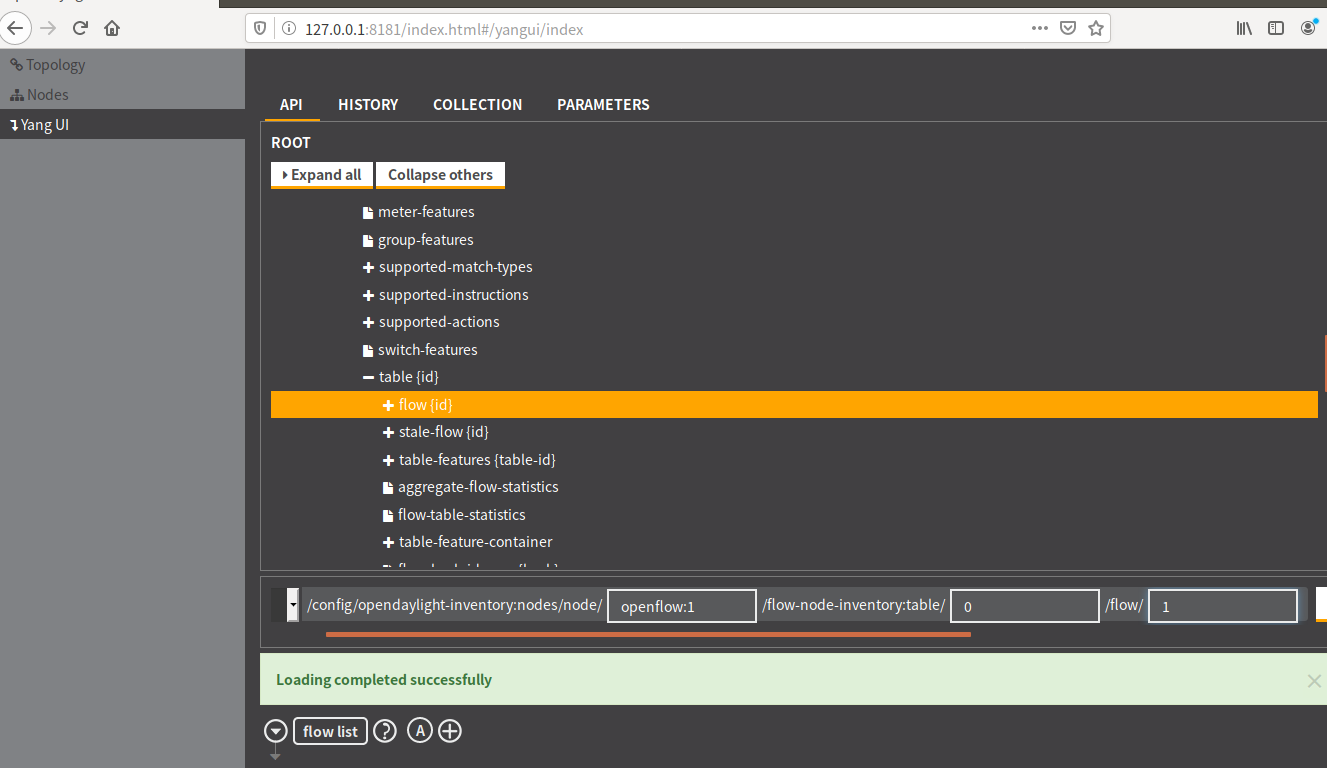
登录127.0.0.1:8181/index.html
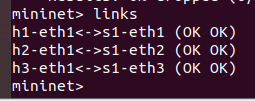
输入links,查看端口连通情况,可以看到h2连接交换机的2号端口
在Yang UI界面输入node、table和flow的id,进入端口设置为2,ethernet-type设置为0x0800,设置ipv4-march中的源地址为10.0.0.2/32,目标地址为10.0.0.3/32
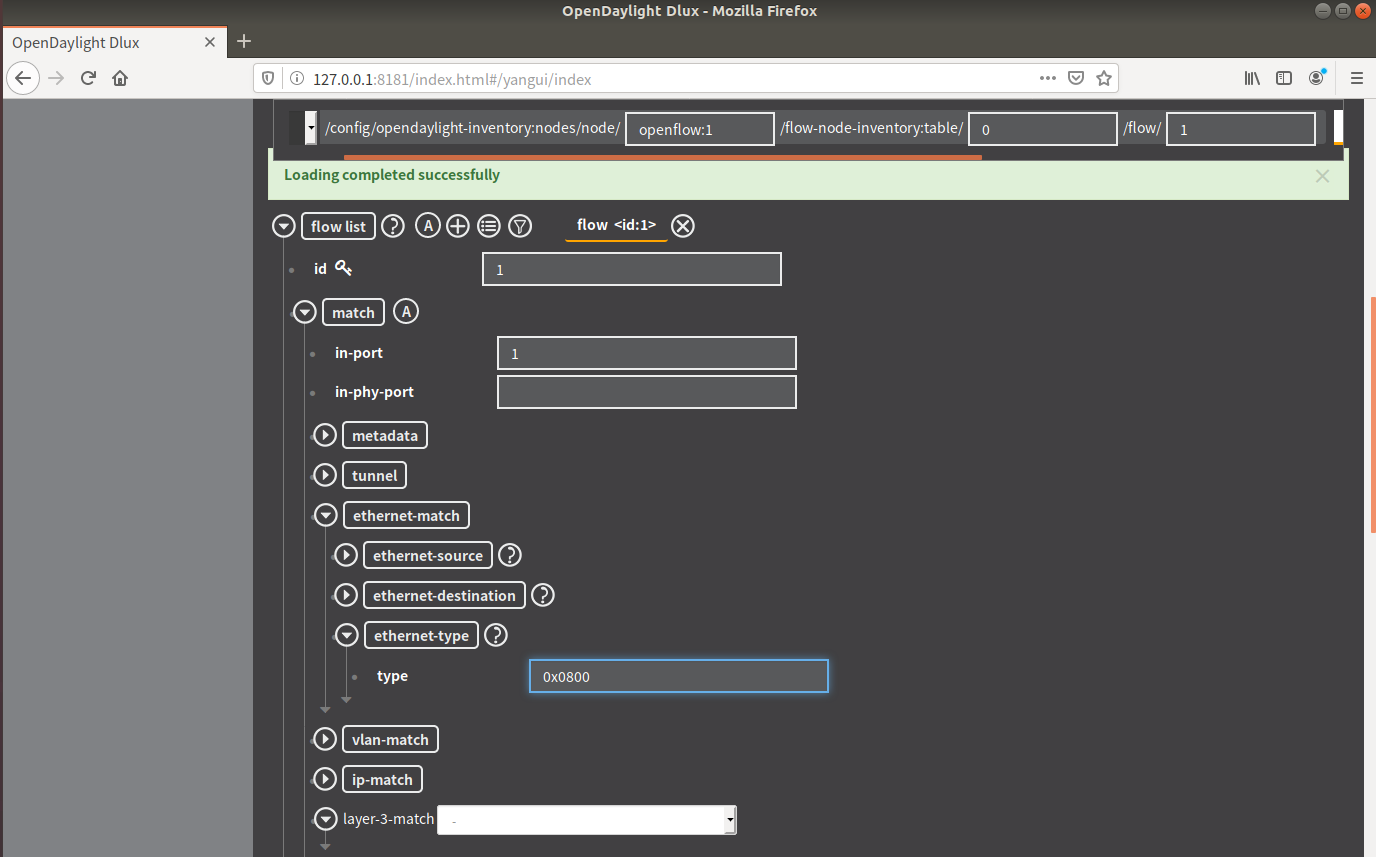


开始h2 ping h3后下发流表,查看连通断开与恢复的情况,可以看到第13秒开始,中断了20秒,然后才恢复通讯

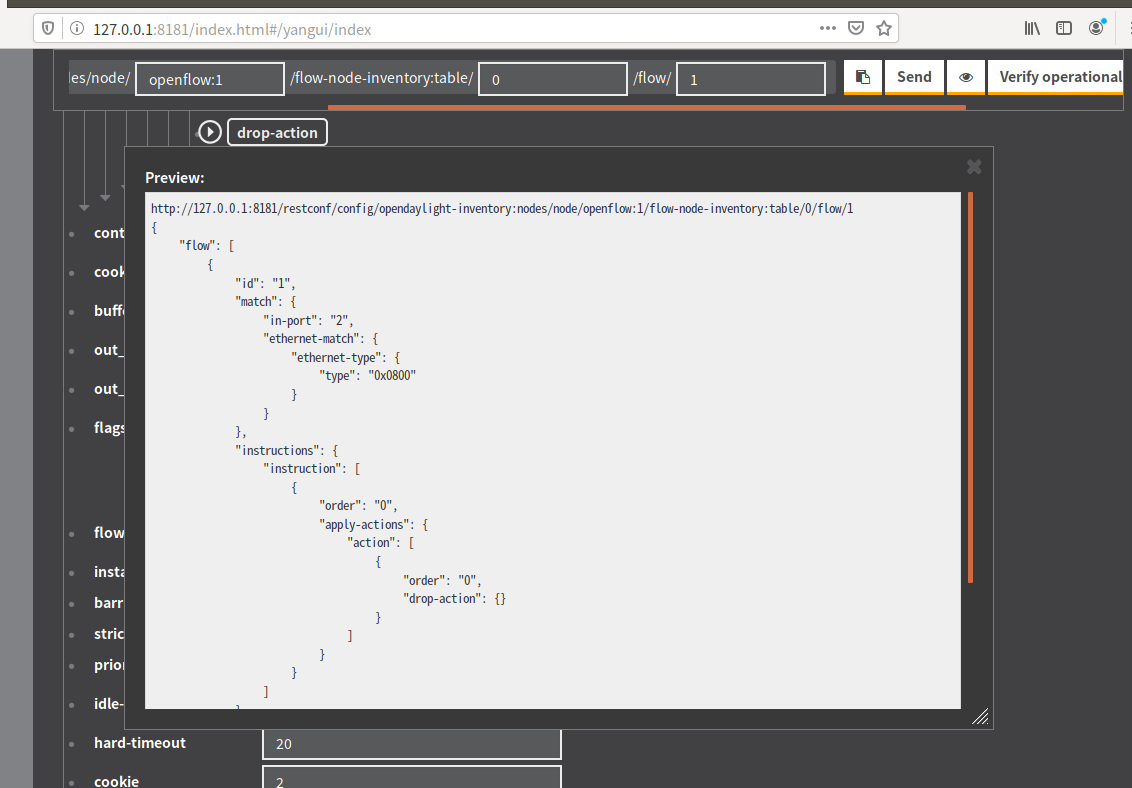
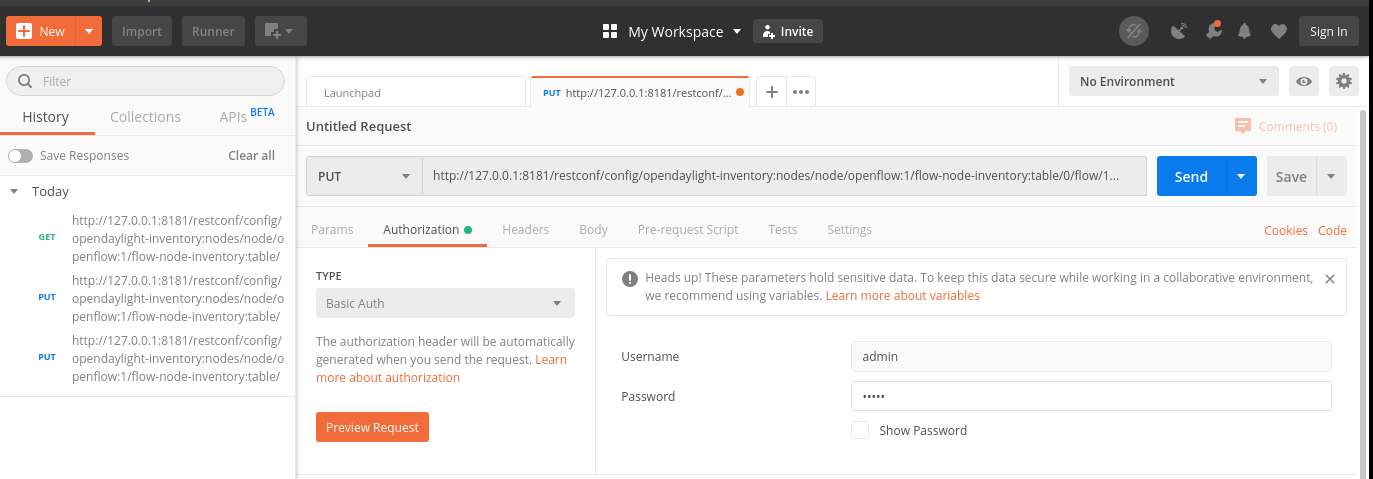
5. 借助Postman通过OpenDayLight的北向接口下发流表,再利用OpenDayLight北向接口查看已下发的流表。
代码
http://127.0.0.1:8181/restconf/config/opendaylight-inventory:nodes/node/openflow:1/flow-node-inventory:table/0/flow/1

{
    "flow": [
        {
            "id": "1",
            "match": {
                "in-port": "2",
                "ethernet-match": {
                    "ethernet-type": {
                        "type": "0x0800"
                    }
                },
                "ipv4-destination": "10.0.0.3/32"
            },
            "instructions": {
                "instruction": [
                    {
                        "order": "0",
                        "apply-actions": {
                            "action": [
                                {
                                    "order": "0",
                                    "drop-action": {}
                                }
                            ]
                        }
                    }
                ]
            },
            "priority": "65535",
            "hard-timeout": "10",
            "cookie": "2",
            "table_id": "0"
        }
    ]
}
设置

h2 ping h3出现同样结果