《《《《《《《《《对oss操作,上传文件》》》》》》》》》》》》》》
第一步 导入maven依赖
<dependency> <groupId>com.aliyun.oss</groupId> <artifactId>aliyun-sdk-oss</artifactId> <version>2.8.3</version></dependency>
第二步 使用文件流上传
jsp代码:上传文件的请求模式我用的是angularjs
<body ng-controller="testController">
<div style="margin: 100px 100px;">
    <input id="fileUpload" type="file" />
    <button ng-click="uploadFile()">上传</button>
    <button ng-click="getBucket()">获取bucket信息</button>
    <ol>
        <li ng-repeat="fileName in fileNameList" style="margin-top:10px;">
            <a href="" ng-bind="fileName" ng-click="downFile(fileName)"></a>
        </li>

    </ol>

</div>


<!-- floor -->
<div th:include="/common/floor :: commonOnLoadJs"></div>
    <script>
        angular.module('testApp', ['ng-layer']).controller('testController', function ($scope, layer, $http) {

            //上传文件
            $scope.uploadFile = function(){
                var form = new FormData();
                var file = document.getElementById("fileUpload").files[0];
                form.append('file', file);
                $http({
                    method: 'POST',
                    url: '/jz-project/testController/testUpload',
                    data: form,
                    headers: {'Content-Type': undefined},
                    transformRequest: angular.identity
                }).success(function (data) {
                    console.log('upload success');
                }).error(function (data) {
                    console.log('upload fail');
                })
            }

            //获取文件列表
            $scope.getBucket = function(){
                $http.post("/jz-project/testController/getBucket").success(function(result) {
                    console.log(2);
                    console.log(result);
                    $scope.fileNameList = result.data;
                });
            }

            //下载文件
            $scope.downFile = function (fileName) {
                // alert(fileName);
          //注意下载文件不能使用post提交,后台会返回输出流对象,post返回的数据浏览器没法解析弹出下载框
          //还会报错:getOutputStream() has already been called for this response
                window.location.href = "testController/downFile?fileName="+fileName;
                // $http.post("/jz-project/testController/downFile", fileName).success(function(result) {
                //     console.log(2);
                //     console.log(result);
                //     getBucket();
                // });
            }


        })
    </script>


</body>
|
controller代码
/**
 * @Description: 上传文件到oss
 * @auther: zrt
 * @date: 2018/9/5 15:15
 */
@RequestMapping(value = "/testUpload", method = RequestMethod.POST,produces={"application/json;charset=UTF-8"})
@ResponseBody
public ResultBase<String> testUpload(@RequestParam(value = "file" , required = true) MultipartFile file) {
    log.info("开始上传文件");
    ResultBase<String> rb = new ResultBase<String>();

    log.info("文件名:"+file.getOriginalFilename());

    //上传到oss
    if(file != null){
        OssTestUtil.ossUploadFileStream(file);
    }

    rb.setCode(0);
    rb.setData("");
    return rb;
}
|
自己封装的OssTestUtil工具
/**
 * @Description: 文件流上传oss
 * @auther: zrt
 * @date: 2018/9/5 15:19
 */
public static void ossUploadFileStream(MultipartFile file){

    // Endpoint以杭州为例,其它Region请按实际情况填写。
    String endpoint = ENDPOINT;
    // 阿里云主账号AccessKey拥有所有API的访问权限,风险很高。强烈建议您创建并使用RAM账号进行API访问或日常运维,请登录 https://ram.console.aliyun.com 创建RAM账号。
    String accessKeyId = ACCESS_KEYID;
    String accessKeySecret = ACCESS_KEY_SECRET;
    // 创建OSSClient实例。
    OSSClient ossClient = new OSSClient(endpoint, accessKeyId, accessKeySecret);
    // 上传文件流。
    //        InputStream inputStream = null;
    try {
        //三个参数,1、bucket的名称,2、文件名称、3、文件输入流
        PutObjectResult por = ossClient.putObject("zrt888888", file.getOriginalFilename(), file.getInputStream());

    } catch (IOException e) {
        e.printStackTrace();
    }

    // 关闭OSSClient。
    ossClient.shutdown();

}
|
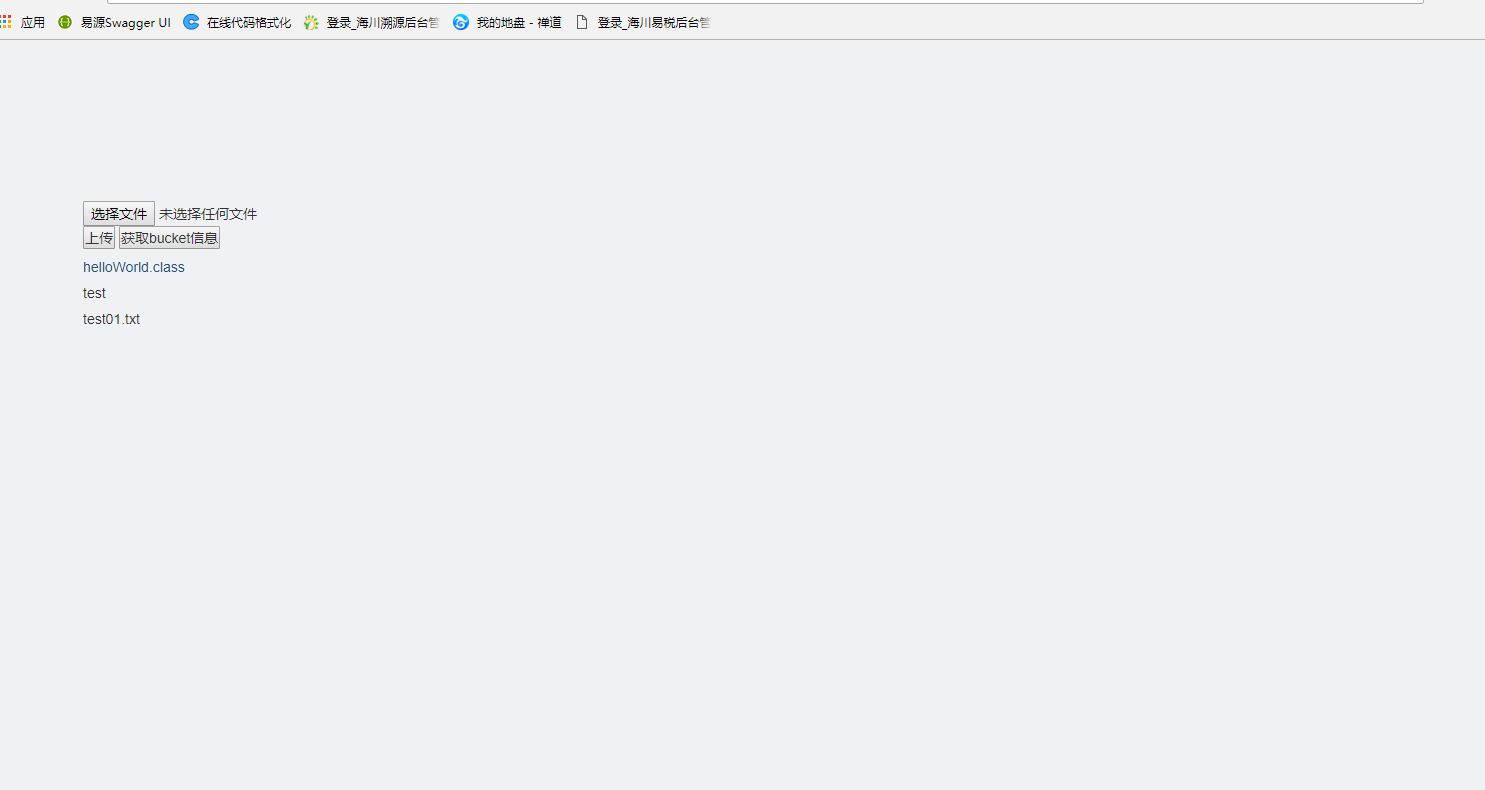
最后页面显示:
》》》》》》》》》》》》》》下面的实在是懒得写的》》》》》》》》》》》》》》》》》》》》》》》》》》》》》》
我还是把代码直接保存百度云吧