Using this 3G module in Linux is so great. I want it. So I made it.
The 3G dongle of Huawei E169/E620/E800 is made from chip Qualcomm e1750. Yes, yet an American company. Huawei understands business.
 +
+ 
I am using KDE based on ubuntu 14.04 AMD64.
After you pluging the dongle into computer, you would see this:

The Huawei Modem is recognized by Linux kernel and its modules.
Here are several ways of doing so.
1. Using system GUI -- networkmanager
Add a mobile boardband connection.
Choose Qualcomm E1750 if your system can detect it.

Then


Go on

Go on

Go on

Leave the username and password blank. If you are in China, then make sure the number is *99#
APN: 3gnet
Click ok.
Then go to connect it from your network manager.

2. Using KDE kppp (GUI)
You should install these packages before doing so.
sudo apt-get install ppp kppp wvdial -y
kppp has its GUI.
wvdial is the backend tool which kppp uses. Or you can use wvdial later in console only.
This would come out if it is sucessfully connected to the internet.

Leave the Login ID and password empty.
In tab Accounts, "New" a profile. And make it look like this.
Click configure and create a profile for connection.
Make sure number to be *99# if you are in China.
And authentication to be Terminal-based.

Then click ok to save it.
Then go to tab Modems. "New" a profile named "huawei3g".
And edit it.
Make sure it looks like this.
device: /dev/ttyUSB0
(it depends on how many devices you have sometimes. Everytime you plug in the 3G dongle, there would be 3 devices came out. They would be /dev/ttyUSB0 ,/dev/ttyUSB1, /dev/ttyUSB2 . ( ttyUSB0 is used for controlling the 3G dongle. And it supports AT commands. Others are some other stuff about voice call and so on)
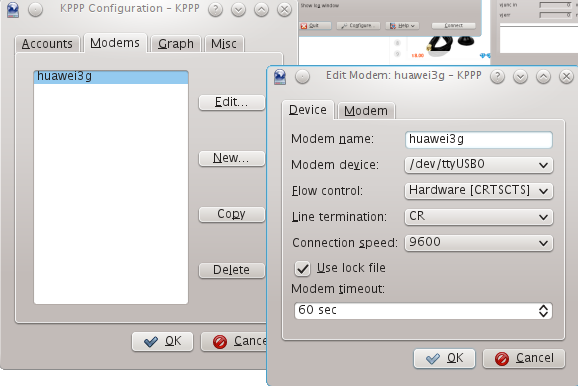
Click OK to save it.
Then go back, and hit connect in kppp.
This is what you gonna see.

3. Using wvdial in command lines
sudo apt-get install ppp wvdial -y
then go to configure the wvdial
Make the file look like this:
[Dialer Defaults]
Init1 = ATZ
Init2 = ATQ0 V1 E1 S0=0 &C1 &D2 +FCLASS=0
Modem Type = Analog Modem
Baud = 9600
New PPPD = yes
Modem = /dev/ttyUSB0
ISDN = 0
; Phone = <Target Phone Number>
; Password = <Your Password>
; Username = <Your Login Name>
Phone = *99#
; Phone = *99***1#           ; If you are in America or somewhere
Password = 3gnet
Username = 3gnet
And connect to internet in console:
Now you would see successfully we are connected to internet.
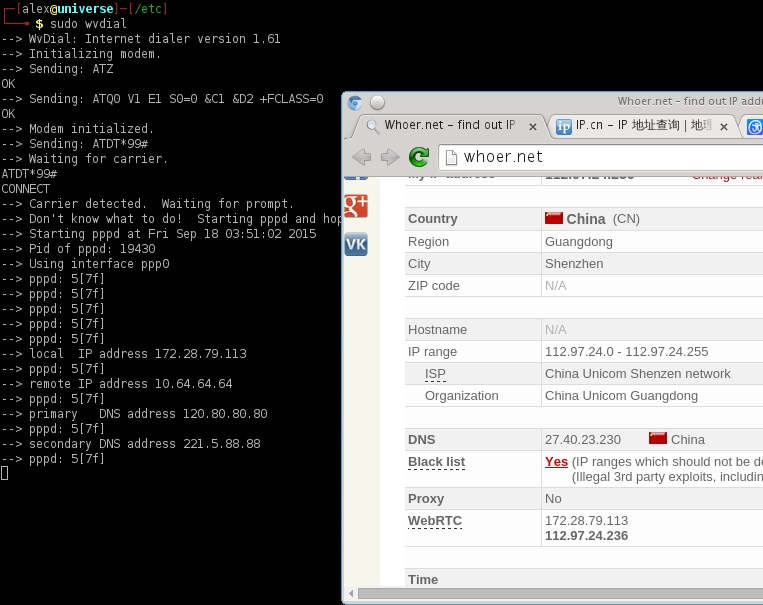
There is another interface called ppp0 here.

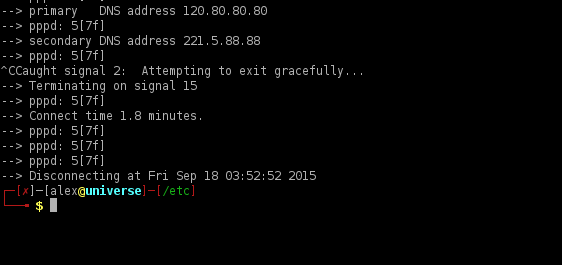
Hit Ctrl + C in console to disconnect.
4. Using Sakis3G GUI / commands scripts
Here are something from http://www.sakis3g.com/
First check that you have ppp installed
sudo apt-get install pppNow download the Sakis3g package
sudo wget "http://www.sakis3g.com/downloads/sakis3g.tar.gz" -O sakis3g.tar.gzThen unzip the file
sudo tar -xzvf sakis3g.tar.gzMake the file executable
sudo chmod +x sakis3gAnd finally launch it
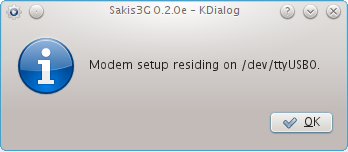
sudo ./sakis3g --interactive

more options:

then you are gonna see

Then
then

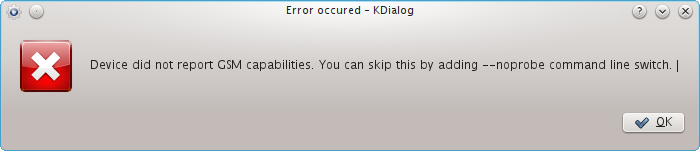
But I see this:
This really does not work. :(
So I go to commands.
sudo ./sakis3g "--sudo" OTHER="USBMODEM" USBMODEM="12d1:1001" "FORCE_APN=internet.public"
USBINTERFACE="3" APN_USER="user" APN_PASS="user" "connect" "info"
Remember this:
12d1 is the vendor ID, 1001 is the product ID.
And then try these in console.
It failed again... If you see:

Here are some knowledge from
Network Manager and Sakis3G don't really work well together. Sometimes you need to run Sakis3g twice or remove and plug the device back in to get it to work. This is because ModemManager can be quite forceful by locking device ports. Alternatively, you can switch the device using Sakis3G (at which point Network Manager should pick it up) and then connecting using Network Manager.
As for the pin - either remove the required pin from the sim card by putting it in a normal mobile phone or provide your pin for switching in /etc/sakis3g.conf using the SIM_PIN="" variable.
To be continued.
Chip live debugging
If you want to check out what this module is shipped with. You could get into it's heart using CuteCom via Serial ports.

Happy hacking!