自己搭建了一个博客用hugo,后因自己搭建的博客上传文章,搞一些东西不方便,就创建了现在这个博客,不过还是把如何搭建hugo的过程记录以下。
Ubuntu下的操作
1. 下载Git
打开终端 Ctrl+Alt+T 就可打开
下载Git
sudo apt update
sudo apt install git
设置用户名和邮箱
git config --global user.name "zoey"
git config --global user.email "zoey686@163.com"
查看设置的用户名和密码
git config --list
2.下载Hugo
方法一:
直接下载,一般hugo版本较低,在选择theme(主题)的时候有一定限制
sudo apt install hugo
方法二:
wget https://github.com/gohugoio/hugo/releases/download/v0.54.0/hugo_0.54.0_Linux-64bit.deb

sudo dpkg -i hugo_0.54.0_Linux-64bit.deb
检查是否安装好了hugo以及查看版本号
hugo --help
hugo version
3.建立博客
建立一个Git的文件夹
在文件夹里面建立myblog页面存放博客页面
mkdir gitFile
hugo new site myblog
然后myblog下面就会有以下几个文件夹自动生成
archetypes 文章开头形式
content 内容
data 自定义模板
layouts 网页模板文件
static 存储图片一些其他的资源
themes 主题
4.设置主题
进入themes文件然后克隆主题
首先去Hugo网站的thmem主题去选主题,要注意hugo的版本号
https://themes.gohugo.io/
进入网站选择自己喜欢的主题

进入后会有克隆网址如下
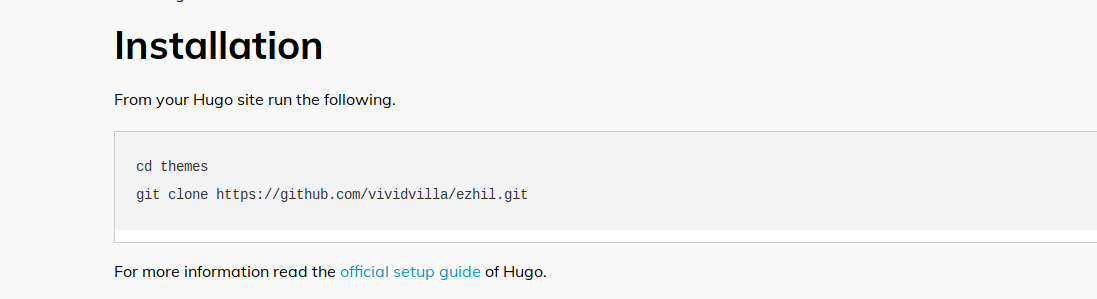
如图在终端输入就设置好了主题
5.本地启动博客
回到myblog文件下
cd ..
pwd
生成页面
hugo server -t ezhil --buildDrafts
ezhil是theme的名字
然后会生存一个localhost:XXXXX
点进去或者复制到网页 就可以看到为们的博客
6.搭载到服务器上
我是直接放在github上面
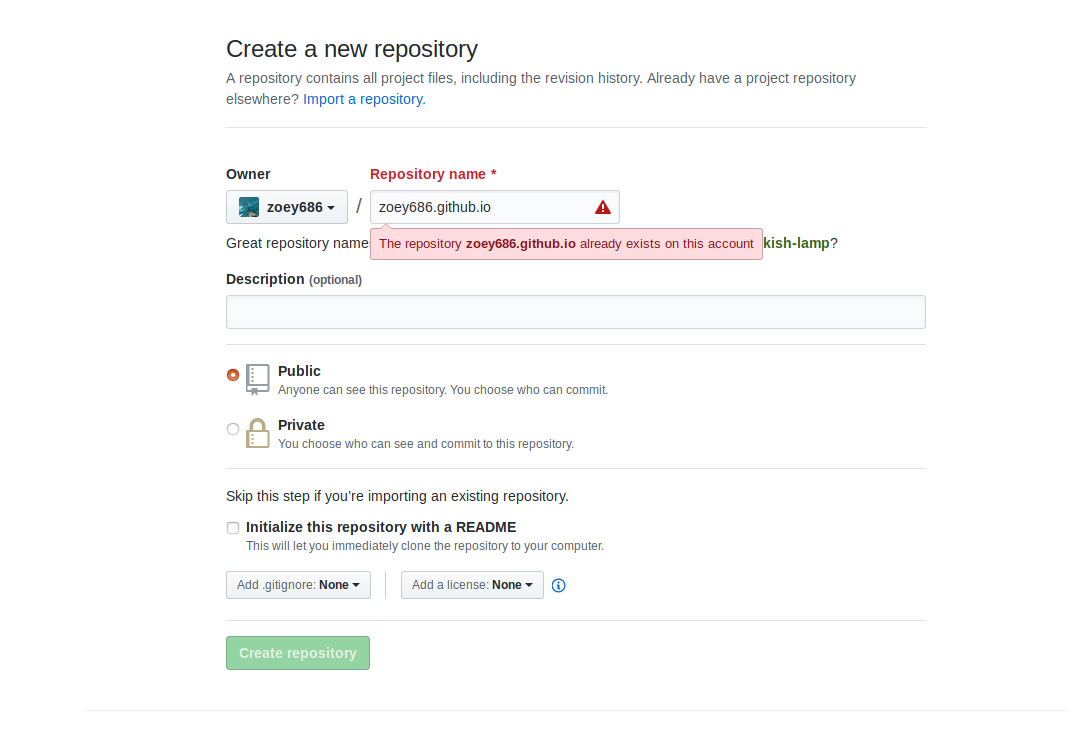
首先去github上新建一个repository,点击new

输入网站名称,必须和你github的名称一样,再加上“.github.io“
直接输入如下命令
hugo --theme=ezhil --baseUrl="http://zoey686.github.io/" --buildDrafts
cd public
git init
git add .
git comment -m "first my blog"
git remote add origin https://github.com/zoey686/zoey686.github.io.git

/*
如果说 origin存在
 git remote rm origin
*/

git push
/*
没有push成功的话
git push -u origin master
*/
然后我们就可以通过zoey686.github.io进行访问我们搭建的网站了