| IP | hostname | cpu | Mem | disk | nic | vm version |
| 172.16.186.141 | test2 | 2 | 8G | 150G | 1 | vmware15 pro |
mysql数据库部署在虚拟机上(离线安装方式),cacti则使用docker部署
本文最终是将镜像放到无网环境中,故mysql在采用离线安装(无网环境安装),docker免安装方式自行查询,导出镜像文章后面会说到
MySQL离线安装
https://dev.mysql.com/downloads/mysql/5.7.html#downloads
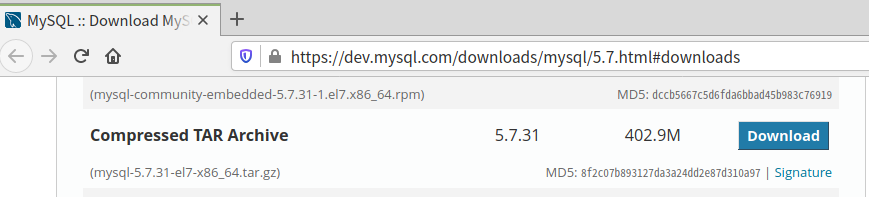
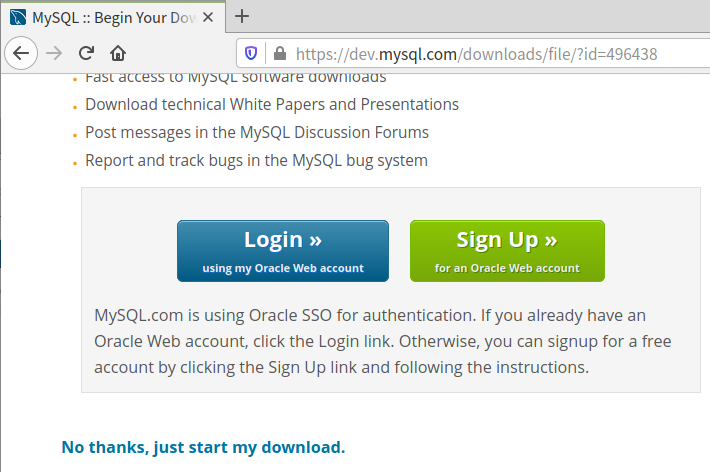
上图点击左下角 No thanks, just start my download. 即可下载
首先卸载系统中自带的mysql并删除配置文件
# 查看系统自带的Mariadb和msql
rpm -qa|grep mariadb
rpm -qa | grep mysql
# 卸载系统自带的Mariadb
rpm -e --nodeps mariadb-libs-5.5.56-2.el7.x86_64
# 删除etc目录下的my.cnf
rm /etc/my.cnf
# 创建mysql用户组
groupadd mysql
# 创建一个用户名为mysql的用户,并加入mysql用户组
useradd -g mysql mysql
安装
tar -zxvf mysql-5.7.31-el7-x86_64.tar.gz -C /usr/local
mv /usr/local/mysql-5.7.31-el7-x86_64 /usr/local/mysql
mkdir /usr/local/mysql/data
chown -R mysql.mysql /usr/local/mysql
cd /usr/local/mysql
vim my.cnf
[mysqld]
socket=/var/lib/mysql/mysql.sock
# set mysql server port
port = 3306
# set mysql install base dir
basedir=/usr/local/mysql
# set the data store dir
datadir=/usr/local/mysql/data
# set the number of allow max connnection
max_connections=300
# set server charactre default encoding
character-set-server=utf8
# the storage engine
default-storage-engine=INNODB
lower_case_table_names=1
max_allowed_packet=30M
explicit_defaults_for_timestamp=true
# 取消密码验证
#skip-grant-tables
# Disabling symbolic-links is recommended to prevent assorted security risks
#symbolic-links=0
# skip-grant-tables
[mysqld_safe]
log-error=/var/log/mysqld.log
pid-file=/var/run/mysqld/mysqld.pid
[mysql.server]
user=mysql
basedir=/usr/local/mysql
初始化MySQL(不要使用mysql_install_db方法初始化)
yum -y install numactl libaio libaio-devel git #执行该命令需要挂载光盘
/usr/local/mysql/bin/mysqld --user=mysql --basedir=/usr/local/mysql/ --datadir=/usr/local/mysql/data --initialize

# 将mysql加入服务
cp /usr/local/mysql/support-files/mysql.server /etc/init.d/mysql
mkdir /var/lib/mysql && chown -R mysql.mysql /var/lib/mysql/
# 将MySQL加入开机自启并启动
chkconfig mysql on && service mysql start
做软连接
ln -s /usr/local/mysql/bin/mysql /usr/bin/
ln -s /var/lib/mysql/mysql.sock /tmp/
登录数据库修改密码
mysql -uroot -p
alter user 'root'@'localhost' identified by 'aa7788**';
grant all privileges on *.* to 'root'@'%' identified by 'aa7788**' with grant option;
#创建cacti库
create database cacti;
grant all on cacti.* to cacti@'%' identified by '123456';
grant select on mysql.time_zone_name to cacti@'%' identified by '123456';
grant select on mysql.time_zone_name to cacti@localhost identified by '123456';
alter database cacti character set utf8mb4 collate utf8mb4_unicode_ci;
flush privileges;
exit;
从github上克隆cacti项目
git clone --depth=1 git@github.com:scline/docker-cacti.git
cd docker-cacti #修改下面的信息,下面除IP按需换之外,其他原样写
vim Dockerfile
....
....
ENV
DB_NAME=cacti
DB_USER=cacti
DB_PASS=123456
DB_HOST=172.16.186.141 #虚拟机的IP(也就是宿主机),这里要写docker0的IP有时会报错
DB_PORT=3306
RDB_NAME=cacti
RDB_USER=cacti
RDB_PASS=123456
RDB_HOST=172.16.186.141
RDB_PORT=3306
CACTI_URL_PATH=cacti
....
....
vim start.sh (注释点下面的一段配置)
....
....
# remove php-snmp if asked, required for snmpv3 to function correctly. Disabled by default
#if [ ${PHP_SNMP} = 0 ]; then
# echo "$(date +%F_%R) [PHP-SNMP] Removing php-snmp since ENV variable 'PHP_SNMP' is set to 0"
# yum remove -y --noautoremove php-snmp
# yum clean all
# else
# echo "$(date +%F_%R) [PHP-SNMP] Insalling php-snmp since ENV variable 'PHP_SNMP' is set to 1"
# yum install -y php-snmp
# yum clean all
#fi
....
....
构建镜像
docker build -t cacti:v1 .
构建容器(找个大点的磁盘分区进行专存储日志,可自定义)
mkdir -p /var/cacti/log
构建容器
docker run -itd --name cacti -p 80:80 -p 443:443 -v /var/cacti/log:/cacti/log/ cacti:v1
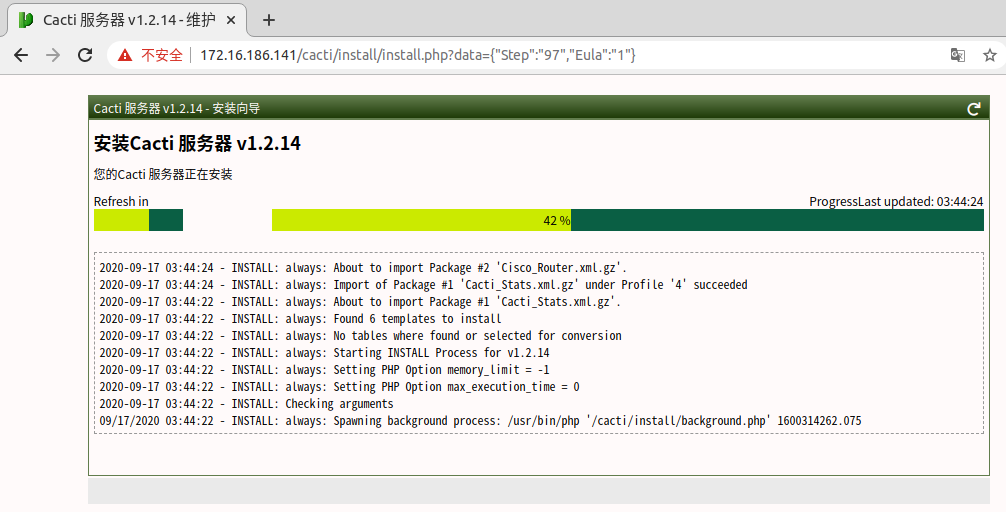
查看容器启动过程
docker logs -f cacti
进入cacti容器进行修改
docker exec -it cacti bash
sed -i "s/;date.timezone =/date.timezone = Asia/Shanghai/" /etc/php.ini
退出容器
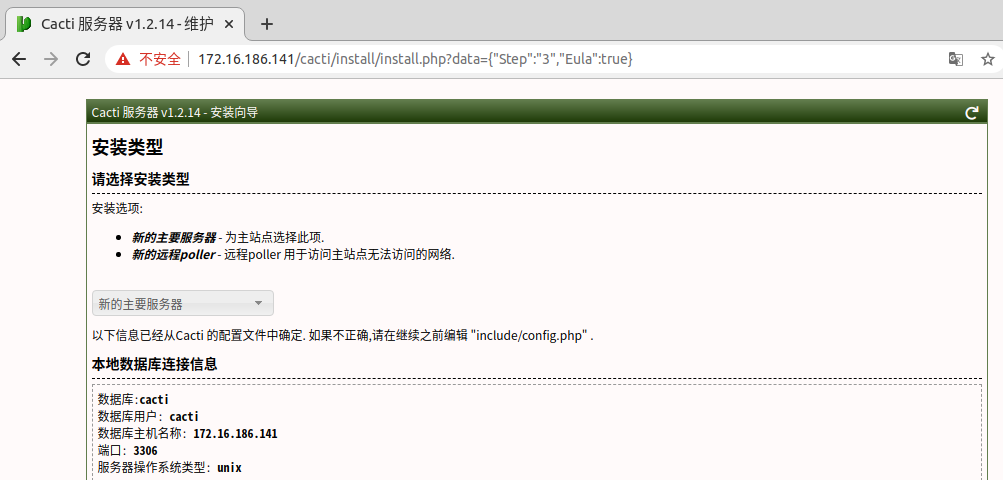
在宿主机上打开mysql的配置文件(下面配置文件中的值需要根据页面提示的数值来定义)
vim /usr/local/mysql/my.cnf #在mysqld段中添加以下内容
[mysqld]
....
....
explicit_defaults_for_timestamp=true
innodb_flush_log_at_timeout = 3
innodb_read_io_threads = 32
innodb_write_io_threads = 16
tmp_table_size = 125M
innodb_buffer_pool_size = 2048M
max_heap_table_size = 125M
join_buffer_size = 300M
innodb_buffer_pool_instances = 22
innodb_io_capacity = 5000
innodb_io_capacity_max = 10000
character-set-server=utf8mb4
collation-server=utf8mb4_unicode_ci
max_allowed_packet = 16777216
....
....
保存退出并重启容器
docker restart cacti
重启数据库
service mysql restart
填充time_zone数据库
/usr/local/mysql/bin/mysql_tzinfo_to_sql /usr/share/zoneinfo/ | mysql -uroot -p mysql

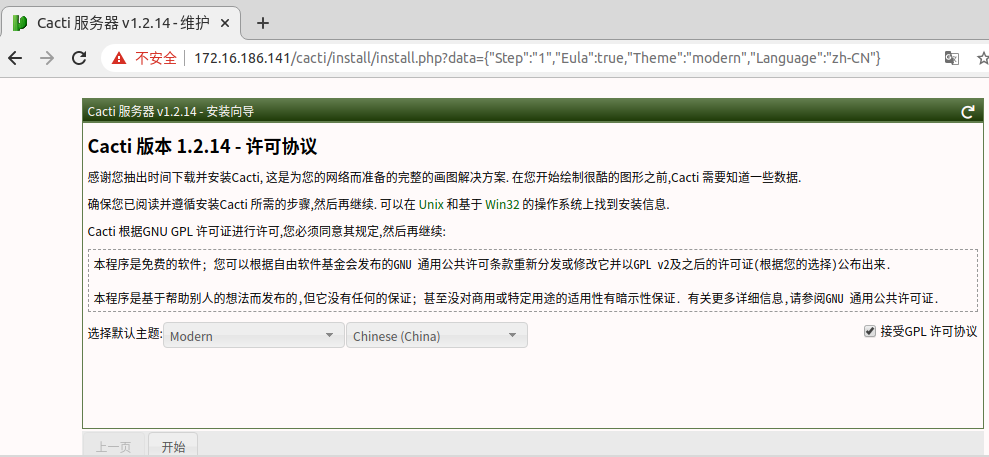
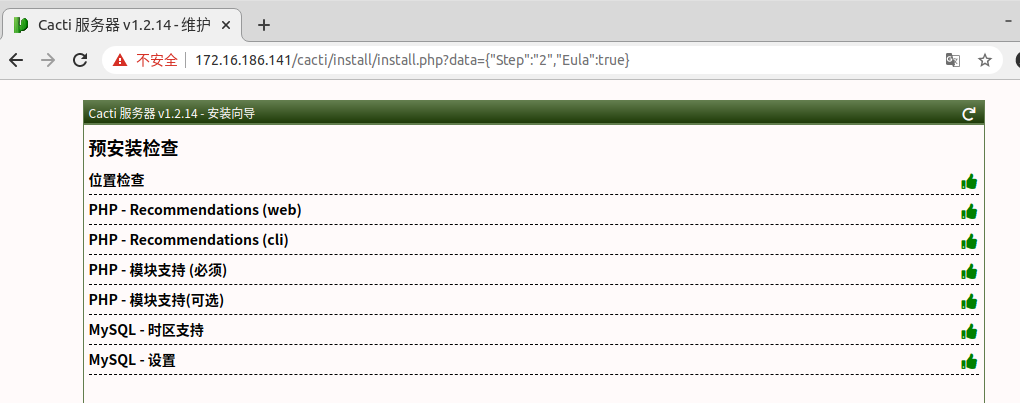
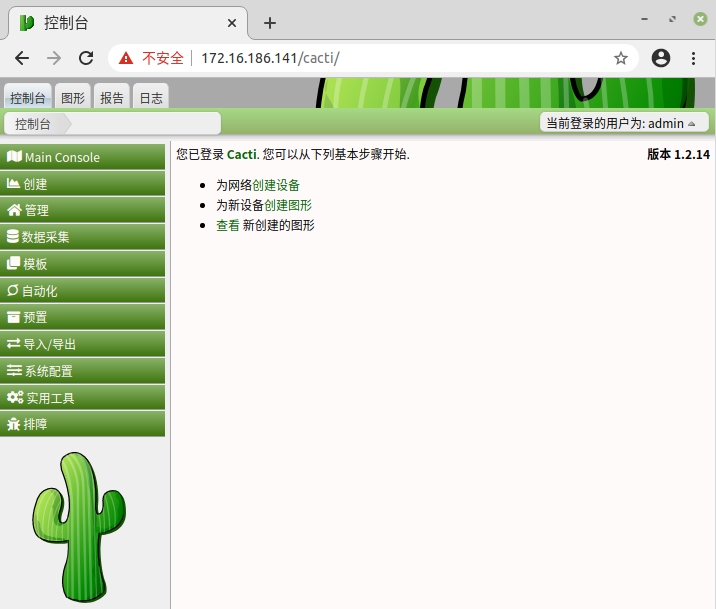
浏览器访问
https://172.16.186.141/cacti (默认帐密为admin/admin)
会显示出来“您与该网站的连接不是私密连接,存在安全隐患”的提示,点击“忽略警告,继续访问”
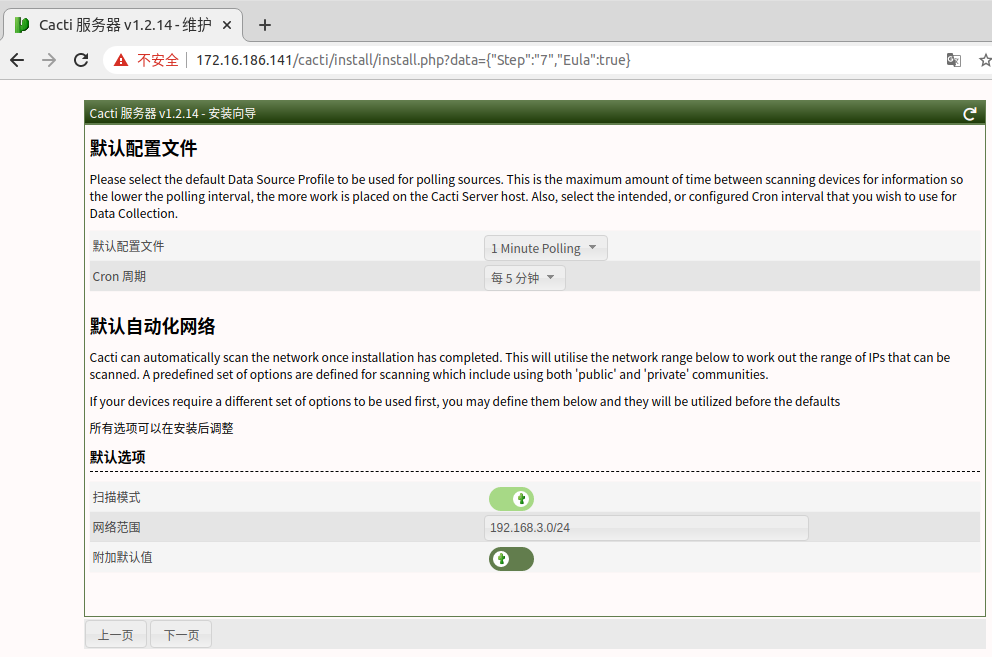
注:上图中写虚拟机的网段和掩码


导出镜像
格式:docker save images_name:tag >new_name.tar
docker save cacti:v3>docker_cactiv.tar
导入镜像
格式:docker load <new_name.tar
docker load<docker_cactiv.tar
添加设备自行查阅其他文档
欢迎加入QQ群一起学习Linux、开源等技术