参考链接:https://blog.csdn.net/LEON1741/article/details/87291839
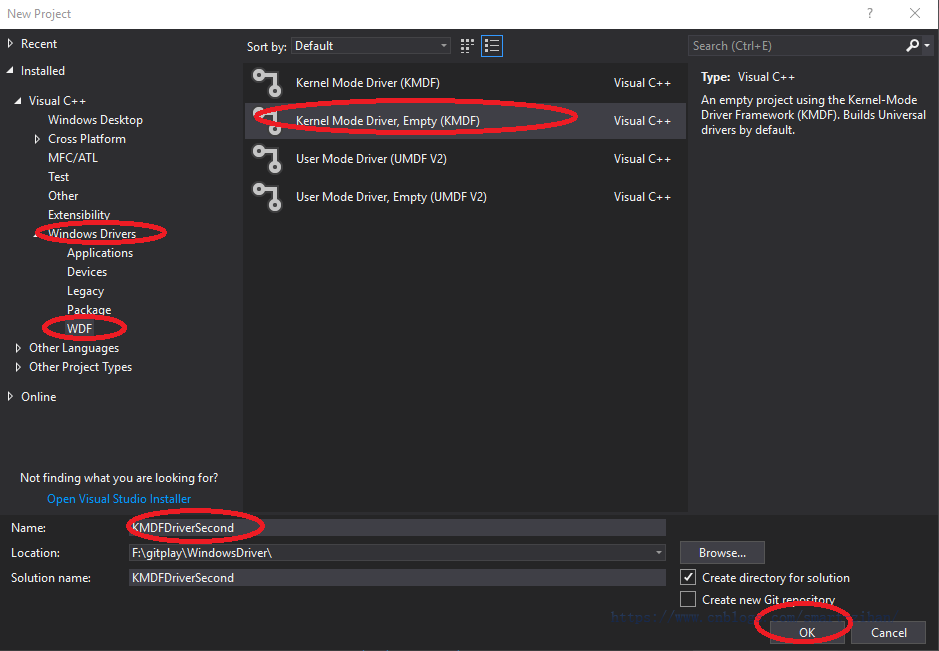
一、新建工程
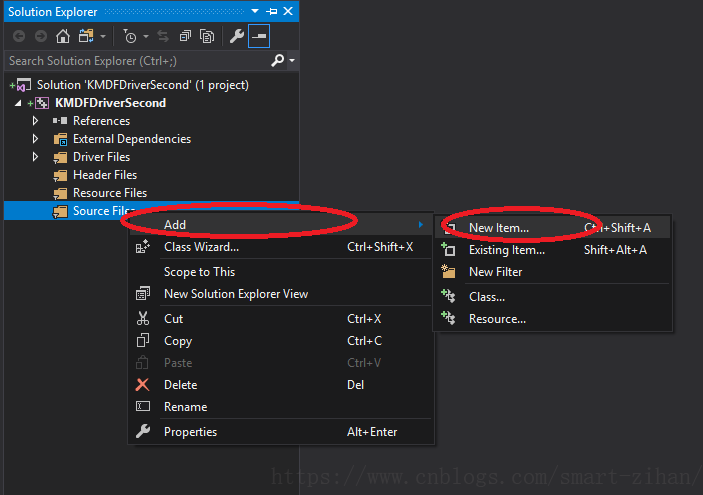
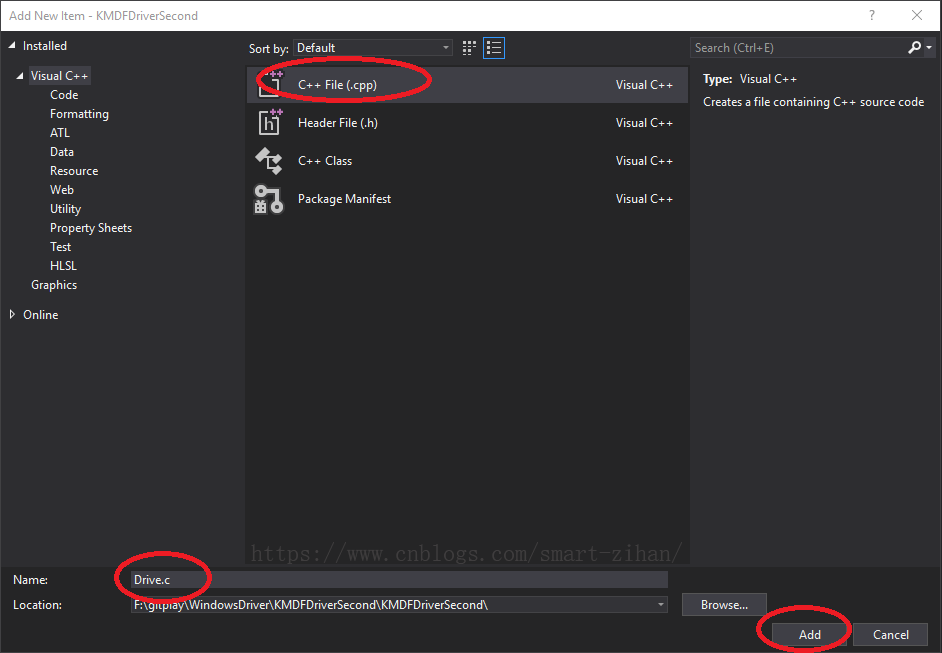
二、写一个Driver.c


#include <ntddk.h>
#include <wdf.h>

DRIVER_INITIALIZE DriverEntry;
EVT_WDF_DRIVER_DEVICE_ADD KmdfHelloWorldEvtDeviceAdd;

NTSTATUS
DriverEntry(
    _In_ PDRIVER_OBJECT     DriverObject,
    _In_ PUNICODE_STRING    RegistryPath
)
{
    // NTSTATUS variable to record success or failure
    NTSTATUS status = STATUS_SUCCESS;

    // Allocate the driver configuration object
    WDF_DRIVER_CONFIG config;

    // Print "Hello World" for DriverEntry
    KdPrintEx((DPFLTR_IHVDRIVER_ID, DPFLTR_INFO_LEVEL, "KmdfHelloWorld: DriverEntry
"));

    // Initialize the driver configuration object to register the
    // entry point for the EvtDeviceAdd callback, KmdfHelloWorldEvtDeviceAdd
    WDF_DRIVER_CONFIG_INIT(&config,
        KmdfHelloWorldEvtDeviceAdd
    );

    // Finally, create the driver object
    status = WdfDriverCreate(DriverObject,
        RegistryPath,
        WDF_NO_OBJECT_ATTRIBUTES,
        &config,
        WDF_NO_HANDLE
    );
    return status;
}

NTSTATUS
KmdfHelloWorldEvtDeviceAdd(
    _In_    WDFDRIVER       Driver,
    _Inout_ PWDFDEVICE_INIT DeviceInit
)
{
    // We're not using the driver object,
    // so we need to mark it as unreferenced
    UNREFERENCED_PARAMETER(Driver);

    NTSTATUS status;

    // Allocate the device object
    WDFDEVICE hDevice;

    // Print "Hello World"
    KdPrintEx((DPFLTR_IHVDRIVER_ID, DPFLTR_INFO_LEVEL, "KmdfHelloWorld: KmdfHelloWorldEvtDeviceAdd
"));

    // Create the device object
    status = WdfDeviceCreate(&DeviceInit,
        WDF_NO_OBJECT_ATTRIBUTES,
        &hDevice
    );
    return status;
}
三、配置项目


四、编译

编译出来的文件放在
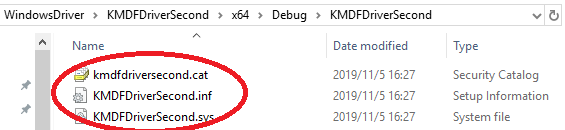
如此驱动文件就完成了。
接下来需要将它安装到虚拟机上了。之前文章中有写一个msi的文件,需要在虚拟机上安装,然后虚拟机要是测试模式,安装驱动可以通过devcon也可以自己手动安装,在设备管理器里。记住调试的时候要下断点。如果Win10上面显示不出KdPrintEx的话,可以调注册表,调试方法都在调试的那篇文章里。