我们知道,Win10引入了Universal Windows Platform,那么我们针对不同的平台该有不同的布局,此时我们就需要相对布局,就会用到RelativePanel这个控件。我们不再将控件写死,而是根据界面大小来进行控件布局。
首先我们先看一个小例子。

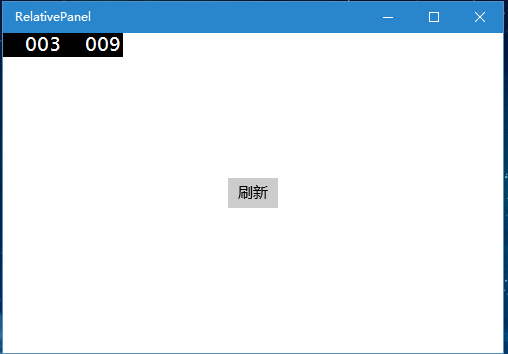
我们可以看到不论界面多大,刷新按钮始终保持在窗口的最中间。这就是相对布局。
接下来,我们看看xaml代码。
1         <RelativePanel>
2             <Button RelativePanel.AlignHorizontalCenterWithPanel="True"
3                     RelativePanel.AlignVerticalCenterWithPanel="True"
4                     Content="刷新" FontFamily="Microsoft YaHei Light" />
5         </RelativePanel>
AlignHorizontalCenterWithPanel是让元素保持在窗口水平方向的中央,AlignVerticalCenterWithPanel是让元素保持在窗口竖直方向的最中央。
当然,不仅是元素与窗口之间的相对布局,还可以是元素与元素之间的。比如如下的例子。

我们可以看到不论界面大小,正方形始终处于圆形的右上方,接下来我们看看xaml代码。
        <RelativePanel>
            <Ellipse Height="200" Width="200" Fill="LightBlue" Name="e1"
                     RelativePanel.AlignLeftWithPanel="True"
                     RelativePanel.AlignVerticalCenterWithPanel="True"/>
            <Rectangle Height="50" Width="50" Fill="Black"
                       RelativePanel.RightOf="e1"
                       RelativePanel.AlignTopWith="e1"/>
        </RelativePanel>
将Ellipse的Name设置为“e1”,将Rectangle的RightOf属性和AlignTopWith属性指向e1,我们可以知道例子中的Ellipse是相对于窗口布局的,Rectangle是相对于Ellipse元素布局的。
以上就是相对布局的简单介绍。