新建一个springboot项目,idea的做法:一般直接next就行
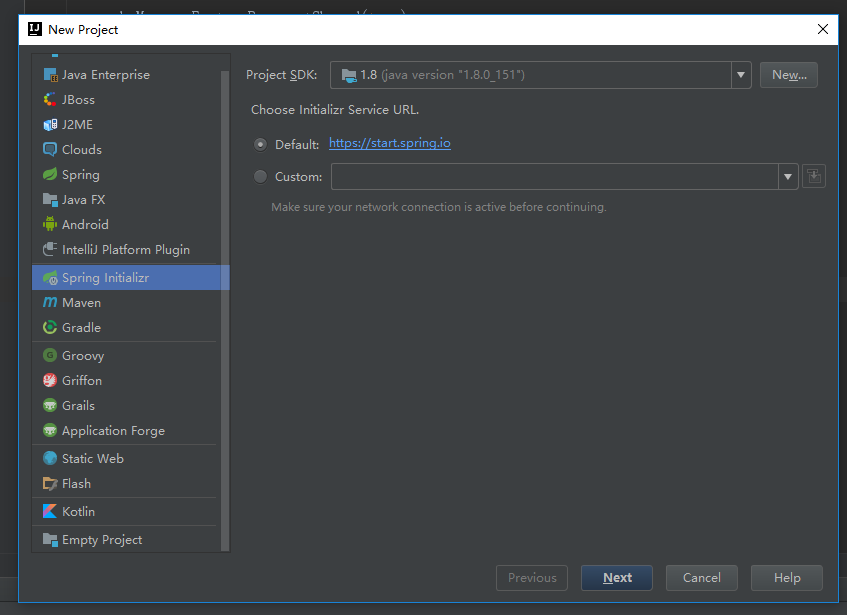
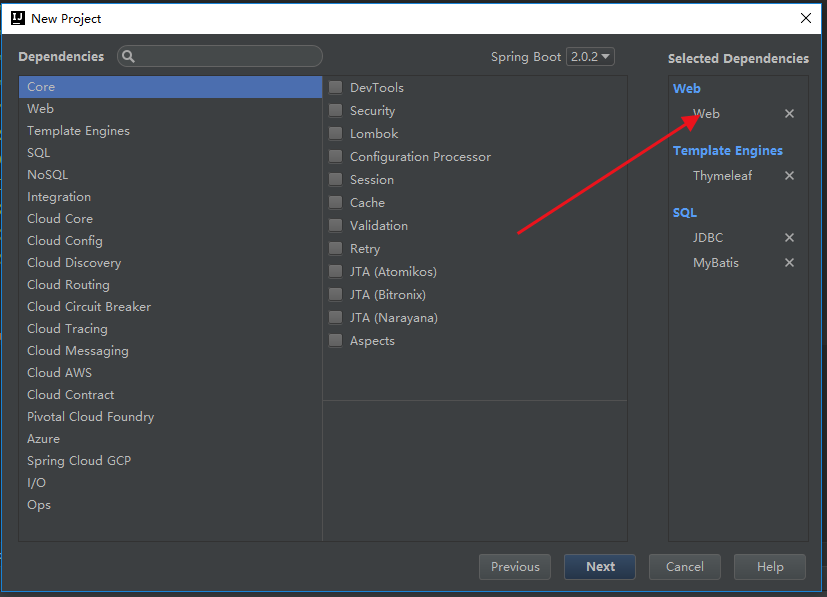
填写项目使用到的技术,上面的Spring Boot版本建议选择最新的稳定版,主要勾选上Web就可以了,如下图:
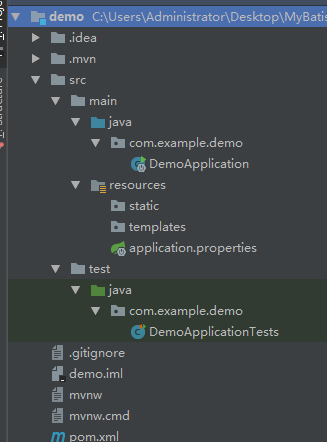
新建之后《启动程序在:默认在(`groupId` + `artifactId`)目录中》当然可以修改,如下《DemoApplication.java》
这个类有一个@SpringBootApplication注解,这是整个Spring Boot的核心注解,它的目的就是开启Spring Boot的自动配置。
它组合了@SpringBootConfiguration、@EnableAutoConfiguration以及@ComponentScan
唯一要注意的是如果我们使用了@SpringBootApplication注解的话,系统会去入口类的同级包以及下级包中去扫描实体类

添加controller,其中注意:不在入口类扫描范围的,需要在入口类添加@ComponentScan扫描包(多包逗号隔开):
@ComponentScan(basePackages = {"com.example.controller"})
@RestController
public class TestController {

    @RequestMapping(value = "/",produces = "text/plain;charset=UTF-8")
    String index(){
        return "Hello Spring Boot!";
    }
}
启动入口类,就可以访问了,默认8080端口。
1.修改Tomcat默认端口和默认访问路径
Tomcat默认端口是8080,我将之改为8081,访问路径是http://localhost:8081,
很简单,在application.properties文件中添加如下代码:
server.port=8081
server.context-path=/sky
常规属性配置
在Spring容器框架下注入properties文件里的值。我们只需要在application.properties中定义属性,然后在代码中直接使用@Value注入即可。
如下:
project.author=sky吴
project.pinyin=sky.天才与白痴
我这里专门设置了中文,因为中文不做特殊处理会乱码,处理方式为继续在application.properties中添加如下代码:
server.tomcat.uri-encoding=UTF-8
spring.http.encoding.charset=UTF-8
spring.http.encoding.enabled=true
spring.http.encoding.force=true
spring.messages.encoding=UTF-8
然后 在IntelliJ IDEA中依次点击File -> Settings -> Editor -> File Encodings
将Properties Files (*.properties)下的Default encoding for properties files设置为UTF-8,将Transparent native-to-ascii conversion前的勾选上。
然后在变量中通过@Value直接注入就行了,如下:
@RestController
public class TestController {
    @Value(value = "${project.author}")
    private String bookAuthor;
    @Value("${project.pinyin}")
    private String bookPinYin;
}
Profile配置问题
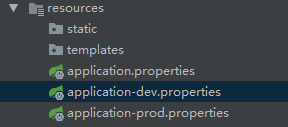
在Spring Boot 中系统提供了更为简洁的方式。全局Profile配置我们使用application-{profile}.properties来定义,然后在application.properties中通过spring.profiles.active来指定使用哪个Profile。OK,那么接下来我们来看一个简单的案例。
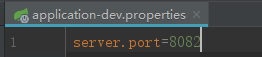
然后在application.properties中进行简单配置,如下:
spring.profiles.active=dev
这个表示使用开发环境下的配置。然后运行项目,我们得通过8082端口才可以访问
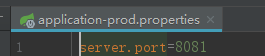
如果想换为生产环境,只需要把spring.profiles.active=dev改为spring.profiles.active=prod即可,当然访问端口这是也变为8081了,如下: