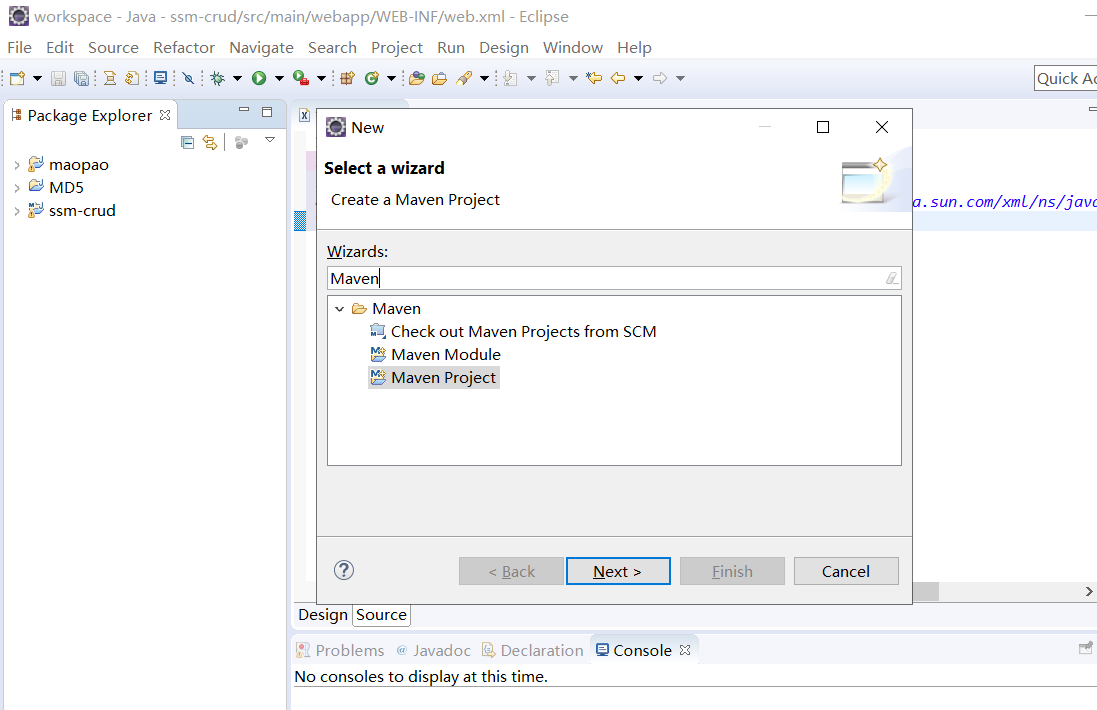
1.创建Maven项目
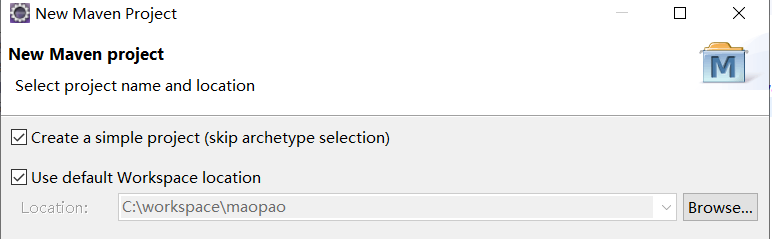
2.勾选上面的
3.打成war包的形式

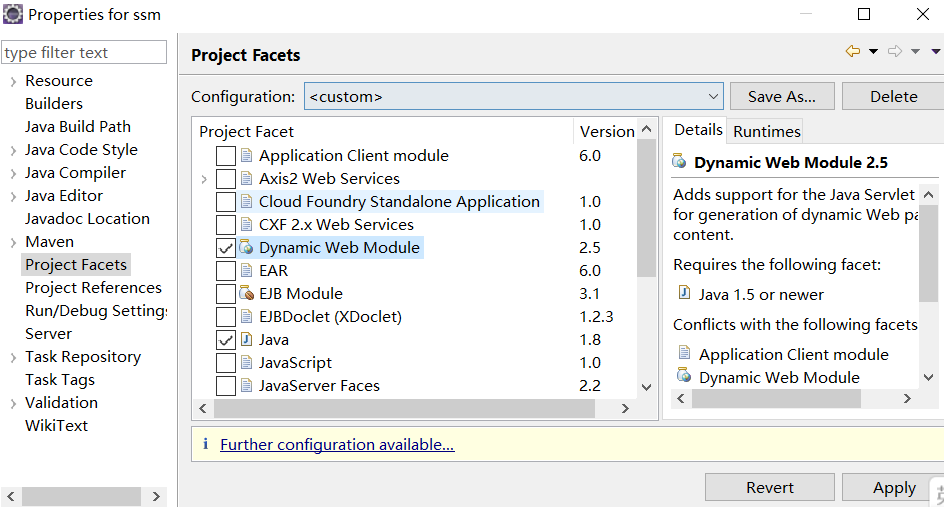
4.配置webapp.xml Project Facets——Dynamic Wed Module 2.5 ——然后点击下面的提示
5.点击 ok——Apply——ok
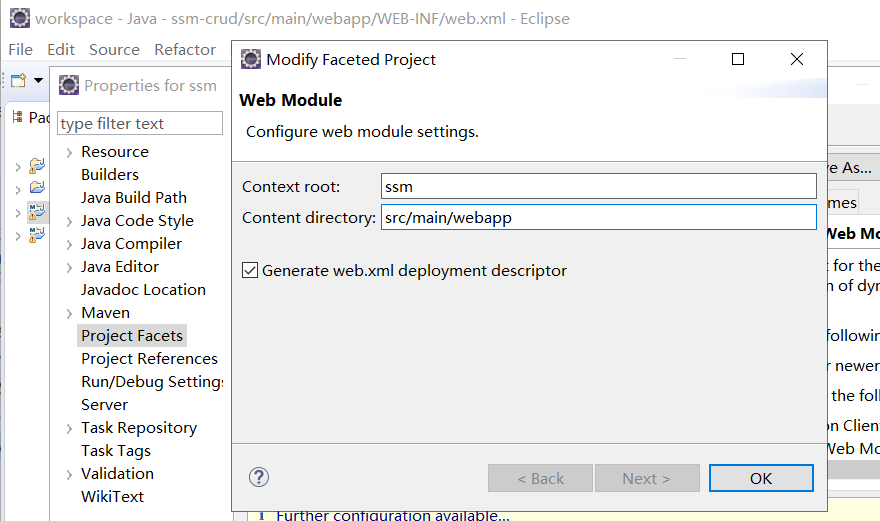
6.xml文件配好了
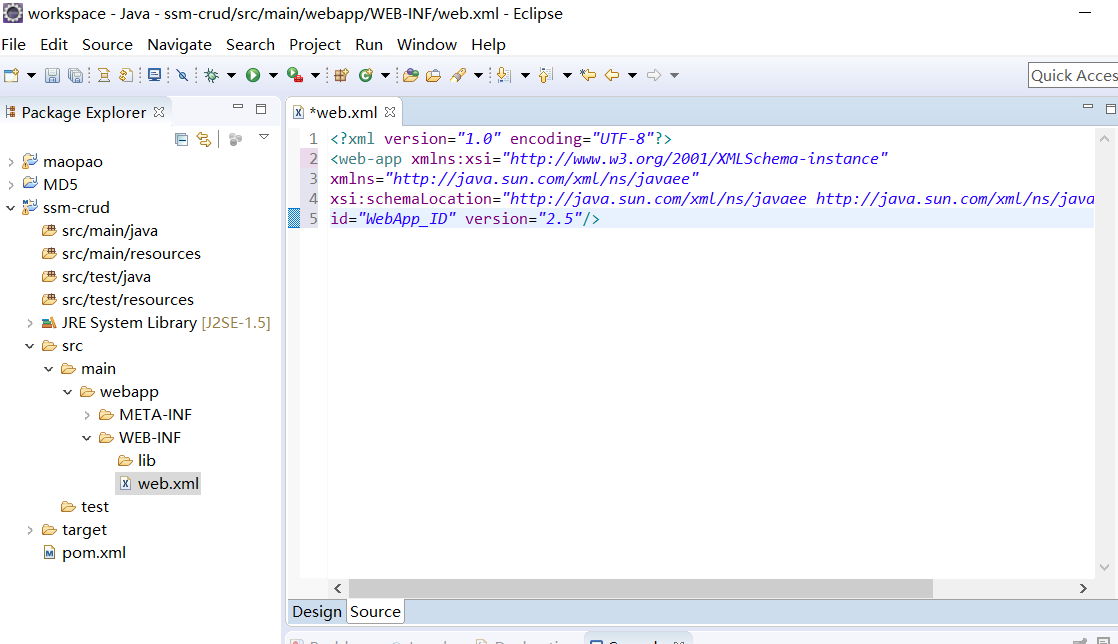
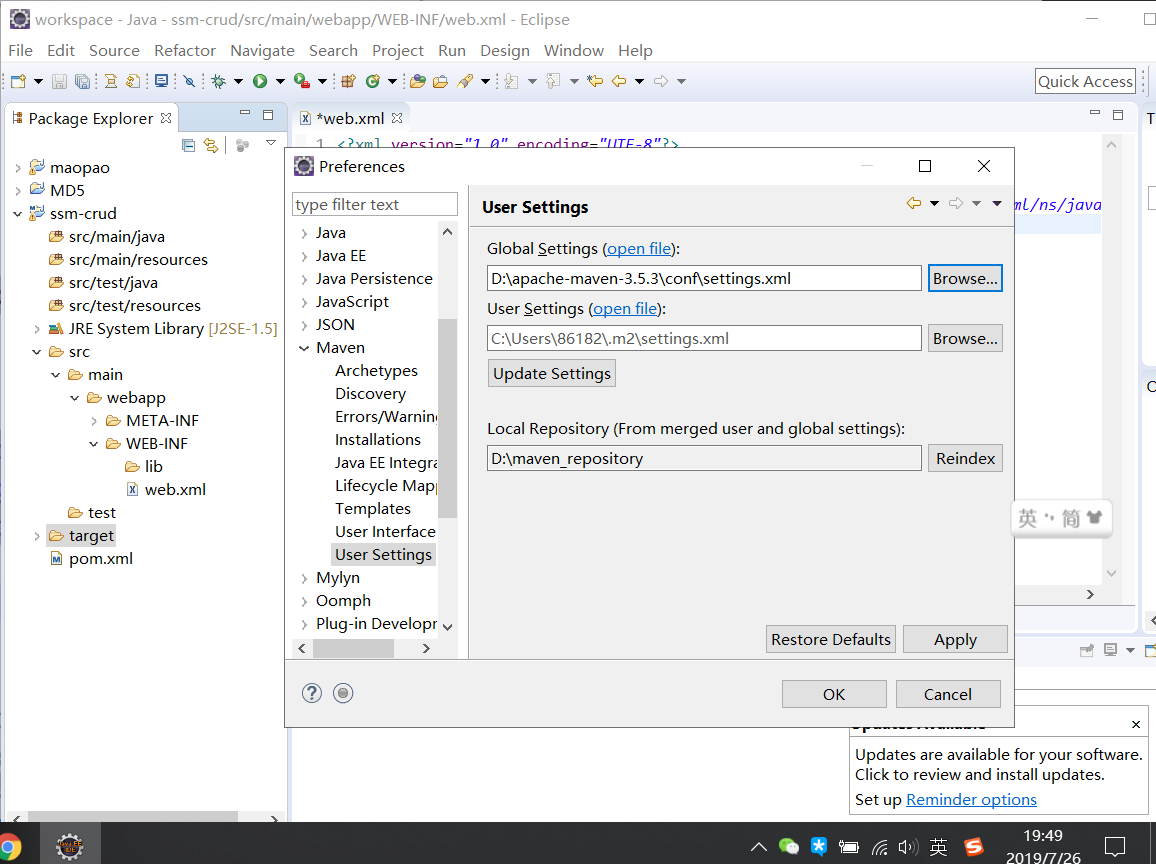
7.Maven的配置
二.引入jar包
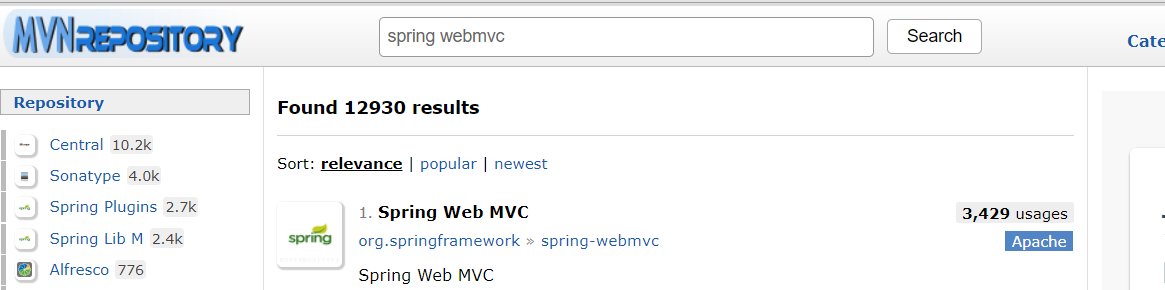
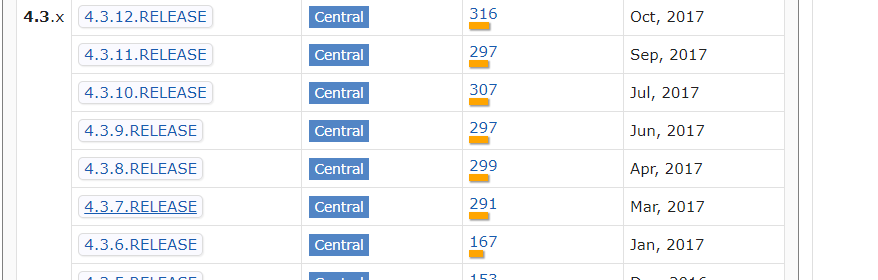
点击第一个进去。选择4.3.7
<!-- https://mvnrepository.com/artifact/org.springframework/spring-webmvc -->
<dependency>
<groupId>org.springframework</groupId>
<artifactId>spring-webmvc</artifactId>
<version>4.3.7.RELEASE</version>
</dependency>
注意这个jar包要放在 <dependencies></dependencies>里面
</dependency>
<!-- mybatis的包 -->
<!-- https://mvnrepository.com/artifact/org.mybatis/mybatis -->
<dependency>
<groupId>org.mybatis</groupId>
<artifactId>mybatis</artifactId>
<version>3.4.2</version>
</dependency>
<!-- mybatis和spring整合的适配包 -->
<!-- https://mvnrepository.com/artifact/org.mybatis/mybatis-spring -->
<dependency>
<groupId>org.mybatis</groupId>
<artifactId>mybatis-spring</artifactId>
<version>1.3.1</version>
</dependency>
<!-- 数据库连接池和驱动 -->
<!-- https://mvnrepository.com/artifact/c3p0/c3p0 -->
<dependency>
<groupId>c3p0</groupId>
<artifactId>c3p0</artifactId>
<version>0.9.1.2</version>
</dependency>
<!-- https://mvnrepository.com/artifact/mysql/mysql-connector-java -->
<dependency>
<groupId>mysql</groupId>
<artifactId>mysql-connector-java</artifactId>
<version>5.1.41</version>
</dependency>
<!-- jstl ,servlet-api,junit -->
<!-- https://mvnrepository.com/artifact/jstl/jstl -->
<dependency>
<groupId>jstl</groupId>
<artifactId>jstl</artifactId>
<version>1.2</version>
</dependency>
<dependency>
<groupId>javax.servlet</groupId>
<artifactId>servlet-api</artifactId>
<version>2.5</version>
<scope>provided</scope>
</dependency>
<!-- junit -->
<!-- https://mvnrepository.com/artifact/junit/junit -->
<dependency>
<groupId>junit</groupId>
<artifactId>junit</artifactId>
<version>4.12</version>
<scope>test</scope>
</dependency>
</dependencies>