一、写WebService
建立java project
建立数据类包 com.parameters.zz
新建Person类


package com.parameters.zz;

public class Person {
    private String name;
    private String sex;
    public String getName() {
        return name;
    }
    public void setName(String name) {
        this.name = name;
    }
    public String getSex() {
        return sex;
    }
    public void setSex(String sex) {
        this.sex = sex;
    }

}
新建服务类包 com.service.zz
新建暴露接口类 ISayHello
package com.service.zz;

import javax.jws.WebService;

import com.parameters.zz.Person;

@WebService
public class ISayHello {
    private static final String SALUTATION = "Hello,";

    public String getGreeting(Person p) {
        String word="";
        if(null!=p.getName()&&""!=p.getName().trim()){
            if(null!=p.getSex()){
                if("male".equalsIgnoreCase(p.getSex())){
                    word=SALUTATION+"Mr."+p.getName();
                }
                else
                    word=SALUTATION+"Miss."+p.getName();
            }
        }
        return word;
    }
}
新建启动该服务类 ISayHelloService
package com.service.zz;

import javax.xml.ws.Endpoint;

public class ServiceRunning {

    public static void main(String[] args) {
        System.out.println("SayHello Web Service started.......");
        Endpoint.publish("http://localhost:8098/ISayHelloService",
                new ISayHello());
    }
}
新建配置文件build.xml
<?xml version="1.0" encoding="UTF-8"?>
<project default="wsgen">
    <target name="wsgen">
        <exec executable="wsgen">
            <arg line="-cp ./bin -keep -s ./src -d ./bin
                    com.service.zz.ISayHello"/>
        </exec>
    </target>
</project>
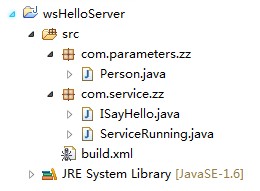
整个项目路径如题:
1.2 右键build.xml ,debug as “ant build”(alt+shift+d,q)
1.3 打开javaee视图,打开wsdl视图
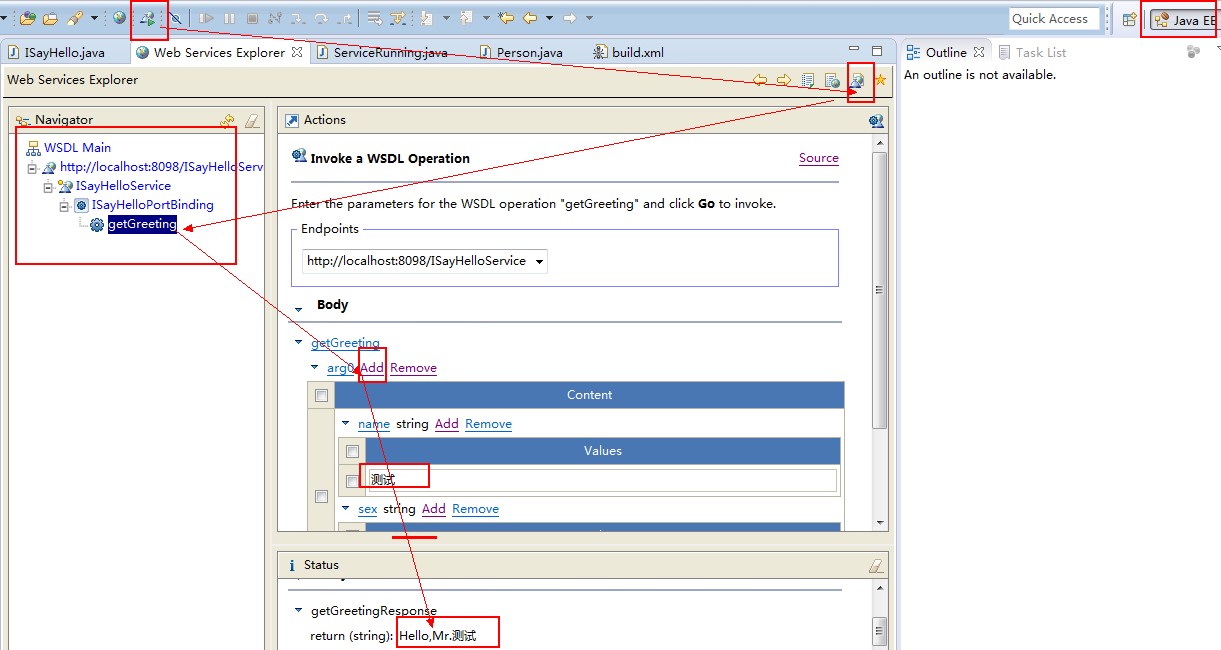
至此,Webservice发布成功,地址为 http://localhost:8098/ISayHelloService?wsdl
二、新建测试类
1.下载cxf2.2.8,并设置好环境变量

2.进入dos,用cxf生成客户端
命令: wsdl2java –d . http://localhost:8098/ISayHelloService?wsdl 注意空格和“.”

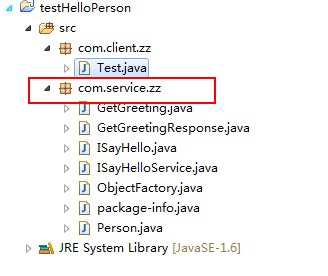
3.用Eclipse新建java project ,在src下导入wsdl生成的客户端
4.编写测试代码:
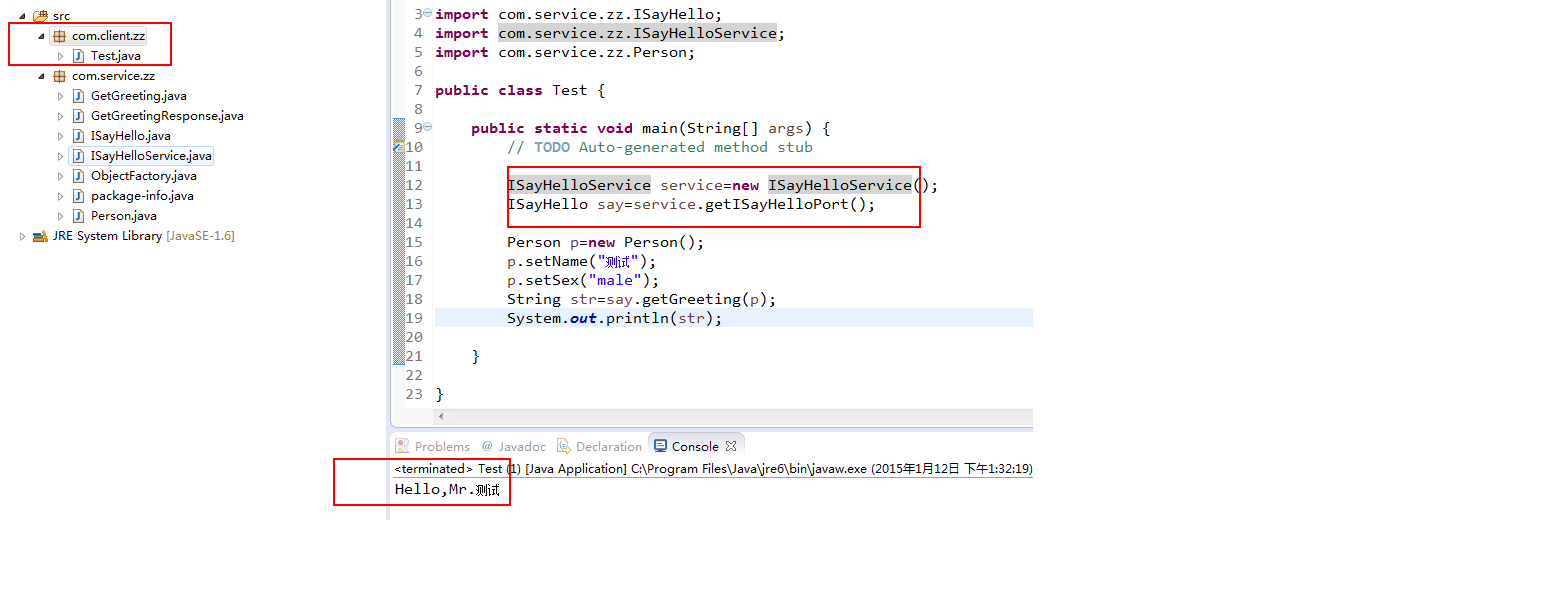
测试代码如果编译通不过,可以换用JAXBElement
如
Person p = new Person();
        JAXBElement<String> name = new JAXBElement<String>(new QName("http://service.com", "name"), String.class, "George");
        JAXBElement<String> sex = new JAXBElement<String>(new QName("http://service.com", "sex"), String.class, "male");
        p.setName(name);
        p.setSex(sex);
演示完毕,欢迎转载:lenfengzhizhe,手边星辰
http://www.cnblogs.com/lengfengzhizhe/p/4218207.html