起因是有个小程序需要镶嵌H5,而小程序的请求必须都是https,所以我们需要给域名绑定https
之前一直用letsencrypt-auto也就是certbot-auto来进行自动安装,但是今天进行安装的时候出现了一些问题,有关于之前的步骤以及Let’s Encrypt的介绍可以查看之前的https://www.cnblogs.com/shook/p/12790532.html的第二部分
一、未成功安装起因
[root@j certbot]# ./letsencrypt-auto
Skipping bootstrap because certbot-auto is deprecated on this system.
Upgrading certbot-auto 1.12.0 to 1.13.0...
Replacing certbot-auto...
Your system is not supported by certbot-auto anymore.
Certbot cannot be installed.
Please visit https://certbot.eff.org/ to check for other alternatives.

去certbot官方github上https://github.com/certbot/certbot/releases查了一下原因
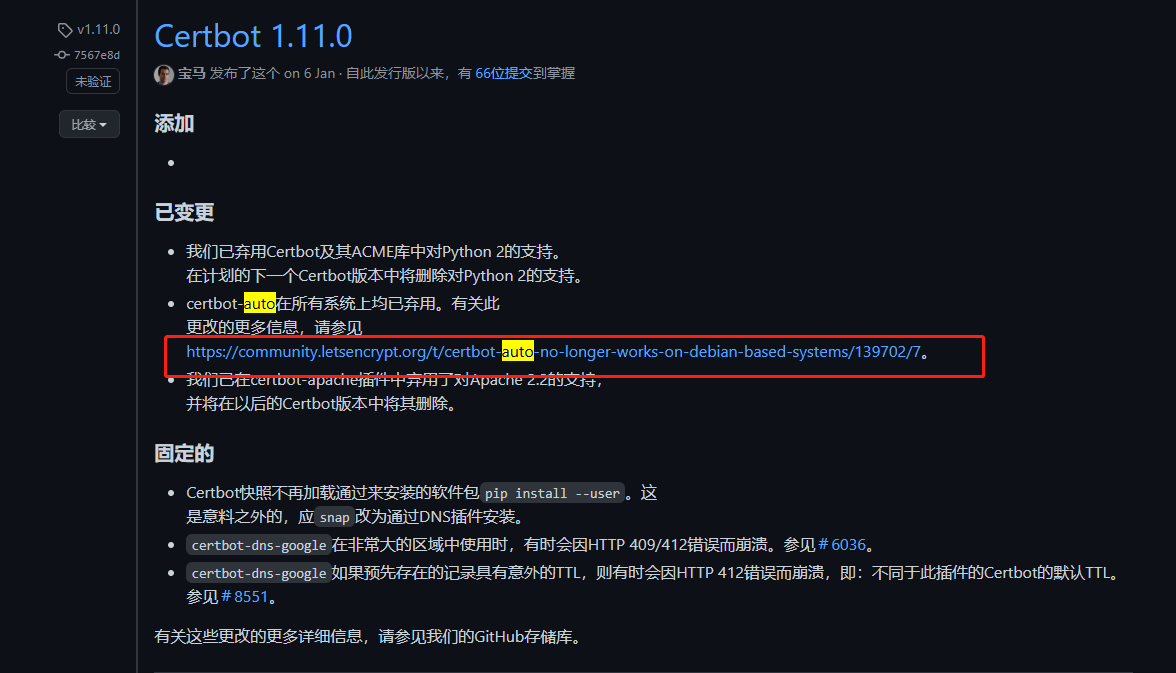
起因是官方从1.9.0版本在所有基于Debian或RHEL的系统上,certbot-auto开始弃用,原因是certbot-auto是基于python2编写的,python 2去年已经GG,certbot团队又懒得移植到python3(我胡说的),具体看下面官方解释

在Certbot 1.11.0这个版本我们看到官方给出了解释https://community.letsencrypt.org/t/certbot-auto-no-longer-works-on-debian-based-systems/139702/7
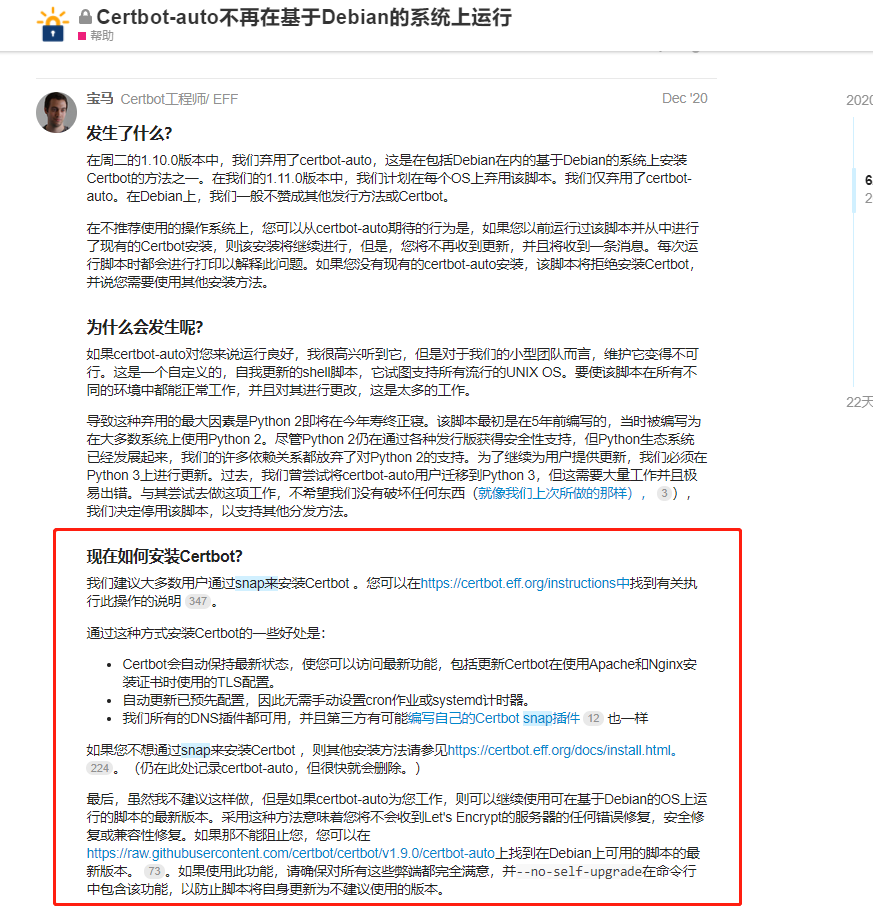
那么我们现在如何来安装Certbot
在上面官方也给出啊了解决方案,使用snap来进行安装
那么什么是snap,简单介绍一下snap
什么是snap,snap安装包是Canonical公司发布的全新的软件包管理方式,它类似一个容器拥有一个应用程序所有的文件和库,各个应用程序之间完全独立。所以使用snap包的好处就是它解决了应用程序之间的依赖问题,使应用程序之间更容易管理。但是由此带来的问题就是它占用更多的磁盘空间。
二、安装 let'sencrypt
我这里是放在centos下来进行的
先进行安装依赖等配置
[root@j certbot]# yum install epel-release                 # 安装epel
[root@j certbot]# yum install snapd                        # 安装snapd
[root@j certbot]# systemctl enable --now snapd.socket      # 启用snapd.socket
[root@j certbot]# ln -s /var/lib/snapd/snap /snap          # 创建软链接
[root@j certbot]# snap install --classic certbot           # 安装certbot
[root@j certbot]# ln -s /snap/bin/certbot /usr/bin/certbot # 创建certbot软链接
如果之前安装过Certbot出现了问题,可以进行重装
[root@j certbot]# yum remove certbot                      # 卸载certbot
[root@j certbot]# rm /usr/local/bin/certbot-auto          # 删除安装文件
[root@j certbot]# rm -rf /opt/eff.org/certbot
三、证书生成
我这里环境是nginx
使用https一定要先在nginx开启http_ssl_module模块,不然会出现nginx: [emerg] the "ssl" parameter requires ngx_http_ssl_module in /usr/local/nginx/conf/nginx.conf 有的话可以跳过
如果没有的话需要重新编译安装一下
[root@j sbin]# cd /usr/local/nginx/sbin/           # nginx现有目录
[root@j sbin]# ./nginx -V                          # nginx现有模块
nginx version: nginx/1.19.5
built by gcc 4.8.5 20150623 (Red Hat 4.8.5-44) (GCC)
built with OpenSSL 1.0.2k-fips  26 Jan 2017
TLS SNI support enabled
configure arguments: --prefix=/usr/local/nginx --with-http_stub_status_module --with-http_flv_module
可以看到configure arguments:后面的安装模块
所以我们在新的安装目录需要带上原有的
[root@j nginx-1.19.5]# cd /usr/local/src/nginx-1.19.5    # 进入新目录
[root@j nginx-1.19.5]# ./configure --prefix=/usr/local/nginx --with-http_flv_module  --with-http_ssl_module   #安装ssl模块
[root@j nginx-1.19.5]# make # make安装,这里不要像以前一样 make&make install 否则会覆盖原有目录
[root@j nginx-1.19.5]# cp /usr/local/nginx/sbin/nginx /usr/local/nginx/sbin/nginx.bak  #nginx做原有备份
[root@j nginx-1.19.5]# cp ./objs/nginx /usr/local/nginx/sbin/  # nginx如运行 先停止
[root@j nginx-1.19.5]# /usr/local/nginx/sbin/nginx -V    #查看模块是否安装成功
[root@j nginx-1.19.5]# cd /usr/local/nginx/sbin/ # 运行nginx
[root@j sbin]# cd /usr/local/nginx/sbin/
[root@j sbin]# ./nginx
执行之前我们先把nginx先停止,否则会占用80端口
接下来我们执行下方命令来进行执行,我这里*是做通配符
certbot certonly --nginx --email youremail@email.com -d x.域名.com -d *.域名.com
如果提示:
Saving debug log to /var/log/letsencrypt/letsencrypt.log
Could not choose appropriate plugin: The nginx plugin is not working; there may be problems with your existing configuration.
The error was: NoInstallationError("Could not find a usable 'nginx' binary. Ensure nginx exists, the binary is executable, and your PATH is set correctly.")

是因为没有将nginx放到环境变量中,设置nginx软连接
ln -s /usr/local/nginx/sbin/nginx /usr/bin/nginx
ln -s /usr/local/nginx/conf/ /etc/nginx
生成之后我们会在/etc/letsencrypt/live/x.域名.com目录下找到我们生成的证书

那么我们该怎么进行nginx配置
我这里简单写一个conf,需要http和https并存以及ssl调优可另外搜索查看
server
{
    listen 80;
    listen 443 ssl;
    server_name x.域名.com;
    charset utf8;

     #ssl on;
        ssl_certificate /etc/letsencrypt/live/x.域名.com/fullchain.pem;
        ssl_certificate_key /etc/letsencrypt/live/x.域名.com/privkey.pem;
        ssl_protocols TLSv1.3 TLSv1.2;

        ssl_prefer_server_ciphers on;    # Forward Secrecy
        ssl_session_cache shared:SSL:10m;
        ssl_session_timeout 30m;
    #REWRITE-END
    location / {
      proxy_pass http://127.0.0.1:9999;
    }
    #禁止访问的文件或目录
    location ~ ^/(.user.ini|.htaccess|.git|.svn|.project|LICENSE|README.md)
    {
        return 404;
    }


    access_log  /usr/local/nginx/logs/x.域名.com.log;
    error_log  /usr/local/nginx/logs/x.域名.com.log;
}
重载nginx,更新证书certbot renew
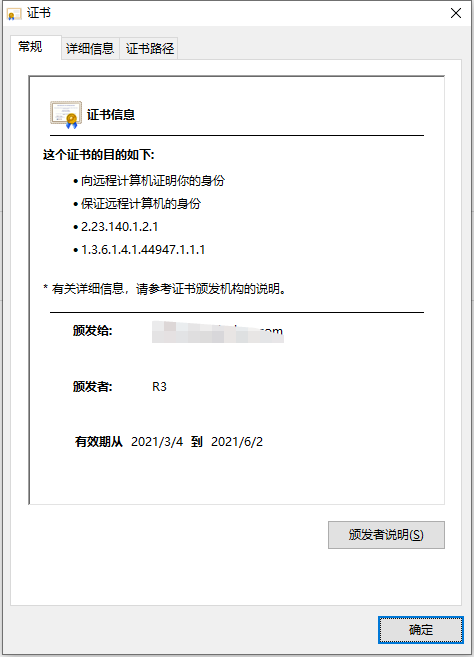
然后我们访问域名,查看下域名
四、certbot自动定时续期证书
certbot renew #手动测试,查看证书过期时间

certbot renew --force-renewal #忽略证书过期时间,直接重置证书时间

crontab -e #定时任务

0 0 1 * * /usr/bin/certbot renew --force-renewal #编辑文件

我这里由于nginx没有关闭所以80端口还在占用所以就不演示了,更新证书一定要先停止nginx