图数据库,目前比较主流的可能是Neo4j以及cayley了。但是,由于Neo4j只有社区版是免费的,所以,选择cayley作为项目的最终选择!
今天就简单的介绍下,我的起航之旅。
1.安装go语言环境
去官方地址https://golang.org/dl/,下载稳定版本https://storage.googleapis.com/golang/go1.8.1.linux-amd64.tar.gz
解压,并将其配置到环境变量。
[root@localhost tkrobot]# tar -C /usr/local -xvf go1.8.1.linux-amd64.tar.gz
配置环境变量:
vim /etc/profile
export PATH=$JAVA_HOME/bin:$MONGODB_PATH/bin:/usr/local/go/bin:$PATH
export GOPATH=/usr/local/go
2.下载cayley的binary安装程序
去官方的下载网址https://github.com/cayleygraph/cayley/releases,选择下载稳定版的最新版本,我的环境是Redhat7,64位的linux环境。下载v.0.6.1的AMD64位linux版本。
https://github.com/cayleygraph/cayley/releases/download/v0.6.1/cayley_v0.6.1_linux_amd64.tar.gz
这个地址,若下载有问题,可以去这个地址下载.
cayley这个是二进制程序,解压后直接可以使用。
3.配置cayley
解压下载的cayley文件gz包,将里面的cayley.cfg.example拷贝到/etc/下,重命名为cayley.cfg
[root@localhost cayley_v0.6.1_linux_amd64]# cp cayley.cfg.example /etc/cayley.cfg
将/etc/cayley.cfg的内容修改为如下:
{
"database": "mongo",
"db_path": "10.90.7.10:27017",
"read_only": false,
"listen_host":"0.0.0.0",
"listen_port":"64100"
}
mongo数据库的安装过程,请参照我前面的博客spring4与mongodb的集成,还是很简单的。
4.加载数据到cayley,这个过程,cayley用到了cayley.cfg这个配置文件
[root@localhost cayley_v0.6.1_linux_amd64]# ./cayley load -quads data/testdata.nq --alsologtostderr=true
I0516 12:58:06.691039   30116 cayley.go:190] Cayley v0.6.1 built 2017-04-12T11:41:20-07:00
I0516 12:58:06.691323   30116 cayley.go:197] Setting GOMAXPROCS to 24
I0516 12:58:06.691337   30116 db.go:51] Opening quad store "mongo" at 10.90.7.10:27017
I0516 12:58:06.711636   30116 db.go:67] Opening replication method "single"
此时,连接到mongo数据库,可以看到,多了一个cayley的db。里面有3个collection。
> show dbs;
admin     0.000GB
cayley    0.000GB
local     0.000GB
robotkdb  0.000GB
> use cayley
switched to db cayley
> show collections
log
nodes
quads
>
5.测试
命令行的方式操作cayley:
[root@localhost cayley_v0.6.1_linux_amd64]# ./cayley repl
creating new history file: ".cayley_history"
cayley> :a
Error: not a valid quad: incomplete N-Quad
cayley> 2+2

=> 4
-----------
1 Result
Elapsed time: 0.108118 ms

cayley> 2*9

=> 18
-----------
1 Result
Elapsed time: 0.106414 ms

cayley> graph.Vertex("<dani>").All()

****
id : <dani>
=> <nil>
-----------
2 Results
Elapsed time: 0.693895 ms

cayley>
http的方式操作cayley:
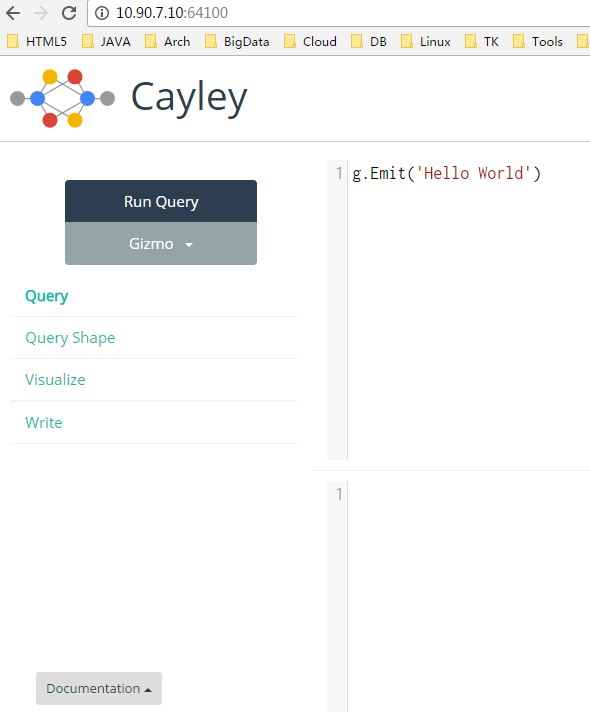
[root@localhost cayley_v0.6.1_linux_amd64]# ./cayley http
Serving Gephi GraphStream at http://localhost:64100/gephi/gs
Cayley now listening on 0.0.0.0:64100[root@localhost cayley_v0.6.1_linux_amd64]# ./cayley http
Serving Gephi GraphStream at http://localhost:64100/gephi/gs
Cayley now listening on 0.0.0.0:64100
这个时候,会出现html的操作界面。我这里有截图,以示安装效果!
下面这个图,是写四元组的示例:

到此,cayley基于mongo的环境就算完成。至于cayley的具体如何使用,比如增删改查之类的,下一个博文进行介绍!
周末愉快!