一、安装
1、安装
在项目目录下执行
npm i element-ui -S
2、引入
在 main.js 中写入以下内容:
import ElementUI from 'element-ui';
import 'element-ui/lib/theme-chalk/index.css'; #样式文件单独引入

Vue.use(ElementUI); #全局注册


#ERROR in ./node_modules/element-ui/lib/theme-chalk/fonts/element-icons.ttf

此时需要在配置文件webpack.config.js中将缺少的文件后缀名补全
 test: /.(png|jpg|gif|svg|eot|ttf|woff|woff2)$/,
        loader: 'file-loader',
        options: {
          name: '[name].[ext]?[hash]'
二、使用
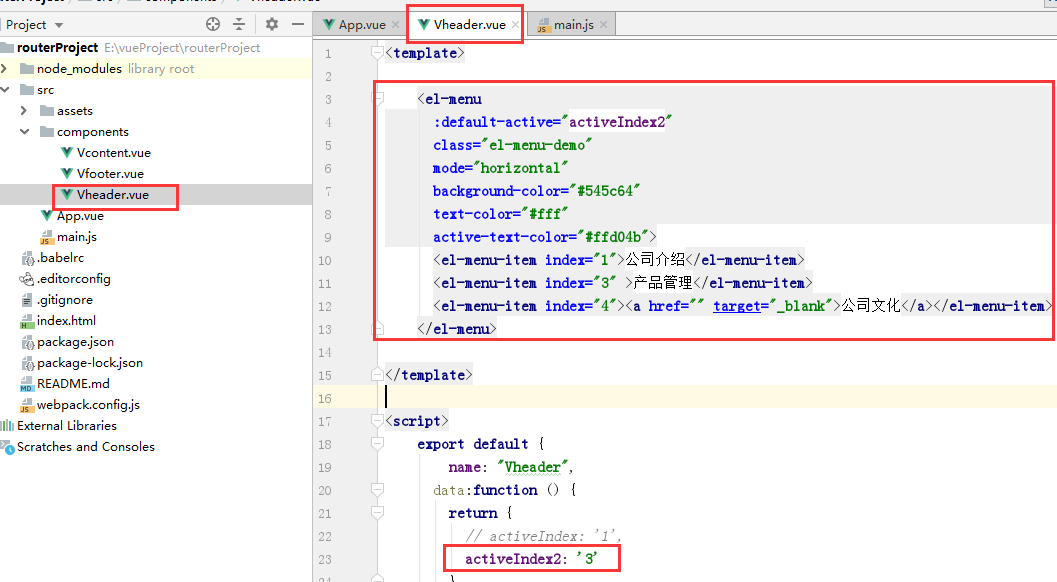
现在假设引入一个导航栏,在Vheader组件中引入导航栏代码
<template>

    <el-menu
      :default-active="activeIndex2"
      class="el-menu-demo"
      mode="horizontal"
      background-color="#545c64"
      text-color="#fff"
      active-text-color="#ffd04b">
      <el-menu-item index="1">公司介绍</el-menu-item>
      <el-menu-item index="3" >产品管理</el-menu-item>
      <el-menu-item index="4"><a href="" target="_blank">公司文化</a></el-menu-item>
    </el-menu>

</template>

<script>
    export default {
        name: "Vheader",
      data:function () {
        return {
          // activeIndex: '1',
          activeIndex2: '3' //标题下变颜色
        }
      },

      methods:{
          //在当前组件内调用

        }
      ,

      computed:{
        //在在当前组件内调用
      }

    }
</script>

<style scoped>
  /*设置scoped,只对当前组件样式起作用*/

</style>
此时页面就可以显示引入的导航了: