同样是最基本的调用方法小例,希望能带来参考,感谢!
创建静态库
编辑头文件
myLib.h:
#pragma once

#include "stdafx.h"


int add(int a,int b);

class MyClass {
public :
	MyClass() {}
	~MyClass (){}

	int val;

	int Getval(int a);

};
stdafx.h:
// stdafx.h : 标准系统包含文件的包含文件,
// 或是经常使用但不常更改的
// 特定于项目的包含文件
//

#pragma once

#include "targetver.h"

#define WIN32_LEAN_AND_MEAN             // 从 Windows 头中排除极少使用的资料

// TODO: 在此处引用程序需要的其他头文件
targetver.h:
#pragma once

// 包括 SDKDDKVer.h 将定义可用的最高版本的 Windows 平台。

// 如果要为以前的 Windows 平台生成应用程序,请包括 WinSDKVer.h,并将
// 将 _WIN32_WINNT 宏设置为要支持的平台,然后再包括 SDKDDKVer.h。

#include <SDKDDKVer.h>
编辑实现方法
myLib.cpp:
#include "stdafx.h"
#include "myLib.h"
int add(int a, int b)
{
	return a + b;
}

int MyClass::Getval(int a)
{
	return a * a;
}
stdafx.cpp:
// stdafx.cpp : 只包括标准包含文件的源文件
// mylib_1.pch 将作为预编译标头
// stdafx.obj 将包含预编译类型信息

#include "stdafx.h"

// TODO: 在 STDAFX.H 中引用任何所需的附加头文件,
//而不是在此文件中引用
检查配置
配置选项选【静态库.lib】,点击生成即可生成对应lib静态库。
创建EXE
编辑头文件
myLib.h:
#pragma once

#include "stdafx.h"


int add(int a,int b);

class MyClass {
public :
	MyClass() {}
	~MyClass (){}

	int val;

	int Getval(int a);

};
stdafx.h:
// stdafx.h : 标准系统包含文件的包含文件,
// 或是经常使用但不常更改的
// 特定于项目的包含文件
//

#pragma once

#include "targetver.h"

#include <stdio.h>
#include <tchar.h>

// TODO: 在此处引用程序需要的其他头文件
targerver.h:
#pragma once

// 包括 SDKDDKVer.h 将定义可用的最高版本的 Windows 平台。

// 如果要为以前的 Windows 平台生成应用程序,请包括 WinSDKVer.h,并将
// 将 _WIN32_WINNT 宏设置为要支持的平台,然后再包括 SDKDDKVer.h。

#include <SDKDDKVer.h>
编辑实现方法
mytest11.cpp:
// mytest11.cpp: 定义控制台应用程序的入口点。
//

#include "stdafx.h"
#include "windows.h"
#include "myLib.h"
#include "iostream"
int main()
{
	MyClass myc ;


	std::cout << add(5,6) << std::endl;
	std::cout << myc.val << std::endl;

	std::cout << myc.Getval(8) << std::endl;
	system("pause");
    return 0;
}
stdafx.cpp:
// stdafx.cpp : 只包括标准包含文件的源文件
// mytest11.pch 将作为预编译标头
// stdafx.obj 将包含预编译类型信息

#include "stdafx.h"

// TODO: 在 STDAFX.H 中引用任何所需的附加头文件,
//而不是在此文件中引用
检查配置
注意静态库lib放入开发环境目录中,配置选择【应用程序.exe】即可生成。
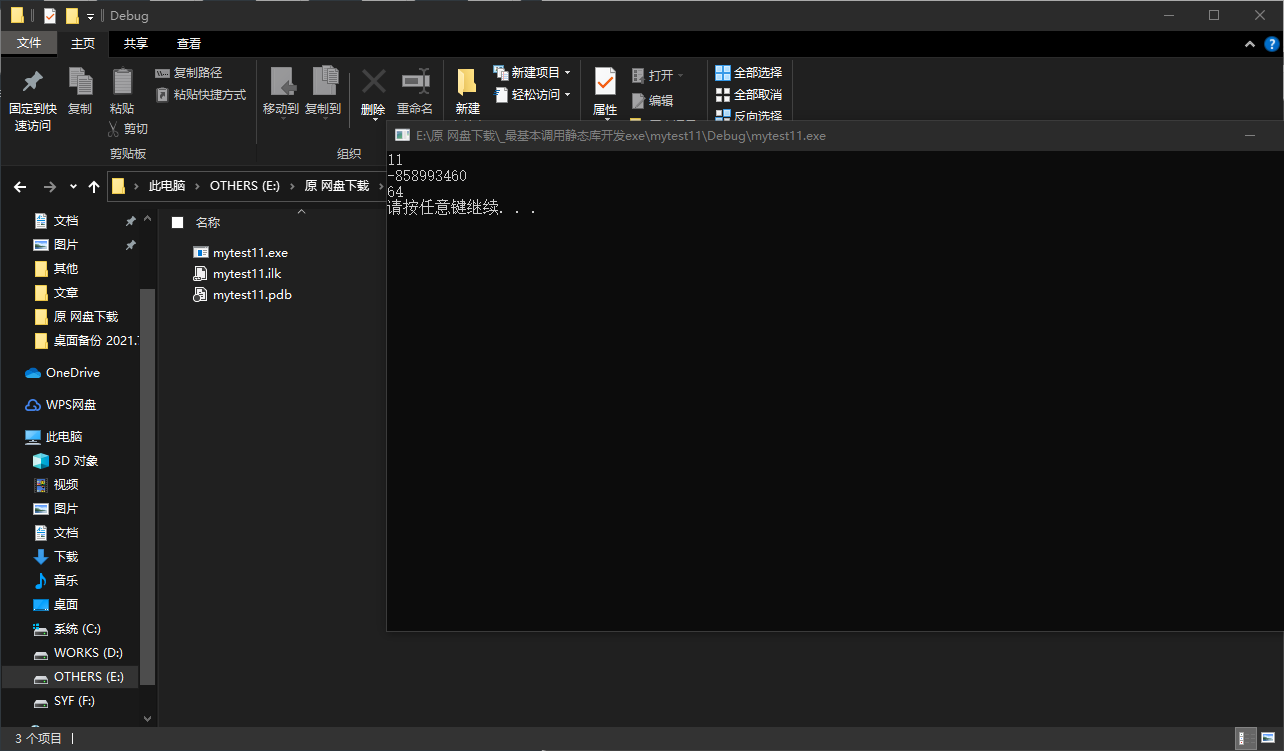
结果
正常情况下双击运行exe可的以下结果: