1、建立简单restfule服务
参考:java 利用JAX-RS快速开发RESTful 服务实例
简单代码:
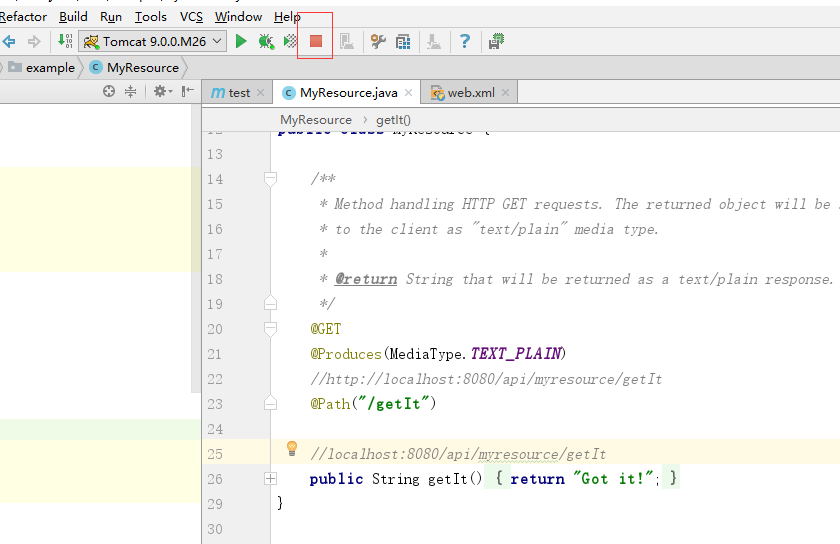
package com.example;

import javax.ws.rs.GET;
import javax.ws.rs.Path;
import javax.ws.rs.Produces;
import javax.ws.rs.core.MediaType;

/**
 * Root resource (exposed at "myresource" path)
 */
@Path("myresource")
public class MyResource {

    /**
     * Method handling HTTP GET requests. The returned object will be sent
     * to the client as "text/plain" media type.
     *
     * @return String that will be returned as a text/plain response.
     */
    @GET
    @Produces(MediaType.TEXT_PLAIN)
    //http://localhost:8080/api/myresource/getIt
    @Path("/getIt")

    //localhost:8080/api/myresource/getIt
    public String getIt() {
        return "Got it!";
    }
}
web.xml文件
<?xml version="1.0" encoding="UTF-8"?>
<web-app xmlns="http://xmlns.jcp.org/xml/ns/javaee"
         xmlns:xsi="http://www.w3.org/2001/XMLSchema-instance"
         xsi:schemaLocation="http://xmlns.jcp.org/xml/ns/javaee http://xmlns.jcp.org/xml/ns/javaee/web-app_3_1.xsd"
         version="3.1">
    <servlet>
        <servlet-name>test</servlet-name>
        <servlet-class>org.glassfish.jersey.servlet.ServletContainer</servlet-class>

        <init-param>
            <param-name>jersey.config.server.provider.packages</param-name>
            <param-value>com.example</param-value>
        </init-param>
        <load-on-startup>1</load-on-startup>
    </servlet>

    <servlet-mapping>
        <servlet-name>test</servlet-name>
        <url-pattern>/api/*</url-pattern>
    </servlet-mapping>
</web-app>
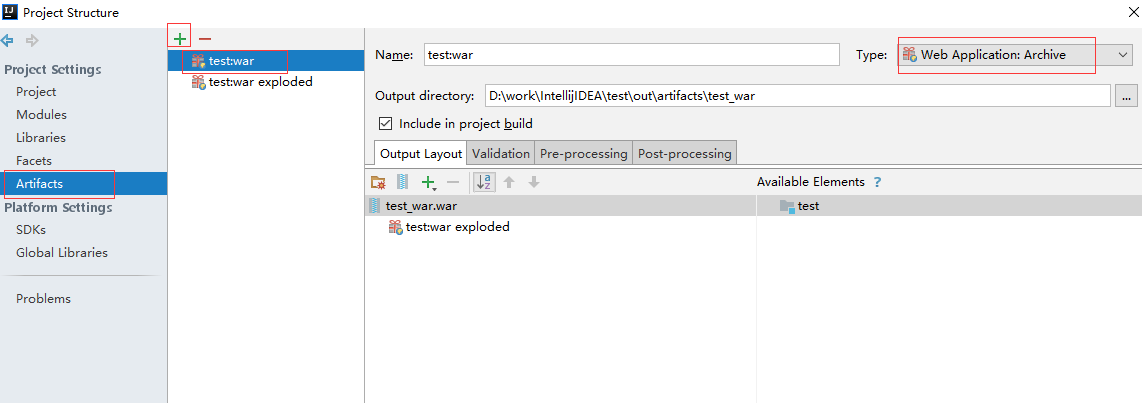
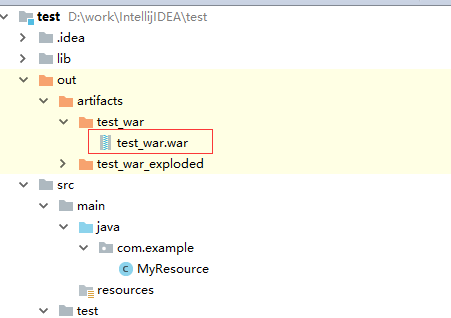
生成war包:
运行测试成功
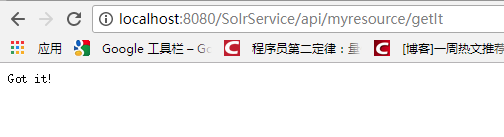
浏览器测试:

2、部署服务
有四种方式:
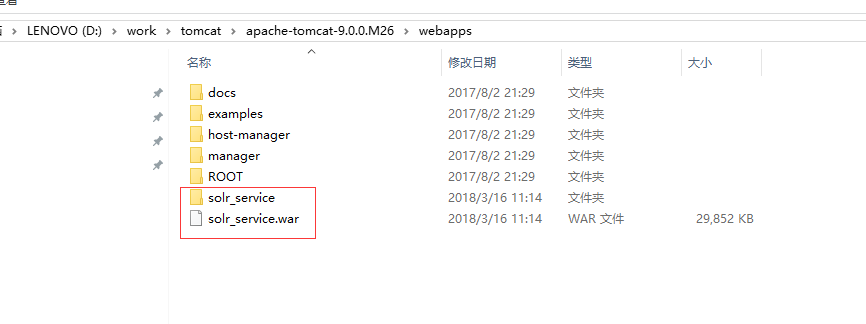
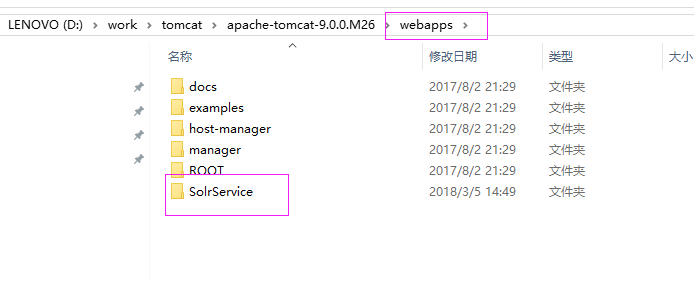
方式1 、最简单,常见的部署方法,直接将war包放到tomcat的wabapp目录下
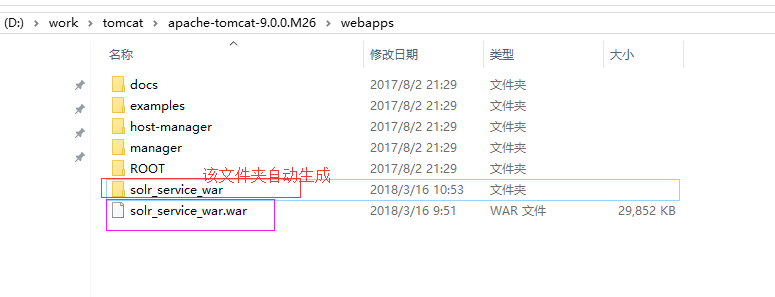
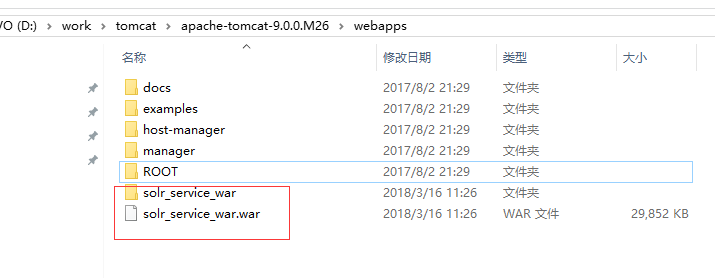
将war包直接放在webapps下,然后启动tomcat ,在webapps下就生成一个和war包同名的文件夹solr_service_war,实际上就是war包解压的文件
启动tomcat
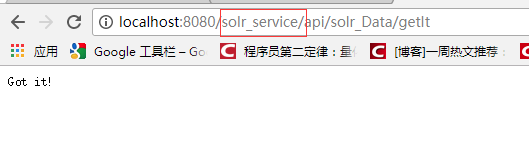
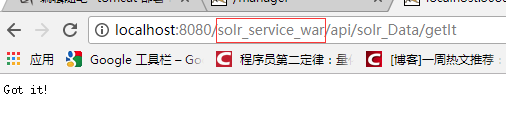
在浏览器测试成功,主要url上要注意加上solr_service_war

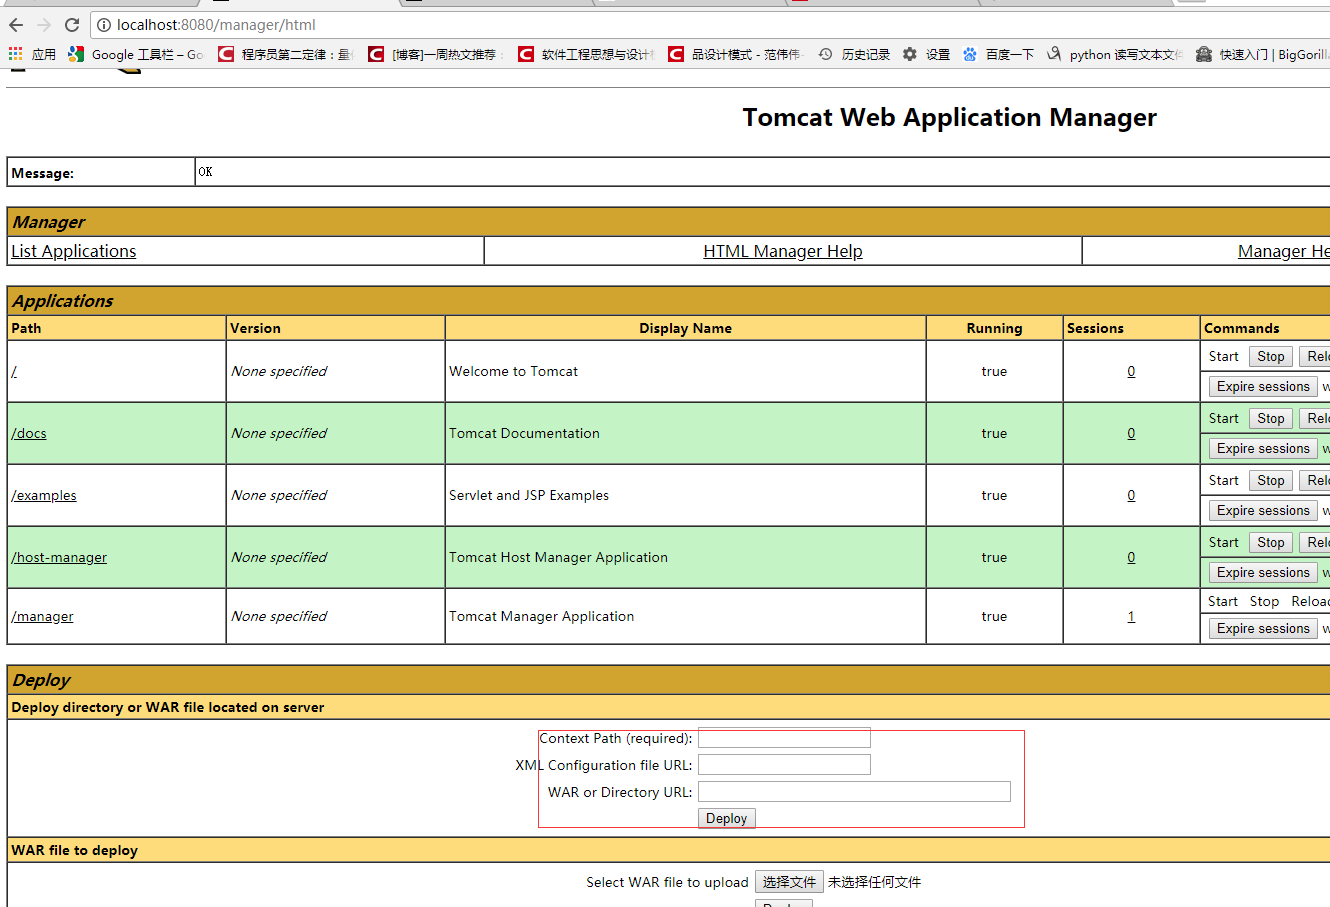
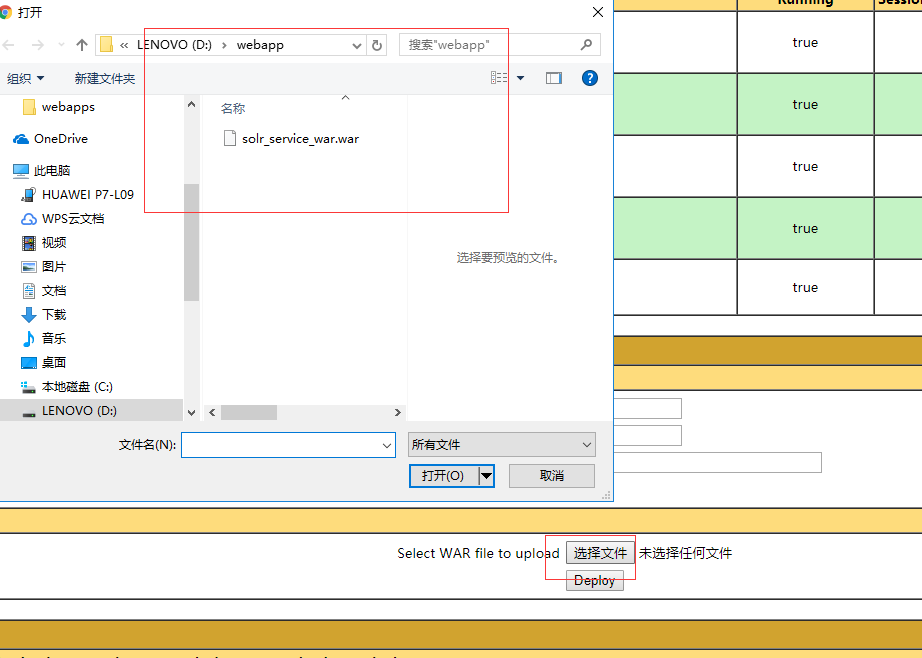
方式2、利用控制台部署
启动tomcat,浏览器输入:http://localhost:8080/manager/html
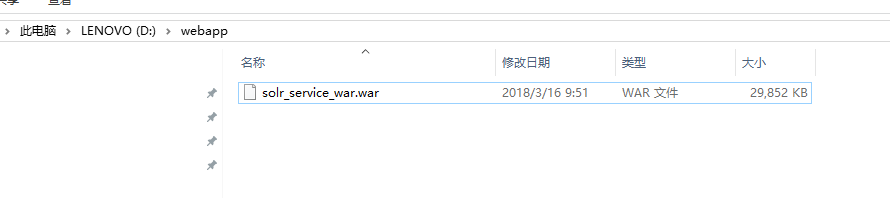
假如要部署的war包存放在D:webapp路径下
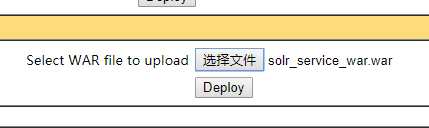
通过界面输入以下信息
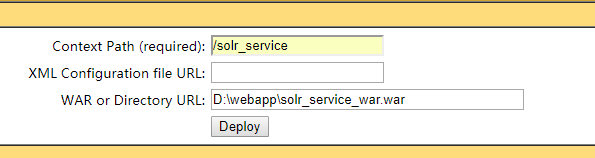
点击"Deploy" 完成部署

同时在tomcat的webapps文件夹下名称有下面两个生成
启动浏览器测试:
也可以直接生成
方式3 、将项目打包到本地随便一个目录位置,然后用tomcat部署该项目
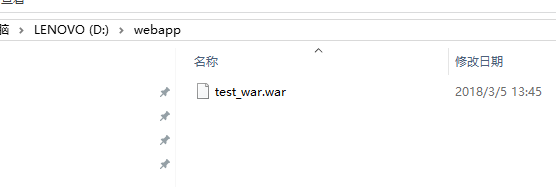
导出项目的war包到本地随便一个文件夹下:我这里新建了一个D:webapp的文件夹,并将war包放到这里。
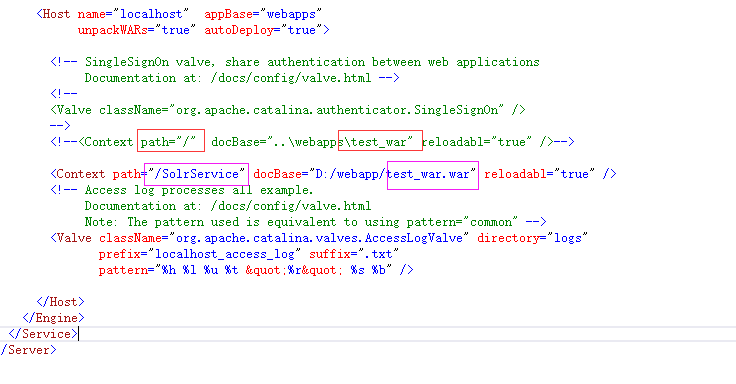
同样修改 tomcat下的conf下的server.xml配置文件
和上面不同的是path必须有指定路径,docBase后面是文件,而上面的是文件夹,否则就报错
<Context path="/SolrService" docBase="D:/webapp/test_war.war" reloadabl="true" />
启动tomcat,就会在webapps文件夹下面生成SolrService文件夹,里面的内容就解压D:webapp est_war.war里面的包得到文件
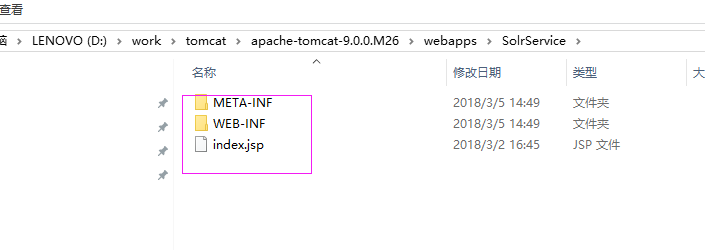
在浏览器测试