1、准备
首先安装solr:参照搜索引擎Solr-6.6.0搭建,如果版本高于6,可能会不支持,需要改mmseg4j包
mmseg4j包下载: mmseg4j-solr-2.3.0-with-mmseg4j-core.zip 或 https://pan.baidu.com/s/1dD7qMFf#list/path=%2F
开源地址:https://github.com/chenlb/mmseg4j-solr
解压下载的压缩包mmseg4j-solr-2.3.0-with-mmseg4j-core.zip,得到mmseg4j-core-1.10.0.jar和mmseg4j-solr-2.3.0.jar把这两个文件拷贝到tomcat的webappssolrWEB-INFlib路径下

2、建立core
建立mycore,具体参见搜索引擎Solr-6.6.0搭建的“四、Solr6.6.0环境搭建”部分。
3、修改配置文件
修改mycore/conf的配置文件managed-schema,增加以下内容:
<!-- mmseg4j fieldType-->
    <fieldType name="text_mmseg4j_complex" class="solr.TextField" positionIncrementGap="100" >
        <analyzer>
            <tokenizer class="com.chenlb.mmseg4j.solr.MMSegTokenizerFactory" mode="complex" />
        </analyzer>
    </fieldType>
    <fieldType name="text_mmseg4j_maxword" class="solr.TextField" positionIncrementGap="100" >
        <analyzer>
            <tokenizer class="com.chenlb.mmseg4j.solr.MMSegTokenizerFactory" mode="max-word" />
        </analyzer>
    </fieldType>
    <fieldType name="text_mmseg4j_simple" class="solr.TextField" positionIncrementGap="100" >
        <analyzer>
          <tokenizer class="com.chenlb.mmseg4j.solr.MMSegTokenizerFactory" mode="simple" />
        </analyzer>
    </fieldType>
启动重新启动tomcat,在浏览器中输入http://localhost:8080/solr/index.html,
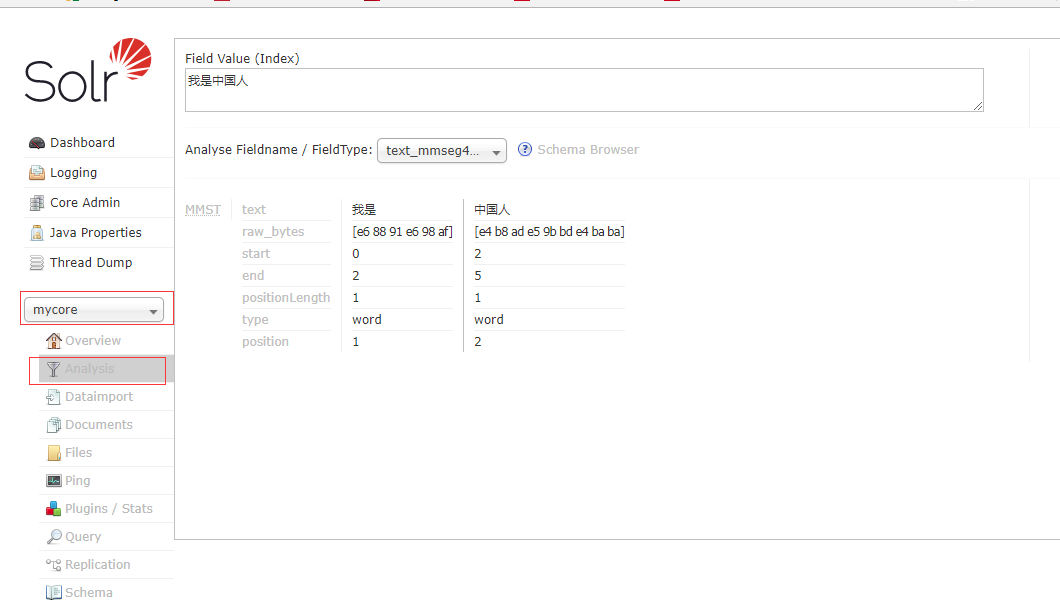
在管理界面选择分析,输入“我是中国人” 类型选择上面的三种的一种进行分析如下:
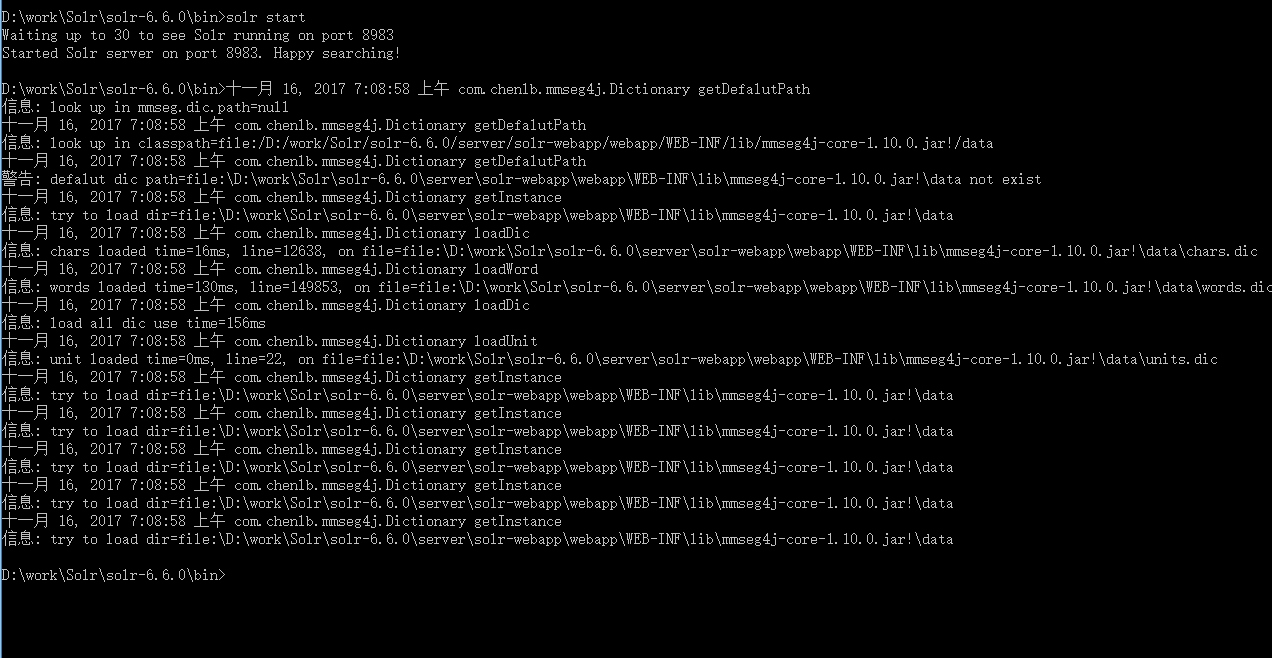
4、直接启动solr自带的Jetty,不用tomcat
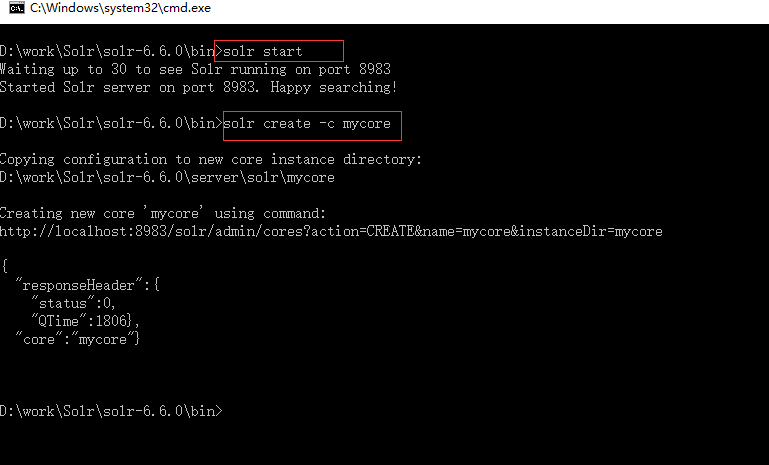
进入solr6.6的bin目录,启动solr,通过命令建立core
solr create -c mycore
这样在solr-6.6.0serversolr目录下生成mycore

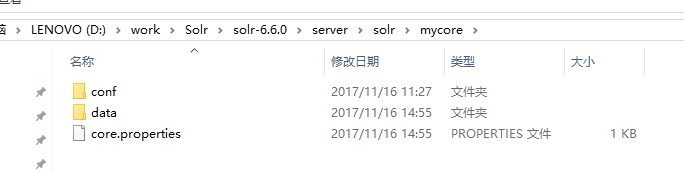
修改mycoreconf文件夹下的配置文件managed-schema,在最后新增一项内容
<!-- mmseg4j fieldType-->
    <fieldType name="text_mmseg4j_complex" class="solr.TextField" positionIncrementGap="100" >
        <analyzer>
            <tokenizer class="com.chenlb.mmseg4j.solr.MMSegTokenizerFactory" mode="complex" />
        </analyzer>
    </fieldType>
    <fieldType name="text_mmseg4j_maxword" class="solr.TextField" positionIncrementGap="100" >
        <analyzer>
            <tokenizer class="com.chenlb.mmseg4j.solr.MMSegTokenizerFactory" mode="max-word" />
        </analyzer>
    </fieldType>
    <fieldType name="text_mmseg4j_simple" class="solr.TextField" positionIncrementGap="100" >
        <analyzer>
          <tokenizer class="com.chenlb.mmseg4j.solr.MMSegTokenizerFactory" mode="simple" />
        </analyzer>
    </fieldType>
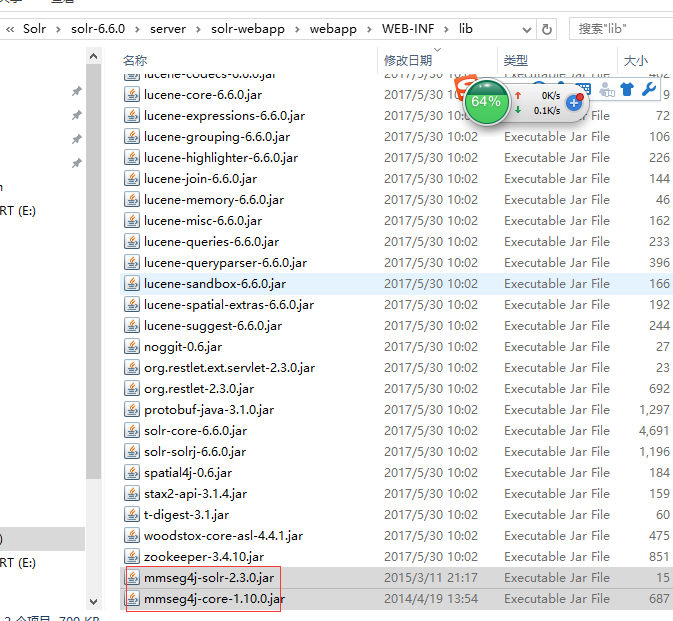
把mmseg4j-core-1.10.0.jar和mmseg4j-solr-2.3.0.jar拷贝到solr-6.6.0serversolr-webappwebappWEB-INFlib文件夹下
执行命令solr stop -all
重新启动solr
重新打开浏览器输入:http://localhost:8983/solr/#/

或者直接修改solr-6.6.0serversolrconfigsetsdata_driven_schema_configsconf文件夹下的配置文件managed-schema,在最后新增以下内容:
<!-- mmseg4j fieldType-->
    <fieldType name="text_mmseg4j_complex" class="solr.TextField" positionIncrementGap="100" >
        <analyzer>
            <tokenizer class="com.chenlb.mmseg4j.solr.MMSegTokenizerFactory" mode="complex" />
        </analyzer>
    </fieldType>
    <fieldType name="text_mmseg4j_maxword" class="solr.TextField" positionIncrementGap="100" >
        <analyzer>
            <tokenizer class="com.chenlb.mmseg4j.solr.MMSegTokenizerFactory" mode="max-word" />
        </analyzer>
    </fieldType>
    <fieldType name="text_mmseg4j_simple" class="solr.TextField" positionIncrementGap="100" >
        <analyzer>
          <tokenizer class="com.chenlb.mmseg4j.solr.MMSegTokenizerFactory" mode="simple" />
        </analyzer>
    </fieldType>
这样在新建core的时候就不用每次都修改单个core的managed-schema配置文件了