PIL格式转换
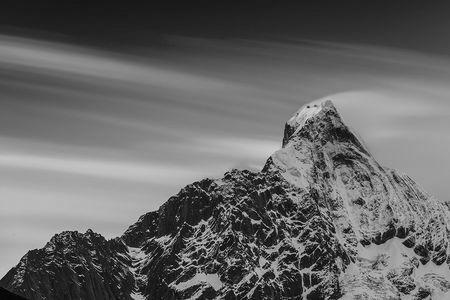
原图:

#!/usr/local/bin/python
# -*- coding: utf8 -*-

from PIL import Image, ImageFilter
import os, sys

BASE_PATH = os.path.dirname(os.path.abspath(__file__))
· 1 (1-bit pixels, black and white, stored with one pixel per byte)
· L (8-bit pixels, black and white)
· P (8-bit pixels, mapped to any other mode using a colour palette)
· RGB (3x8-bit pixels, true colour)
· RGBA (4x8-bit pixels, true colour with transparency mask)
· CMYK (4x8-bit pixels, colour separation)
· YCbCr (3x8-bit pixels, colour video format)
· I (32-bit signed integer pixels)
· F (32-bit floating point pixels)
origin-->L-->RGB
模式“L”转换为模式“RGB”
模式“RGB”转换为模式“L”以后,像素值为[0,255]之间的某个数值。而从模式“L”转换成“RGB”时,“RGB”的三个通道都是模式“L”的像素值的拷贝。
file_path = os.path.join(BASE_PATH, "fj.jpg")

# 打开图片
img = Image.open(file_path)
# 转换为灰度模式
new_img_l = img.convert("L")
# 转换为RGB模式
new_img_rgb = new_img_l.convert("RGB")

print u"原图:", img.getpixel((0, 0))
print u"L:", new_img_l.getpixel((0, 0))
print u"RGB:", new_img_rgb.getpixel((0, 0))
# 存储图片
new_img_l.save("fj_l.jpg", "JPEG")
new_img_rgb.save("fj_rgb.jpg", "JPEG")

# 结果
原图: (0, 35, 54)
L: 26
RGB: (26, 26, 26)
L图片:
RGB图片:

origin-->1-->RGB
模式“1”转换为模式“RGB”
模式“RGB”转换为模式“1”以后,像素点变成黑白两种点,要么是0,要么是255。而从模式“1”转换成“RGB”时,“RGB”的三个通道都是模式“1”的像素值的拷贝。
file_path = os.path.join(BASE_PATH, "fj.jpg")
# 打开图片
img = Image.open(file_path)
# 转换为二值模式
new_img_1 = img.convert("1")
# 转换为RGB模式
new_img_rgb = new_img_1.convert("RGB")
print u"原图:", img.getpixel((0, 0))
print u"1:", new_img_1.getpixel((0, 0))
print u"RGB:", new_img_rgb.getpixel((0, 0))
# 存储图片
new_img_1.save("fj_1.jpg", "JPEG")
new_img_rgb.save("fj_1_rgb.jpg", "JPEG")

结果:
原图: (0, 35, 54)
1: 0
RGB: (0, 0, 0)
1图片:
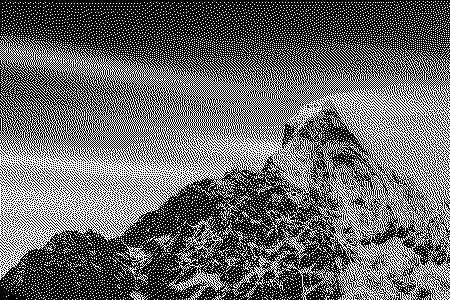
RGB图片:

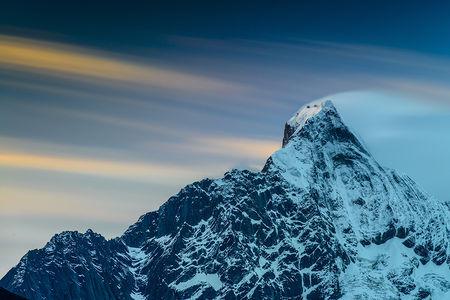
origin-->p-->RGB
模式“RGB”转换为模式“P”
像素值为[0,255]之间的某个数值,但它为调色板的索引值,其最终还是彩色图像。从模式“P”转换成“RGB”时,“RGB”的三个通道会变成模式“P”的像素值索引的彩色值
file_path = os.path.join(BASE_PATH, "fj.jpg")

# 打开图片
img = Image.open(file_path)
# 转换为P模式
new_img_p = img.convert("P")
# 转换为RGB模式
new_img_rgb = new_img_p.convert("RGB")
print u"原图:", img.getpixel((0, 0))
print u"p:", new_img_p.getpixel((0, 0))
print u"RGB:", new_img_rgb.getpixel((0, 0))
# 存储图片
new_img_p.save("fj_p.jpg", "JPEG")
new_img_rgb.save("fj_p_rgb.jpg", "JPEG")

结果:
原图: (0, 35, 54)
p: 52
RGB: (0, 51, 51)
p图片:
RGB图片:

origin-->RGBA-->RGB
模式“RGB”转换为模式“RGBA”以后,图像从三通道变成了四通道,其R、G、B三个通道的数值没有变化,新增的alpha通道均为255,表示不透明。从模式“RGBA”转换成“RGB”时,“RGB”的三个通道又变回原来的数值。
file_path = os.path.join(BASE_PATH, "fj.jpg")

# 打开图片
img = Image.open(file_path)
# 转换为RGBA模式
new_img_rgba = img.convert("RGBA")
# 转换为RGB模式
new_img_rgb = new_img_rgba.convert("RGB")
print u"原图:", img.getpixel((0, 0))
print u"p:", new_img_rgba.getpixel((0, 0))
print u"RGB:", new_img_rgb.getpixel((0, 0))
# 存储图片
# new_img_rgba.save("fj_rgba.jpg", "JPEG")
new_img_rgb.save("fj_rgba_rgb.jpg", "JPEG")

结果:
原图: (0, 35, 54)
RGBA: (0, 35, 54, 255)
RGB: (0, 35, 54)
RGBA图片:
RGB图片:

origin-->CMYK-->RGB
模式“RGB”转换为模式“CMYK”以后,图像从三通道变成了四通道,其C、M、Y三个通道的数值是通过之前的公式计算得到,K通道被直接赋值为0。
C = 255 - R
M = 255 - G
Y = 255 - B
K = 0
从模式“CMYK”转换成“RGB”时,“RGB”的三个通道又变回原来的数值,这是无损的转换。
R = 255 - C
G = 255 - M
B = 255 - Y
file_path = os.path.join(BASE_PATH, "fj.jpg")

# 打开图片
img = Image.open(file_path)

# 转换为CMYK模式
new_img_cmyk = img.convert("CMYK")
# 转换为RGB模式
new_img_rgb = new_img_cmyk.convert("RGB")
print u"原图:", img.getpixel((0, 0))
print u"CMYK:", new_img_cmyk.getpixel((0, 0))
print u"RGB:", new_img_rgb.getpixel((0, 0))
# 存储图片
new_img_cmyk.save("fj_cmyk.jpg", "JPEG")
new_img_rgb.save("fj_cmyk_rgb.jpg", "JPEG")

结果:
原图: (0, 35, 54)
CMYK: (255, 220, 201, 0)
RGB: (0, 35, 54)
CMYK图片:

RGB图片:
带矩阵模式转换
im.convert(mode,matrix) ⇒ image
这种定义只适合将一个“RGB”图像转换为“L”或者“RGB”图像,不能转换为其他模式的图像。变量matrix为4或者16元组。
file_path = os.path.join(BASE_PATH, "fj.jpg")

# 打开图片
img = Image.open(file_path)
rgb2xyz = (

    0.412453, 0.357580, 0.180423, 0,

    0.212671, 0.715160, 0.072169, 0,

    0.019334, 0.119193, 0.950227, 0)

img_L = img.convert("L", rgb2xyz)
img_rgb = img.convert("RGB", rgb2xyz)
img_L.save("img_L.jpg", "JPEG")
img_rgb.save("img_rgb.jpg", "JPEG")
img_L图片:

img_rgb图片:

调色板转换
file_path = os.path.join(BASE_PATH, "fj.jpg")

# 打开图片
img = Image.open(file_path)
p1 = img.convert("P", dither=Image.NONE)
p2 = img.convert("P", dither=Image.ADAPTIVE)
p3 = img.convert("P", palette=Image.ADAPTIVE, colors=10)

p2_ = p2.convert("RGB")
p2_.save("p2.jpg", "JPEG")
p3_ = p3.convert("RGB")
p2图片:
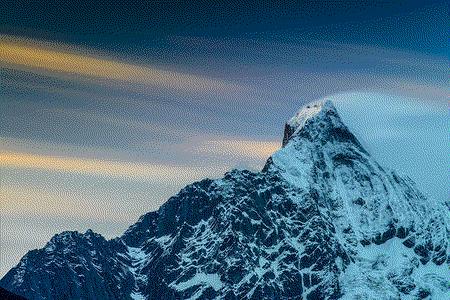
p3图片:
参考:http://blog.csdn.net/icamera0/article/details/50843196