mock server 实现get方法的接口(二)
下面是实现查询品牌的接口demo:
1.当response数据量小的时候,可以直接使用json, mock会自动设置headers为application/json格式,配置文件代码如下:
[
    {
        "request":
        {
            "uri":"/brand"
        },
        "response":
        {
            "json":[
                {
                    "title":"benz",
                    "url":"/brand/1"
                },
                {
                    "title":"porsche",
                    "url":"/brand/2"
                }
            ]
        }
    }
]
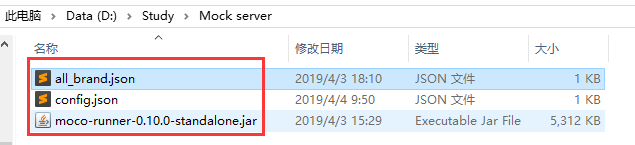
2.当数据量大的时候,response中不使用json,而使用{"file":"all_brand.json"},而all_brand.json中存放response对应的数据,并且all_brand.json也须要放置在config.json同一目录下
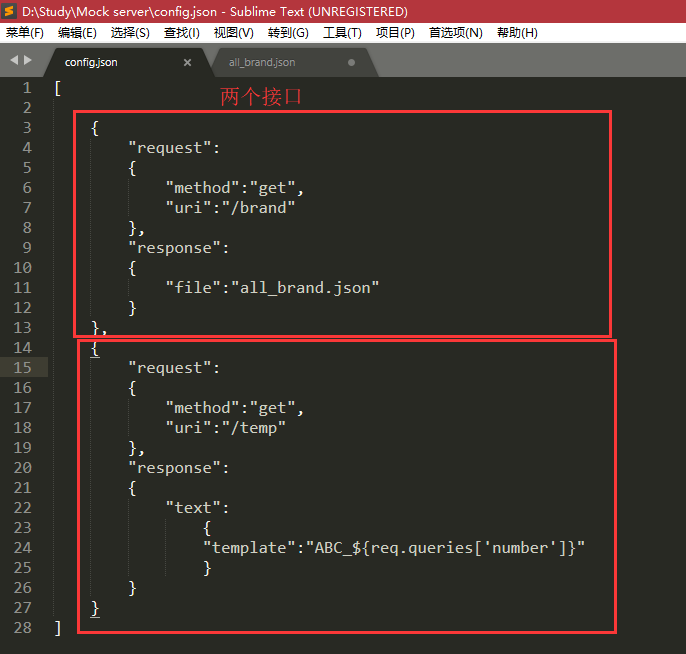
config.json中内容:
[

    {
        "request":
        {
            "method":"get",
            "uri":"/brand"
        },
        "response":
        {
            "file":"all_brand.json"
        }
    }
]
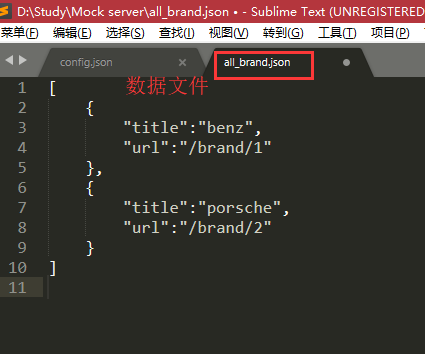
all_brand.jaon中内容:
[
    {
        "title":"benz",
        "url":"/brand/1"
    },
    {
        "title":"porsche",
        "url":"/brand/2"
    }
]
目录如下:
运行方式,不再重复,见 mock server 入门
3.Mock Server中response的json不支持utf-8,所以json格式的response中不支持中文
4.动态参数template:通过传不同的参数控制brand接口返回的response数据
response中代码为{"text":{"template":"ABC_${req.queries['param_name']}"}}
配置文件内容如下:
[
    {
        "request":
        {
            "method":"get",
            "uri":"/temp"
        },
        "response":
        {
            "text":
                {
                "template":"ABC_${req.queries['number']}"
                }
        }
    }
]
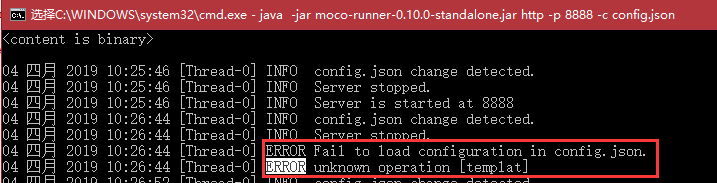
返回值只能是text类型,且response中的"参数“固定为"template",否则会报加载配置文件,未知操作
5.所有想实现的接口都可以放到config.json文件中,然后所有response的数据都单独放置到对应不同的.json文件中,如下图: