Jinja2模板介绍和查找路径
在前面的章节中,视图只是直接返回文本,然而在实际生产环境中其实很少这样用,因为实际的页面大多带有样式和复杂逻辑的HTML代码,这可以让浏览器其渲染出非常漂亮的页面。
我们创建好flask项目,会发现有一个templates目录,这个目录就是用来存放模板文件
如果我们要使用模板,则需要导入render_template模块
我们先在templates目录下创建模板文件index.html,内容如下:
<h3>I love python</h3>
然后我们来渲染使用这个模板
...
from flask import render_template

@app.route('/')
def index():
    return render_template('index.html')

模板的路径是相对于templates的,如果这个模板路径是templates/posts/lists.html,那么路径应该这样写:
render_template('posts/lists.html')
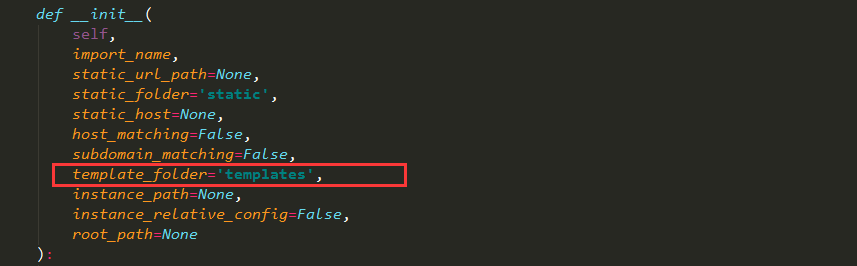
我们可以看看为什么flask如何把templates作为模板路径的
按住ctrl,鼠标点击app = Flask(__name__)中的Flask,可以发现这个类默认有个参数template_folder='templates'
因此,如果我们不想把templates作为模板目录的话,比如用/home/heboan/haha这个目录,我们可以这样
app = Flask(__name__, template_folder='/home/heboan/haha')
模板传参及其技巧
视图函数如下,传入参数username
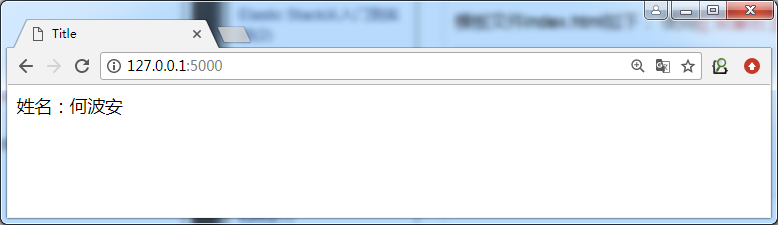
@app.route('/')
def index():
    return render_template('index.html', username='何波安')
模板文件index.html如下: 使用{{ 变量名 }}的方式引用
<body>

    姓名:{{ username }}

</body>
如果传入多个变量,可以这样写:
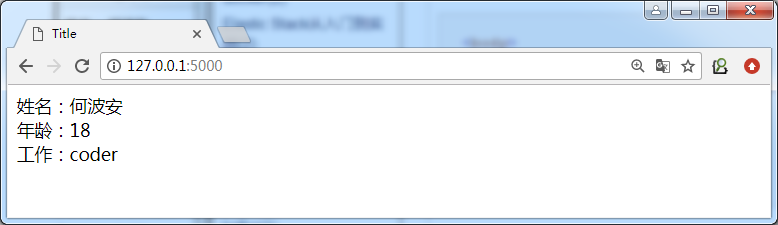
@app.route('/')
def index():
    return render_template('index.html', username='何波安', age=18, job='coder')
但是当参数很多的时候,这样就不方便了,我们可以用字典的方式来传参
@app.route('/')
def index():
    context = {
        'username': '何波安',
        'age': 18,
        'job': 'coder'
    }
    return render_template('index.html', context=context)
这样的话,我们模板就需要用context.username这种方式写
<body>

    姓名:{{ context.username }} <br />
    年龄:{{ context.age }} <br />
    工作:{{ context.job }}

</body>
如果我们想直接用username直接接收变量,我们可以这样做:把字典当成关键字参数
@app.route('/')
def index():
    context = {
        'username': '何波安',
        'age': 18,
        'job': 'coder'
    }
    return render_template('index.html', **context)
这样,我们就可以直接使用参数变量了
<body>

    姓名:{{ username }} <br />
    年龄:{{ age }} <br />
    工作:{{ job }}

</body>
如果参数的值也是字典
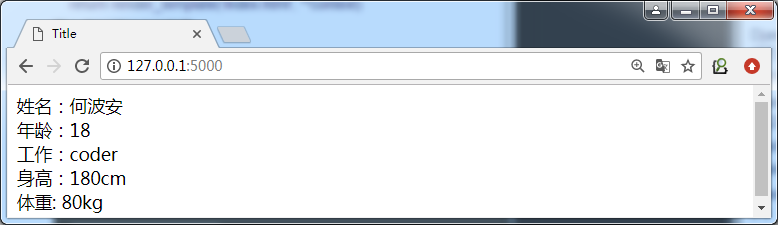
@app.route('/')
def index():
    context = {
        'username': '何波安',
        'age': 18,
        'job': 'coder',
        'attribute': {
            'height': '180cm',
            'weight': '80kg'
        }
    }
    return render_template('index.html', **context)
那么模板可以这样引用
<body>

    姓名:{{ username }} <br />
    年龄:{{ age }} <br />
    工作:{{ job }} <br />
    身高:{{ attribute.height }} <br />
    体重: {{ attribute.weight }}

</body>
模板中使用url_for
模板里面有很多超链接,比如
@app.route('/login/')
def login():
    return  render_template('login.html')
模板index.html
<a href="/login/">登录</a>
但是在实际开发中是不会写死的,这样不方便后期维护,这时候我们就可以用到url_for
<a href="{{ url_for('login') }}">登录</a>
如果需要传递参数,如
@app.route('/login/<user_id>')
def login(user_id):
    return  render_template('login.html')
模板index.html
<a href="{{ url_for('login', user_id='1') }}">登录</a>
过滤器
过滤器是通过管道符号"|"进行使用的,例如: {{ name| length }},将返回name的长度。过滤器相当于是一个函数,把当前的变量传入过滤器中,然后过滤器根据自己的功能,再返回相应的值,之后再将结果渲染到页面中。
基本用法
@app.route('/')
def index():
    return render_template('index.html', position=-2)
index.html
position的绝对值是: {{ position|abs }}

default过滤器
{{ <变量名>|default('默认值', boolean=True)}}
场景: 当用户没有自定义个性签名的时候,使用default传递值,如下:
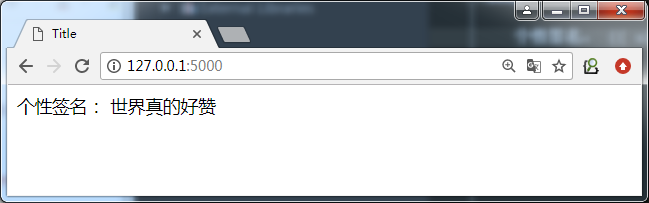
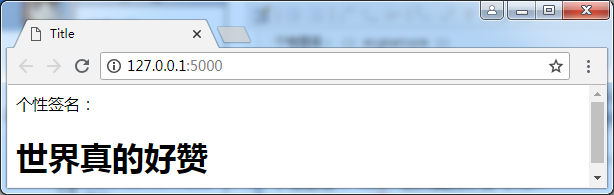
@app.route('/')
def index():
    context = {
        'signature': '世界真的好赞'
    }
    return render_template('index.html', **context)
index.html
个性签名: {{ signature|default('这个人真懒,什么都没有留下~') }}
个性签名字段signature存在,因此会显示"世界真的好赞"
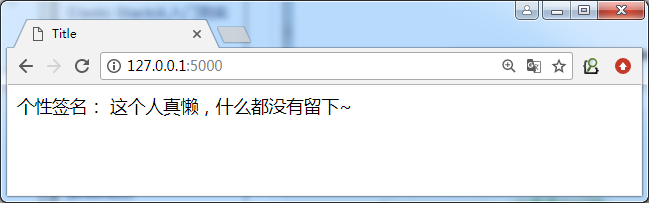
当没有定义signature,则会显示"这个人真懒,什么都没有留下~"
@app.route('/')
def index():
    context = {
        #'signature': '世界真的好赞'
    }
    return render_template('index.html', **context)
当定义signature为None时,看看如何显示
@app.route('/')
def index():
    context = {
        'signature': None
    }
    return render_template('index.html', **context)
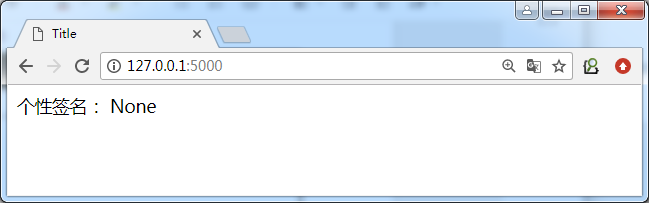
我们发现,显示的并不是default的值,而是None,这是为什么呢?
这是因为我们默认的default值只有变量不存在的时候才会引用,如果变量存在,那么就不会使用它
我们知道:None,空字符串,空字典,空列表等在布尔值都是False
如果我们想要在变量的布尔值是False的情况下就使用default的值,可以加上参数
个性签名: {{ signature|default('这个人真懒,什么都没有留下~', boolean=True) }}
还有一种简写方式
个性签名: {{ signature or '这个人真懒,什么都没有留下~' }}
escape字符转义
看如下例子
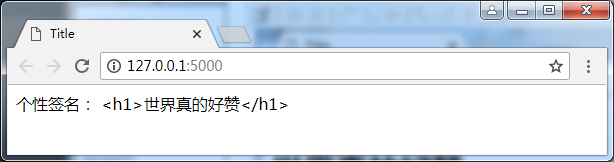
@app.route('/')
def index():
    context = {
        'signature': '<h1>世界真的好赞</h1>'
    }
    return render_template('index.html', **context)
index.html
个性签名: {{ signature }}

我们发现jinjia2自动把signature当做普通字符串处理了(为了安全性)
我们可以关闭自动处理,在{% autoescape off %}里面的内容是不会被jinjia2模板自动处理的
{% autoescape off %}
    个性签名: {{ signature }}
{% endautoescape %}

还有另外一种方法就是使用safe
个性签名: {{ signature| safe}}
在{% autoescape off %}里面的内容我们又想被转义处理,就可以使用escape了
{% autoescape  off%}
    个性签名: {{ signature| escape}}
{% endautoescape %}


last(value): 返回一个序列的最后一个元素。示例: names|last
lenth(value): 返回一个序列或者字典的长度。 示例:names|lenth
join(value, d=u''): 讲一个序列用d这个参数的值拼接成字符串
int(value): 将值转换为int类型
float(value): 将值转换为float类型
lower(value): 将字符串转换为小写
upper(value):将字符串转换为大写
replace(value, old, new): 替换将old替换为new的字符串
truncate(value,length=255, killwords=False): 截取length长度的字符串
trim: 截取字符串前后的空白字符
string(value): 将变量转换成字符串
wordcount(s): 计算一个长字符串中单词的个数
自定义过滤器
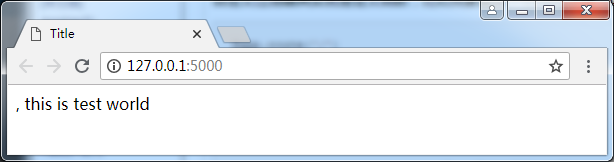
自定义过滤器其实就是定义函数,比如我要定义一个cut过滤器,这个过滤器实现的功能是把变量值里面的hello全部去掉
@app.route('/')
def index():
    context = {
        'article': 'hello, this is test hello world'
    }
    return render_template('index.html', **context)

@app.template_filter('cut') #把cut函数注册到过滤器中
def cut(value):   #value就是使用过滤器的变量
    value = value.replace('hello', '')
    return value   #函数的返回值会作为过滤器的返回值
index.html
{{ article|cut }}
自定义事件处理过滤器案例
在实际案例中,我们会看到这种情况,显示内容发表的时间,比如微信。现在我们来自定义一个过滤器来实现这样的需求:
发表时间距离现在的时间间隔:
1、如果时间间隔在1分钟以内,显示‘刚刚’
2、如果大于1分钟小于1小时,显示‘xx分钟前’
3、如果大于1小时小于24小时,显示‘xx小时前’
4、如果大于24小时小于30天,显示‘xxx天前’
5、否则显示具体时间: 如2018/6/30 14:45
@app.route('/')
def index():
    context = {
        'create_time': datetime(2018,6,30,12,0,0)
    }
    return render_template('index.html', **context)


@app.template_filter('handle_time')
def handle_time(time):
    if isinstance(time, datetime):
        now = datetime.now()
        timestamp = (now - time).total_seconds()
        if timestamp < 60:
            return '刚刚'
        elif timestamp >= 60  and timestamp < 60*60:
            minutes = timestamp / 60
            return '{}分钟前'.format(minutes)
        elif timestamp >= 60*60 and timestamp <60*60*24:
            hours = timestamp / (60*60)
            return '{}小时前'.format(int(hours))
        elif timestamp >= 60*60*24 and timestamp < 60*60*30:
            days = timestamp / (60*60*24)
            return '{}天前'.format(int(days))
        else:
            return time.strftime('%Y/%m/%d %H:%M')
    else:
        return time
index.html
{{ create_time|handle_time }}

if和for语句
if语句
{% if score >= 90 %}
    <p>优秀</p>
{% elif  score >= 80 %}
    <p>良好</p>
{% elif  score >= 60 %}
    <p>及格</p>
{% else %}
    <p>不及格</p>
{% endif %}
for语句
<!--普通的遍历-->
<url>
    {% for user in users %}
        <li> {{ user.name }} </li>
    {% endfor %}
</ul>

<!--含else的for-->
<url>
    {%  for user in users %}
        <li> {{ user.name }} </li>
    {% else %}
        <li> user not found </li>
    {% endfor %}
</ul>


<!--字典遍历-->
<ul>
    {% for key,value in users.items() %}
        <dt> {{ key }} </dt>
        <dd>  {{value}} <dd>
    {% endfor %}
</ul>
jinjia2中还包含以下变量,可以获取当前遍历的状态
| 变量 | 描述 |
| loop.index | 当前迭代的索引(从1开始) |
| loop.index0 | 当前迭代的索引(从0开始) |
| loop.first | 是否是第一次迭代,返回True或False |
| loop.last | 是否是最后一次迭代,返回True或False |
| loop.length | 序列的长度 |
注意:不可以使用continue和break表达式来控制循环的执行
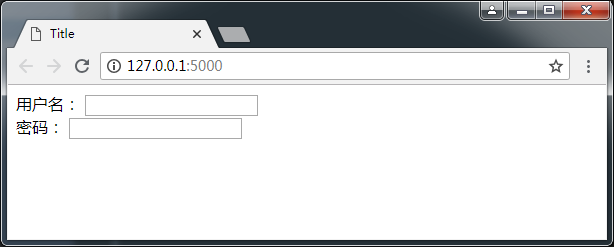
宏
模板中的宏跟Python中的函数类似,可以传递参数,但是不能有返回值,可以将一些经常用到的代码片段放到宏中,然后把一些不固定的值抽取出来当成一个变量
index.html
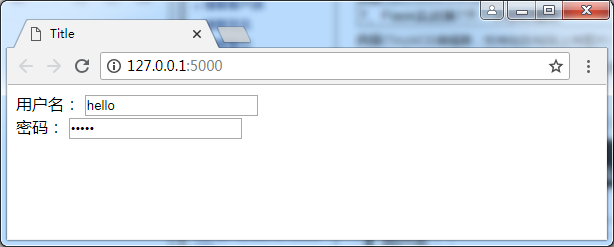
<!--定义宏-->
{% macro input(name, value='', type='text') %}
    <input name="{{ name }}" value="{{ value }}" type="{{ type }}" />
{% endmacro %}

<!--使用宏-->
用户名: {{ input('username') }} <br />
密码: {{ input('password', type='password') }}

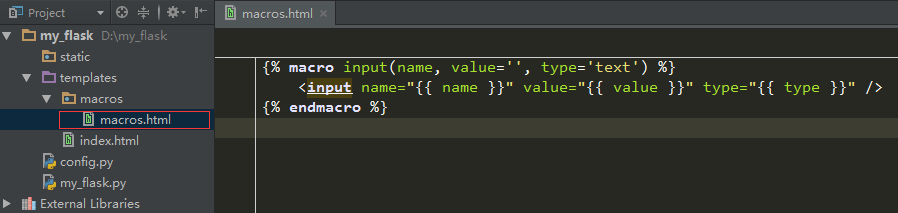
上面我们把宏定义在模板文件index.html里面,但是在实际开发当中我们会把它单独放到一个文件中
我们可以在templates下面创建一个目录macros,在macros目录下面创建文件macros.html文件,这个文件来写宏
然后我们在index.html中如要使用宏就需要导入
{% from 'macros/macros.html' import input %}
用户名: {{ input('username') }} <br />
密码: {{ input('password', type='password') }}
或者这样
{% import 'macros/macros.html' as macros %}
用户名: {{ macros.input('username') }} <br />
密码: {{ macros.input('password', type='password') }}
还有一个问题就是:宏文件里面能够直接获取到服务器传递过来的值吗?
@app.route('/')
def index():
    context = {
        'str1': 'hello'
    }
    return render_template('index.html', **context)
macros/macros.html
{% macro input(name, value='', type='text') %}
    <input name="{{ name }}" value="{{ str1 }}" type="{{ type }}" />
{% endmacro %
很显然并没有获取到,如果我们想模板文件中能够获取到,需要在导入模块的时候这样写:
{% import 'macros/macros.html' as macros with context%}
用户名: {{ macros.input('username') }} <br />
密码: {{ macros.input('password', type='password') }}
set和with定义模板变量
在模板中也可以定义变量
set
使用set定义变量,后面开始就可以引用此变量
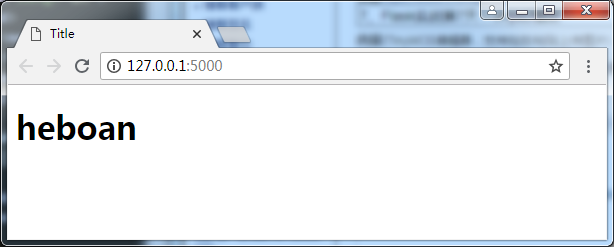
index.html
{% set name = 'heboan' %}
<h1>{{ name }}</h1>
with
使用with定义变量,只能在with代码块里面才能引用
index.html
{% with name = 'heboan' %}
    <h1>{{ name }}</h1>
{% endwith %}
我们也可以把set包含在with里面,这样的话set定义的变量也只能在with代码块里面生效
{% with name = 'heboan' %}
    {% set age = 18 %}
    <h1>{{ name }}</h1>
    <h2>{{ age }}</h2>
{% endwith %}
加载静态文件
建好flask项目后,和templates一样 ,flask自动为我们建立了一个目录static,这个目录是用来存放静态文件的,比如css、js、图片等。
当然,静态文件目录的位置也是可以修改的
按住ctrl点击 app = Flask(__name__)中的Flask,可以看到默认有一个参数是static_folder='static'

如果我们想改的话,可以这样
app = Flask(__name__, static_floder='<path>')
这里,我以图片来说明如何加载静态文件,至于css、js都是一样的操作
主要还是用到url_for()
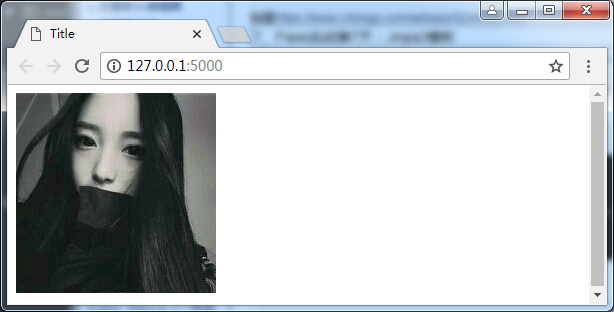
我们现在static下创建以个目录images,然后在该目录存放一张图片mm.jpg
index.html
<img src="{{ url_for('static', filename='images/mm.jpg') }}">
include
include的作用就是在一个模板中可以包含其他额模板
比如一个页面,顶部和底部是一样的,只有中间的板块不一样,这样的话,我们就可以创建2个公共的模板。然后在其他的模板中把他们include进来即可
在templates创建一个目录common,在common创建两个模板header.html和footer.html
header.html
<div>
    <p>这是头部</p>
</div>
footer.html
<div>
    <p>这是底部</p>
</div>
在index.html中include
<!DOCTYPE html>
<html lang="en">
<head>
    <meta charset="UTF-8">
    <title>Title</title>
</head>
<body>

    {%  include 'common/header.html' %}
    <div>
        <p>---这是中间的内容---</p>
    </div>
    {% include 'common/footer.html' %}


</body>
</html>

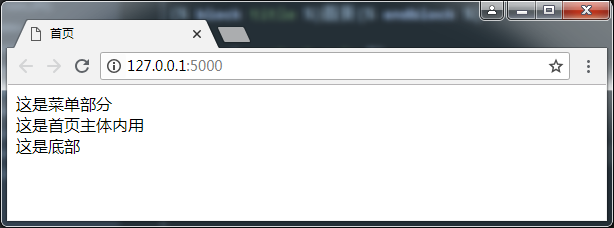
模板继承
前面我们使用了include把其他模板的内容包含进来,从而减少代码量。然而这并不是最好的方案。我们还可以使用模板继承
我们在templates目录下创建一个模板文件base.html

我们在模板里面把会变动的地方使用{% block <name> %} {% endblock %}并取一个名字就可以了
然后我们在indext.html来继承base.html
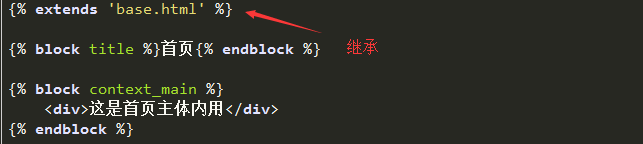
现在访问首页