使用idea自带的spring Initializr(实际调用的是springboot的官网上的initializr),快速新建springboot项目
1、新建springboot项目
(1)file->new->project

(2)点击next(第一个)

(3)点击next(第二个)
选择web-》spring web
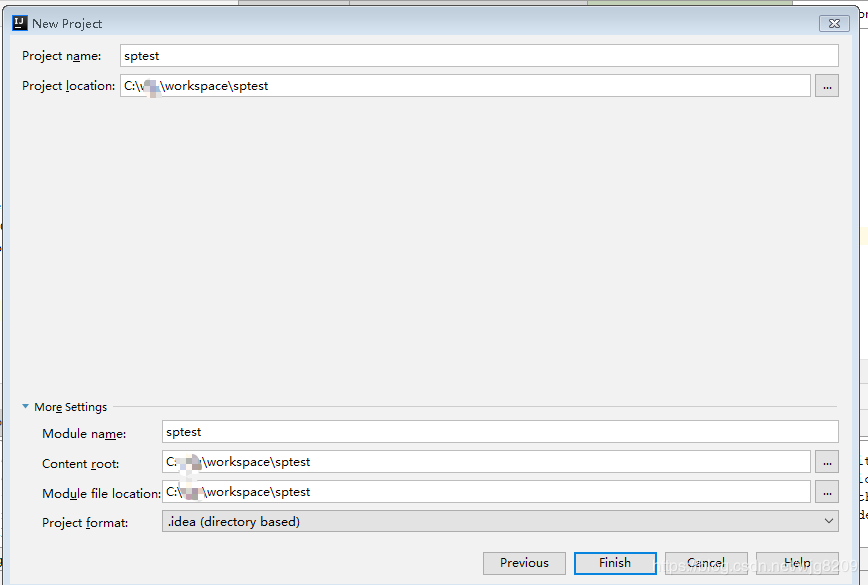
(4)点击next(第三个)
不用做修改,直接finish
此时,springboot项目已经新建完成,注意此时需要等待依赖等信息的下载,耐心等待。
注:要注意maven和spring的版本号的匹配

(5)验证springboot
在com.laowang.sptest报下新建ctroller包,并新建类:HelloController

注意:这里@Controller需要配合@ResponseBody注解,使用@RestController则不需要。
2、集成mybatis
springboot的配置文件分为两种:application.properties和application.yml
这里把关于mybatis的配置信息放到.yml文件里。可以直接放到application.yml或者新建一个yml文件放里面但注意需要在application.yml指向新建的yml文件。

spring:
    datasource:
        type: com.alibaba.druid.pool.DruidDataSource
        driverClassName: com.mysql.jdbc.Driver
        druid:
            first:  #数据源1
                 url: jdbc:mysql://localhost:3306/ycej_core_pro?allowMultiQueries=true&useUnicode=true&characterEncoding=UTF-8
                 username: root
                 password: root
            initial-size: 10
            max-active: 100
            min-idle: 10
            max-wait: 12000000
            pool-prepared-statements: true
            max-pool-prepared-statement-per-connection-size: 2000
            time-between-eviction-runs-millis: 12000000
            # min-evictable-idle-time-millis: 30000000
      #validation-query: SELECT 1 FROM DUAL
            test-while-idle: true
            test-on-borrow: false
            test-on-return: false
            stat-view-servlet:
                enabled: true
                url-pattern: /druid/*
                #login-username: admin
                #login-password: admin
            filter:
                stat:
                    log-slow-sql: true
                    slow-sql-millis: 1000
                    merge-sql: false
                wall:
                    config:
                        multi-statement-allow: true
(1)添加依赖
<dependency> <groupId>org.mybatis.spring.boot</groupId> <artifactId>mybatis-spring-boot-starter</artifactId> <version>1.3.2</version> </dependency> <dependency> <groupId>mysql</groupId> <artifactId>mysql-connector-java</artifactId> </dependency> <dependency> <groupId>com.alibaba</groupId> <artifactId>druid</artifactId> <version>RELEASE</version> </dependency> <!-- 分页插件 --> <dependency> <groupId>com.github.pagehelper</groupId> <artifactId>pagehelper-spring-boot-starter</artifactId> <version>1.2.3</version> </dependency>

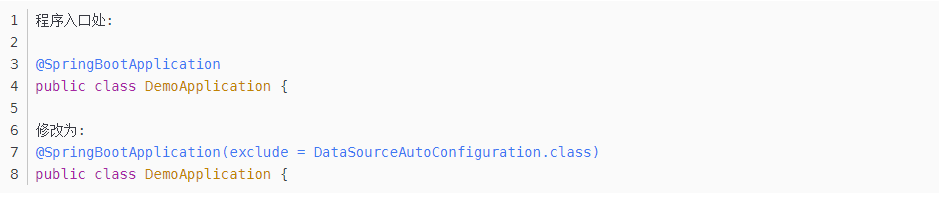
3、集成mybatis后,如果想加载嵌入式的数据库,需要修改程序的入口