spring
泛型注解
CustomAutowireConfigure,通过它可以注解自己的qualifier注解类型
Springboot快速入门
创建Maven项目
添加SpringBoot的起步依赖
SpringBoot要求,项目要继承SpringBoot的起步依赖spring-boot-starter-parent,所有的spring-boot工程都必须继承这个
springboot要集成springMVC进行Controller的开发,就要导入web的启动依赖spring-booy-starter-web
编写SpringBoot引导类(入口)
@SpringBootApplication标注类是springboot的引导类
main方法入口
SpringApplication.run
编写controller
@Controller
@RequestMapping("/quick")
@RequestBody
热部署
spring-boot-devtools 且idea设置自动编译
ctrl+shift+alt+/ 注册 compiler.automake.allow.when.app.running打钩
idea可以快速创建springBoot项目
spring-boot-starter-parent的父元素是spring-boot-dependencies,在dependencies里面写明了springboot所要引入的包及其版本信息,帮助进行版本控制,
避免包的版本导致的问题

引入的spring-boot-starter-web,自带引入了spring-web、spring-webmvc,这些控制了web编写了坐标点

自动配置
springboot把一些默认的东西加载进去,不用手动配置
启动类所在的包及其子包,都默认会被扫描
@SpringBootApplication注解相当于三个注解的功能:
@SpringBootConfiguration
@EnableAutoConfiguration
@ComponentScan
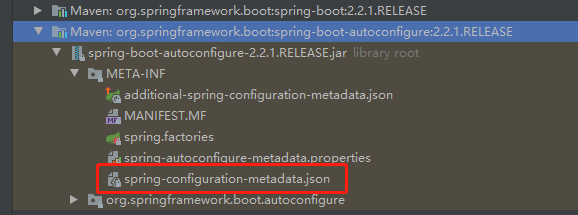
这个json文件,默认配置了一些东西,比如端口号8080,自己编辑后会覆盖默认值
resource文件夹下新建property文件,配置server.port=8081,端口号就修改成了8081
修改当前web应用的名称(demo):
server.servlet.context-path=/demo
springboot配置文件的格式有:property和yml