一. Swagger是什么?
Swagger是一款RESTFUL接口的文档在线自动生成+功能测试功能软件。
Swagger是一个规范和完整的框架,用于生成、描述、调用和可视化RESTful风格的Web服务。
swagger是一款可以根据resutful风格生成的生成的接口开发文档,并且支持做测试的一款中间软件
二:为什么要使用swaager?
2.1:对于后端开发人员来说
不用再手写WiKi接口拼大量的参数,避免手写错误
对代码侵入性低,采用全注解的方式,开发简单
方法参数名修改、增加、减少参数都可以直接生效,不用手动维护
缺点:增加了开发成本,写接口还得再写一套参数配置
2.2:对于前端开发来说
后端只需要定义好接口,会自动生成文档,接口功能、参数一目了然
联调方便,如果出问题,直接测试接口,实时检查参数和返回值,就可以快速定位是前端还是后端的问题
2.3:对于测试
对于某些没有前端界面UI的功能,可以用它来测试接口
操作简单,不用了解具体代码就可以操作
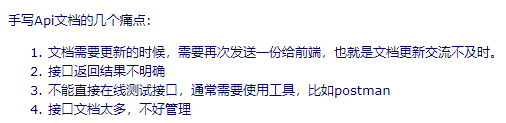
三 :Swagger 解决了什么?
四:spring boot 集成 Swagger
4.1 : pom文件引入Swagger依赖 如下
<dependency>
            <groupId>io.springfox</groupId>
            <artifactId>springfox-swagger2</artifactId>
            <version>2.7.0</version>
        </dependency>
        <dependency>
            <groupId>io.springfox</groupId>
            <artifactId>springfox-swagger-ui</artifactId>
            <version>2.7.0</version>
        </dependency>
4.2 :编写Swagger的配置启动类,此类与springboot的启动类同级目录
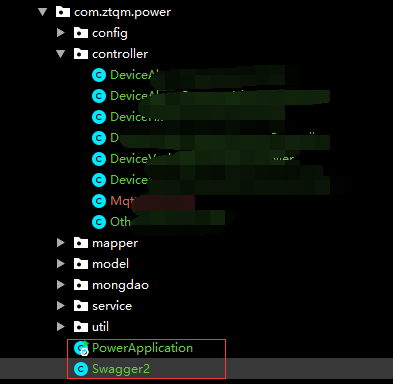
Swagger启动类代码如下 启动类中一定要配好扫描的contorller的全路径


/**
 * swagger2的配置文件
 * http://localhost:30001/swagger-ui.html
 * @author songbin
 * @date 2019/5/28 15:37
 */
@Configuration
@EnableSwagger2
public class Swagger2 {
    /**
     * 配置swagger2的一些基本的内容,比如扫描的包等等
     * @return
     */
    @Bean
    public Docket createRestApi(){
        return new Docket(DocumentationType.SWAGGER_2)
                .apiInfo(apiInfo())
                .select()
                .apis(RequestHandlerSelectors.basePackage("com.ztqm.power.controller"))
                .paths(PathSelectors.any())
                .build();
    }

    /**
     * 构建 api文档的详细信息函数
     * @return
     */
    private ApiInfo apiInfo() {
        return new ApiInfoBuilder()
                //页面标题
                .title("Welcome to Swagger2")
                //创建人
                .contact(new Contact("SongBin", "", "282044525@qq.com"))
                //版本号
                .version("1.0")
                //描述
                .description("您好 这里是 :Swagger2的API文档")
                .build();
    }

}
五:书写Controller层 加入注解
/**
     * 网管实时报警表 添加操作
     * @param deviceAlarmProperty
     * @return
     */
    @ApiOperation(value = "添加 网管实时报警信息",notes = "根据DeviceAlarmProperty对象创建网管实时报警信息")
    @ApiImplicitParam(name = "deviceAlarmProperty",dataType = "DeviceAlarmProperty",value = "网管实时报警信息实体DeviceAlarmProperty")
    @RequestMapping(value = "/insert",method = RequestMethod.POST)
    public JsonUtil insert(DeviceAlarmProperty deviceAlarmProperty){
        int num = deviceAlarmPropertyService.insert(deviceAlarmProperty);
        //如果对象不为空 则重新赋默认值 code 1 ; msg  成功
        if(null != jsonUtil){
            jsonUtil = JsonUtil.getJsonUtil();
        }
        if(num==0){
            jsonUtil= JsonUtil.getError();
        }
        return jsonUtil;
    }
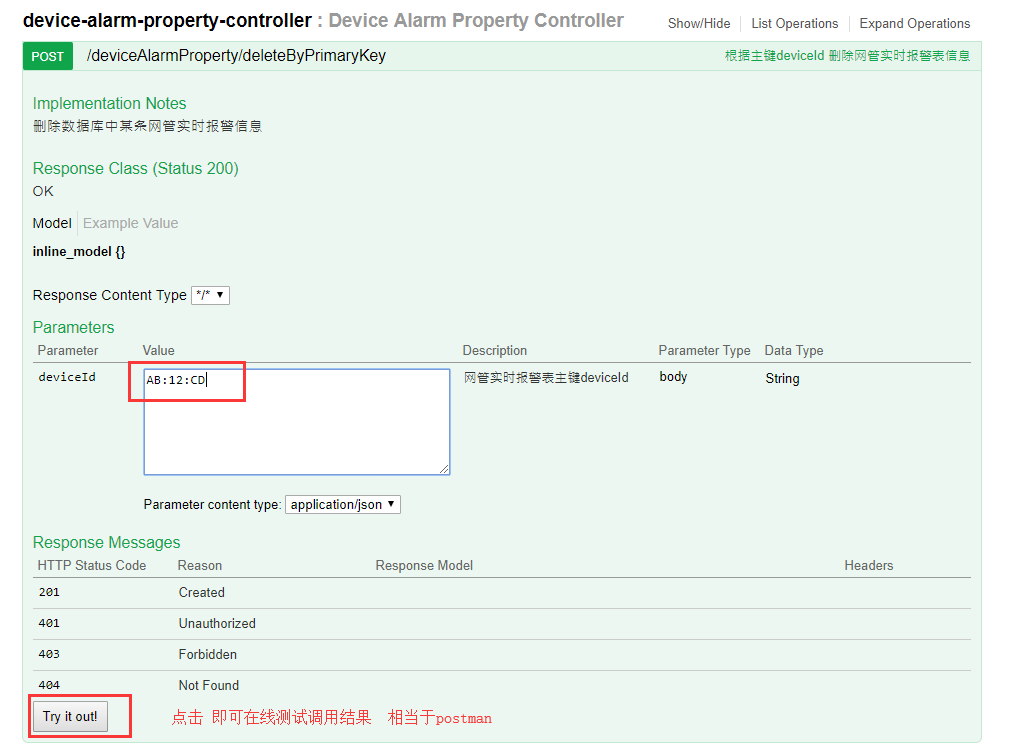
六:访问 http://localhost:端口号/swagger-ui.html

点击任意链接可以进行测试