准备工作:下载相关安装包,上传到服务器/opt/apps目录下
链接:https://pan.baidu.com/s/15Y5Y3X6AX2ZokWkZKcRrQQ 密码:q0lw
1、安装数据库
yum install mariadb-server
systemctl start mariadb

创建jira数据库,并创建jira管理用户,命令如下:
MariaDB [(none)]> create database jira default character set utf8 collate utf8_bin;
Query OK, 1 row affected (0.00 sec)

MariaDB [(none)]> grant all on `jira`.* to 'jirauser'@'%' identified by 'shediao123';
Query OK, 0 rows affected (0.00 sec)
2、快速安装jira
[root@localhost apps]# ./atlassian-jira-software-7.10.0-x64.bin
Unpacking JRE ...
Starting Installer ...
Sep 27, 2018 3:06:08 PM java.util.prefs.FileSystemPreferences$2 run
INFO: Created system preferences directory in java.home.

This will install JIRA Software 7.10.0 on your computer.
OK [o, Enter], Cancel [c]

Choose the appropriate installation or upgrade option.
Please choose one of the following:
Express Install (use default settings) [1], Custom Install (recommended for advanced users) [2, Enter], Upgrade an existing JIRA installation [3]
1
Details on where JIRA Software will be installed and the settings that will be used.
Installation Directory: /opt/atlassian/jira
Home Directory: /var/atlassian/application-data/jira
HTTP Port: 8080
RMI Port: 8005
Install as service: Yes
Install [i, Enter], Exit [e]
i

Extracting files ...


Please wait a few moments while JIRA Software is configured.
Installation of JIRA Software 7.10.0 is complete
Start JIRA Software 7.10.0 now?
Yes [y, Enter], No [n]
y

Please wait a few moments while JIRA Software starts up.
Launching JIRA Software ...
Installation of JIRA Software 7.10.0 is complete
Your installation of JIRA Software 7.10.0 is now ready and can be accessed
via your browser.
JIRA Software 7.10.0 can be accessed at http://localhost:8080
Finishing installation ...


到此为止jira基本安装完毕,使用IP:8080浏览器访问测试,关闭防火墙和selinux
3、破解JIRA
[root@localhost apps]# cp atlassian-extras-3.2.jar /opt/atlassian/jira/atlassian-jira/WEB-INF/lib/
cp: overwrite ‘/opt/atlassian/jira/atlassian-jira/WEB-INF/lib/atlassian-extras-3.2.jar’? y
[root@localhost apps]# cp mysql-connector-java-5.1.39-bin.jar /opt/atlassian/jira/atlassian-jira/WEB-INF/lib/


下边说几个常用命令及一些路径:
/opt/atlassian/jira jira的安装路径,其实说白了就是个tomcat,

/var/atlassian/application-data/jira 存放一些日志,缓存,插件,及数据库配置等

/opt/atlassian/jira/conf/server.xml 这里可以配置端口

tail -f /opt/atlassian/jira/logs/catalina.out 可以查看日志

所有配置都好了,现在重启jira
service jira stop
service jira start
JIRA管理脚本
[root@localhost apps]# ll /etc/init.d/
total 36
-rw-r--r--. 1 root root 15131 Sep 12  2016 functions
-rwxr-xr-x. 1 root root   261 Sep 27 15:06 jira
-rwxr-xr-x. 1 root root  2989 Sep 12  2016 netconsole
-rwxr-xr-x. 1 root root  6643 Sep 12  2016 network
-rw-r--r--. 1 root root  1160 Nov  7  2016 README
[root@localhost apps]# cat /etc/init.d/jira
#!/bin/bash

# JIRA Linux service controller script
cd "/opt/atlassian/jira/bin"

case "$1" in
    start)
        ./start-jira.sh
        ;;
    stop)
        ./stop-jira.sh
        ;;
    *)
        echo "Usage: $0 {start|stop}"
        exit 1
        ;;
esac
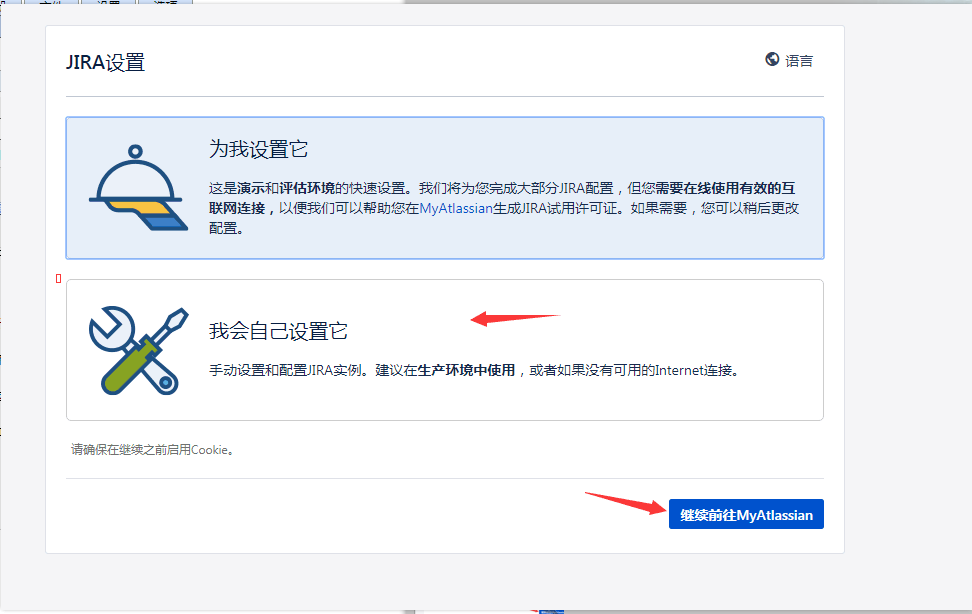
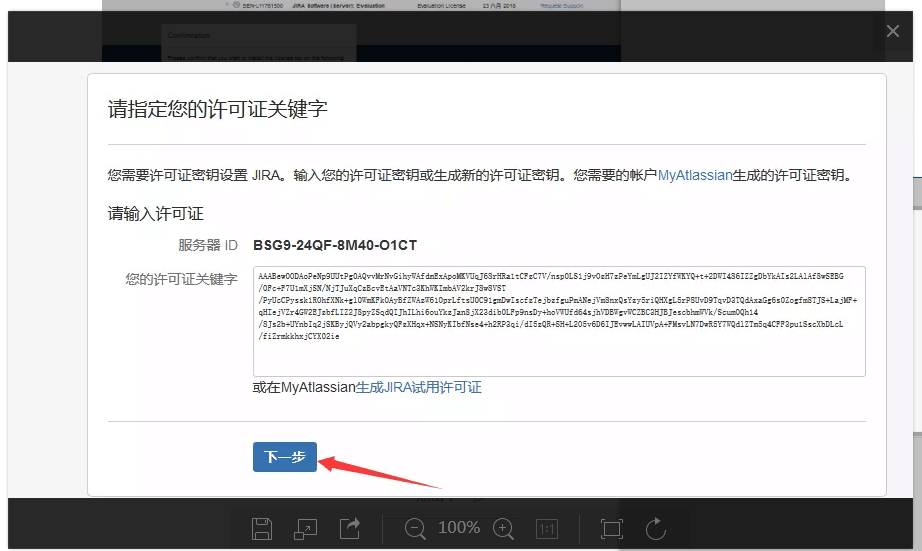
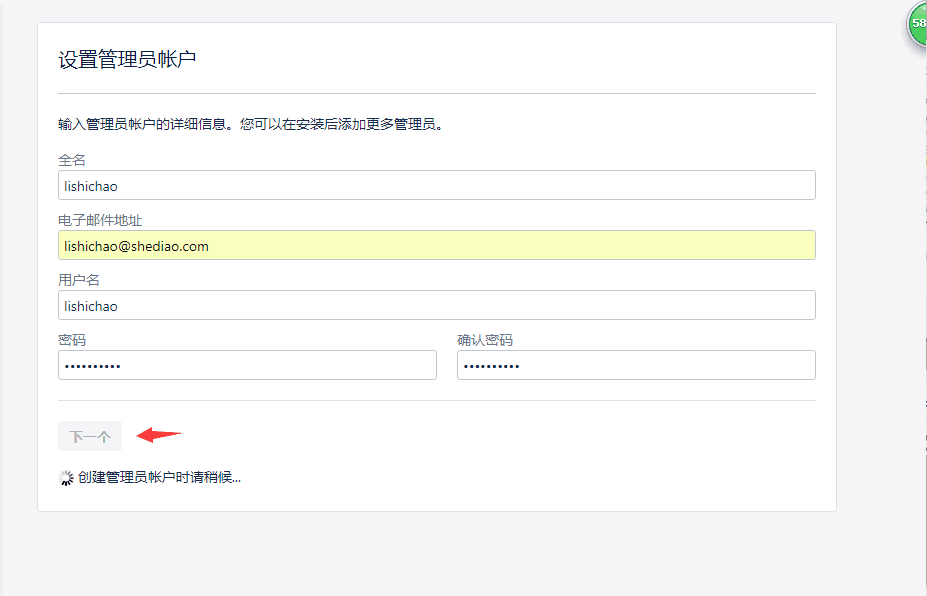
一切正常了!ok登录上开始配置jira吧!
连接数据库,写入数据会有点慢


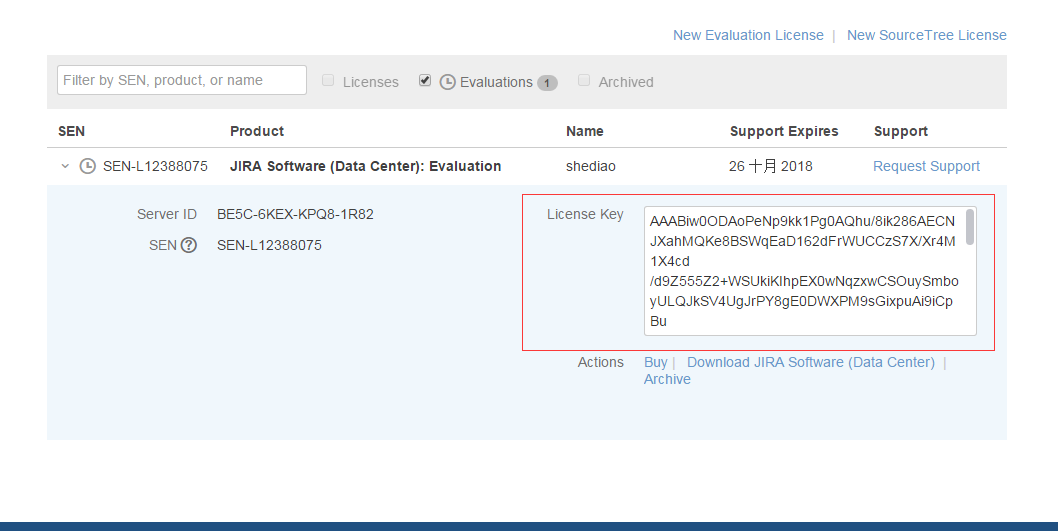
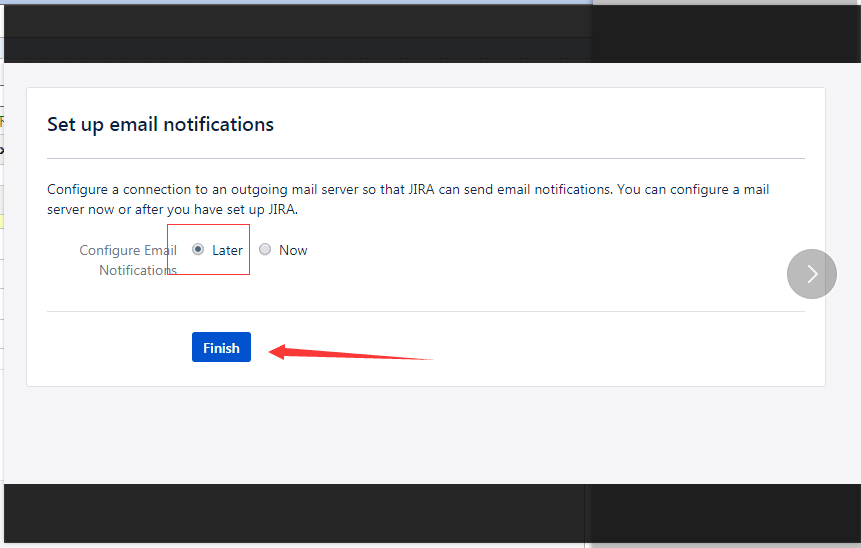
需要注册一个账户,注册后回收到一封邮件


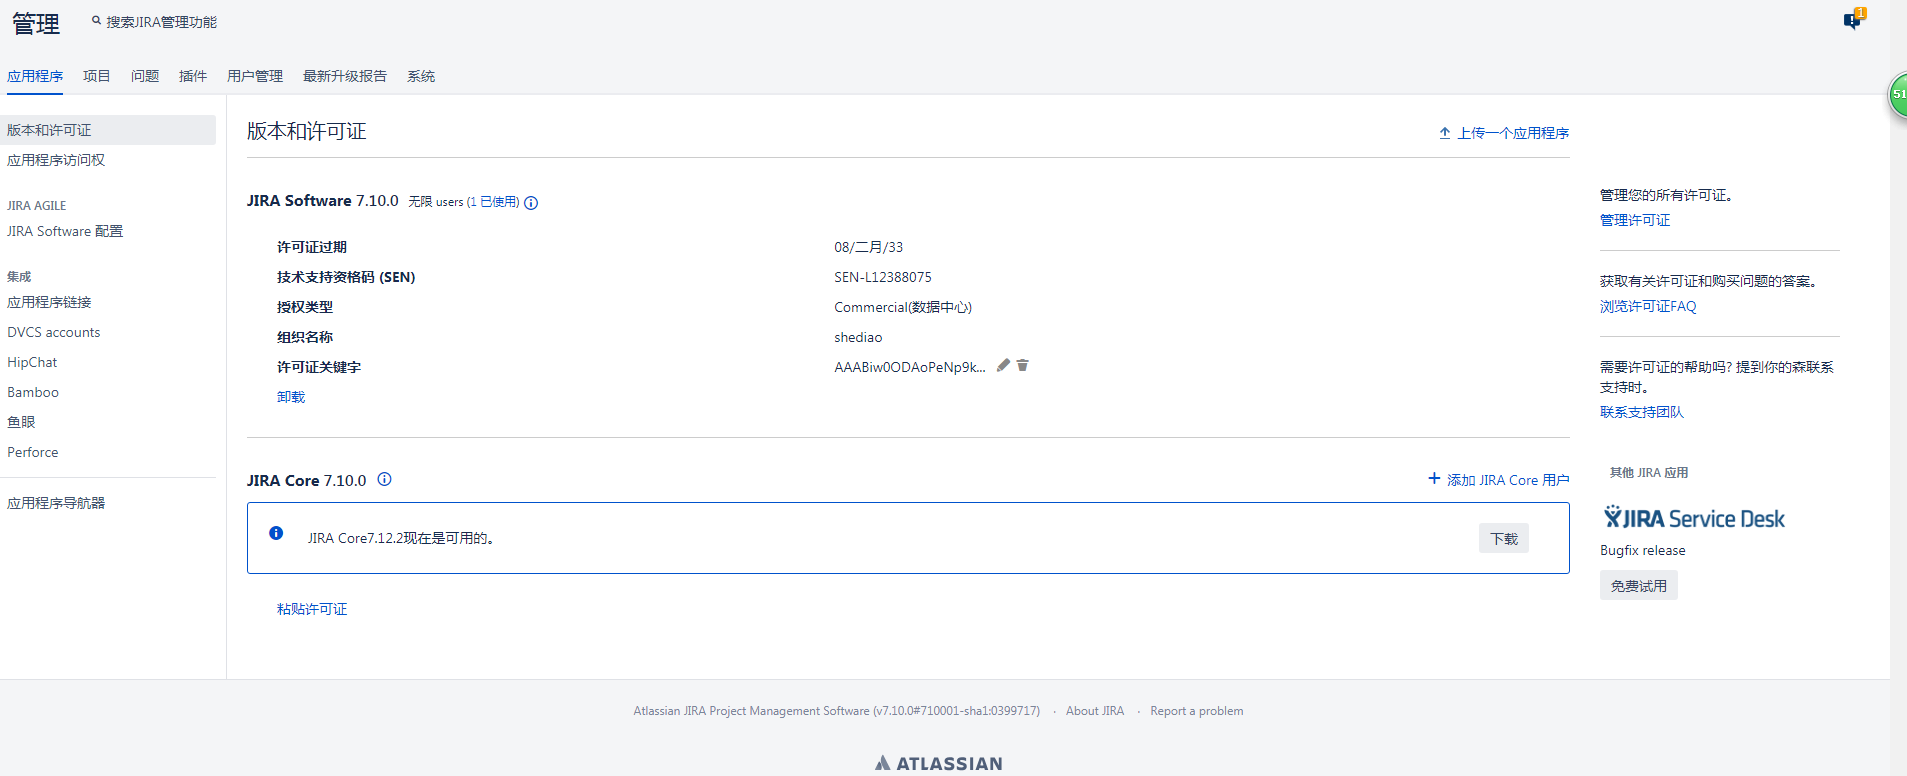
破解后显示过期日期到2033年2月8号