Nginx
1◆ nginx install
- 源码:https://trac.nginx.org/nginx/browser
- 官网:http://www.nginx.org/

=====>安装编译工具及库文件
yum -y install make zlib zlib-devel gcc-c++ libtool openssl openssl-devel |
=====>下载 PCRE 安装包
|
=====>解压安装包
| |
| |
=====>编译安装
|
=====>search version
pcre-config --version
=====>下载 Nginx
|
=====>unrar
|
cd nginx-1.6.2
=====>编译安装
|
make install |
./configure
make
make install
=====>search nginx version
|
创建 Nginx 运行使用的用户 www
[root@bogon conf]#
								/usr/sbin/groupadd www
[root@bogon conf]#
								/usr/sbin/useradd -g www www
yum install -y pcre pcre-devel yum install -y zlib zlib-devel yum install -y openssl openssl-devel |
=====>
tar -zxvf nginx-1.6.2.tar.gz -C /usr/local/ |
tar -zxvf nginx-1.6.2.tar.gz -C /usr/local/ |
=====>进行configure配置
./configure --prefix=/usr/local/nginx |
make && make install
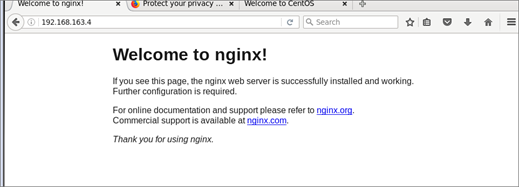
/usr/local/nginx/sbin/nginx
=====>ps -ef | grep nginx

=====>close ngnix
/usr/local/nginx/sbin/nginx -s stop |
=====>重新热启动nginx
重新热启动nginx, |
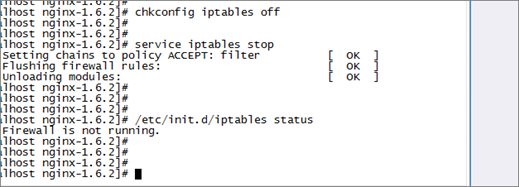
=====>配置防火墙,nginx默认的端口是80
firewall-cmd --zone=public --add-port=80/tcp –permanent firewall-cmd --reload |
worker_processes 1;
events { worker_connections 1024; }
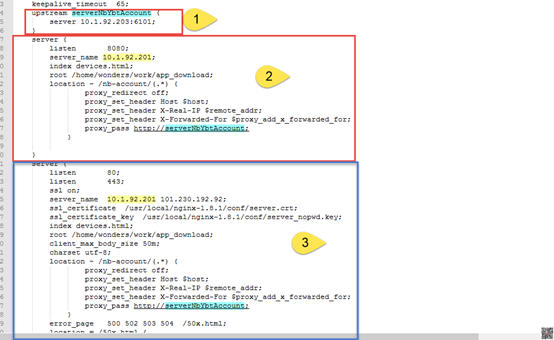
http {
include mime.types; default_type application/octet-stream; sendfile on; upstream mytest { server 10.2.4.149:8080; } server { listen 8080; server_name 192.168.163.4; index devices.html; root /home/wonders/work/app_download; location ~ /test/(.*) { proxy_redirect off; proxy_set_header Host $host; proxy_set_header X-Real-IP $remote_addr; proxy_set_header X-Forwarded-For $proxy_add_x_forwarded_for; proxy_pass http://mytest; }
}
log_format access '$remote_addr - $remote_user [$time_local] "$request" $status $body_bytes_sent "$http_referer" "$http_user_agent" $http_x_forwarded_for' server_ip $server_addr proxy_host $proxy_host upstream_server_ip $upstream_addr'; access_log logs/access.log access;
}
} |
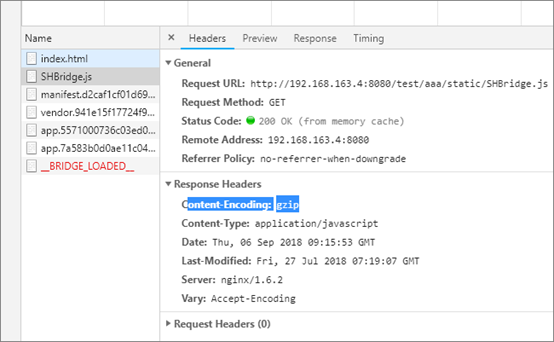
=====> gzip
gzip on; #开启gzip gzip_min_length 1k; #低于1kb的资源不压缩 gzip_comp_level 3; #压缩级别【1-9】,越大压缩率越高,同时消耗cpu资源也越多,建议设置在4左右。 gzip_types text/plain application/javascript application/x-javascript text/javascript text/xml text/css; #需要压缩哪些响应类型的资源,多个空格隔开。不建议压缩图片,下面会讲为什么。 gzip_disable "MSIE [1-6]."; #配置禁用gzip条件,支持正则。此处表示ie6及以下不启用gzip(因为ie低版本不支持) gzip_vary on; #是否添加"Vary: Accept-Encoding"响应头 |