VMWare Workstation部署MYSQL
【服务器准备】
安装Vritual WorkStation之后,检查Type=NAT的连接,确认网段。192.168.33.0

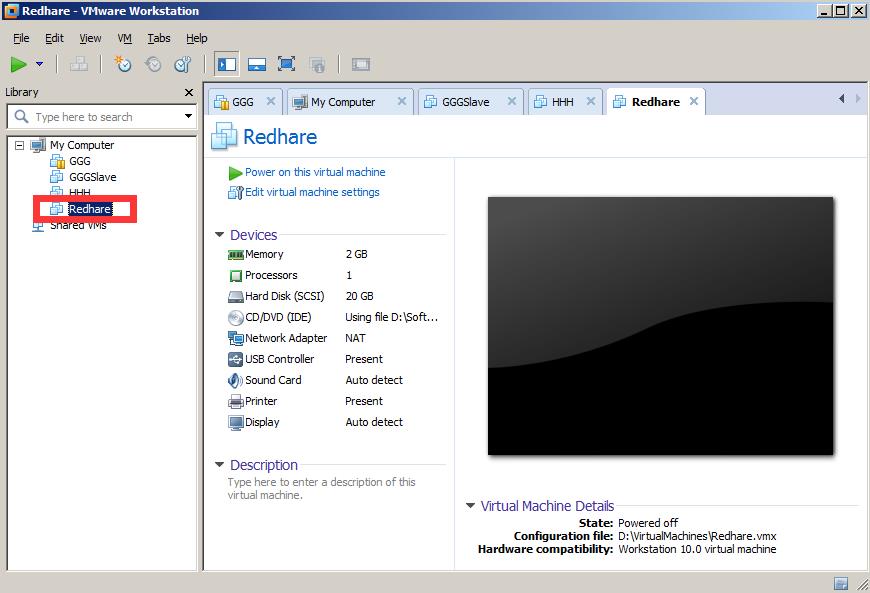
新建一台虚机Redhare.contoso.com:(使用CentOS7的ISO文件),并安装操作系统
安装好操作系统后,修改网卡设置如下:
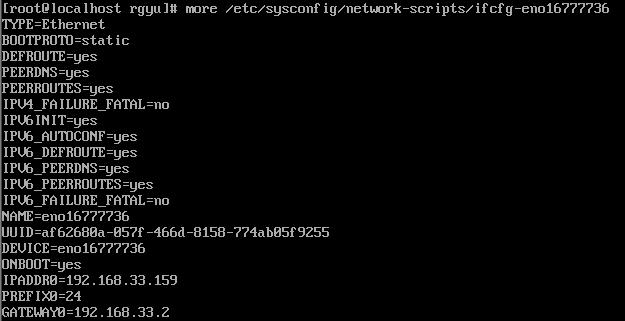
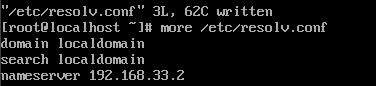
路由设置如下:
修改虚拟机的名称
1) 编辑/etc/hostname文件,改为Redhare
2) 编辑/etc/hosts文件,改为RedHare LOCALHOST REDHARE.CONTOSO.COM

【MYSQL 安装】
选择下面的版本,进行安装:

把文件解压缩到如下位置:/usr/local/mysql,并新建一个Data目录

shell> groupadd mysql
shell> useradd -r -g mysql -s /bin/false mysql
shell> cd /usr/local
shell> cd mysql
shell> mkdir mysql-files
shell> mkdir data
shell> chmod 750 mysql-files
shell> chmod 750 data
shell> chown -R mysql .
shell> chgrp -R mysql .
shell> chown -R root .
shell> chown -R mysql data mysql-files
运行下面命令,临时生成一个密码:
shell> bin/mysqld --initialize --user=mysql # 记住密码YgorlkpsW3#J

shell> bin/mysql_ssl_rsa_setup # MySQL 5.7.6 and up
shell> bin/mysqld_safe --user=mysql &
shell> bin/mysql –u root –p // 登录
shell> ALTER USER USER() IDENTIFIED BY ‘新密码’
# 设定启动时,可调用自动启动
shell> cp support-files/mysql.server /etc/init.d/mysql
shell> chkconfig –-add mysql
//下面这一个步骤,可忽略,在新版本中,support-files/my-default.cnf 已经移除。
shell> cp support-files/my-default.cnf /etc/my.cnf
参考资料:
http://www.cnblogs.com/zhoulf/archive/2013/01/25/zhoulf.html