ansible是基于Python开发,集合了众多运维工具(puppet、cfengine、chef、func、fabric)的优点,实现了批量系统配置、批量程序部署、批量运行命令等功能。ansible是基于模块工作的,本身没有批量部署的能力。真正具有批量部署的是ansible所运行的模块,ansible只是提供一种框架。
ansible日常使用
例1:

[root@localhost ~]# cat hosts
[lianxi]
192.168.132.161
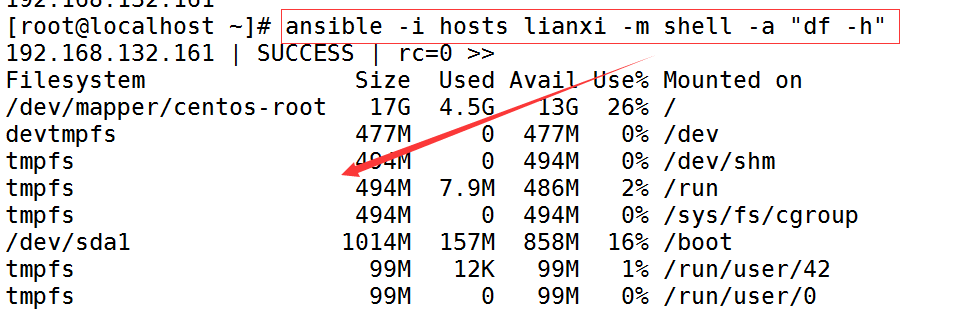
以上例1选项作用说明:
-m :指定使用的模块,默认使用 command 模块
-a: 指定使用模块中相应的命令参数
-i: 指定 host 文件的路径,默认是在 /etc/ansible/hosts
上面是一些基本的如何使用ansible的例子,接下来开始安装配置ansible:
ansible的配置:
1.安装ansibel
安装ansible,一定要先部署好epel源。建议使用阿里云yum源和epel源,epel源需要2.6以上版本!
[root@host1 ~]# yum install ansible -y
2.ssh部署公钥认证
在ansible主机上做如下公钥认证操作(161虚拟机):
[root@host1 ~]# ssh-keygen -t rsa -P '' -f ~/.ssh/id_rsa
[root@host1 ~]# ssh-copy-id -i ~/.ssh/id_rsa.pub root@192.168.132.162
[root@host1 ~]# ssh-copy-id -i ~/.ssh/id_rsa.pub root@192.168.132.163
查看ansible版本号:
[root@host1 ~]# ansible --version
ansible 2.8.5
3.配置ansible主机清单
主机清单配置文件:/etc/ansible/hosts
4.验证ansible
[root@host1 ~]# ansible test1 -m ping
192.168.132.162 | SUCCESS => {
"ansible_facts": {
"discovered_interpreter_python": "/usr/bin/python"
},
"changed": false,
"ping": "pong"
}
192.168.132.163 | SUCCESS => {
"ansible_facts": {
"discovered_interpreter_python": "/usr/bin/python"
},
"changed": false,
"ping": "pong"
}
ansible简单命令操作:
[root@host1 ~]# ansible test1 -m command -a "hostname"
192.168.132.162 | CHANGED | rc=0 >>
host2
192.168.132.163 | CHANGED | rc=0 >>
host3