安装前准备:
现在Arch官方源是MariaDB,所以得从mysql官网下载,地址:https://www.mysql.com/downloads/
选择一个合适的版本下载:
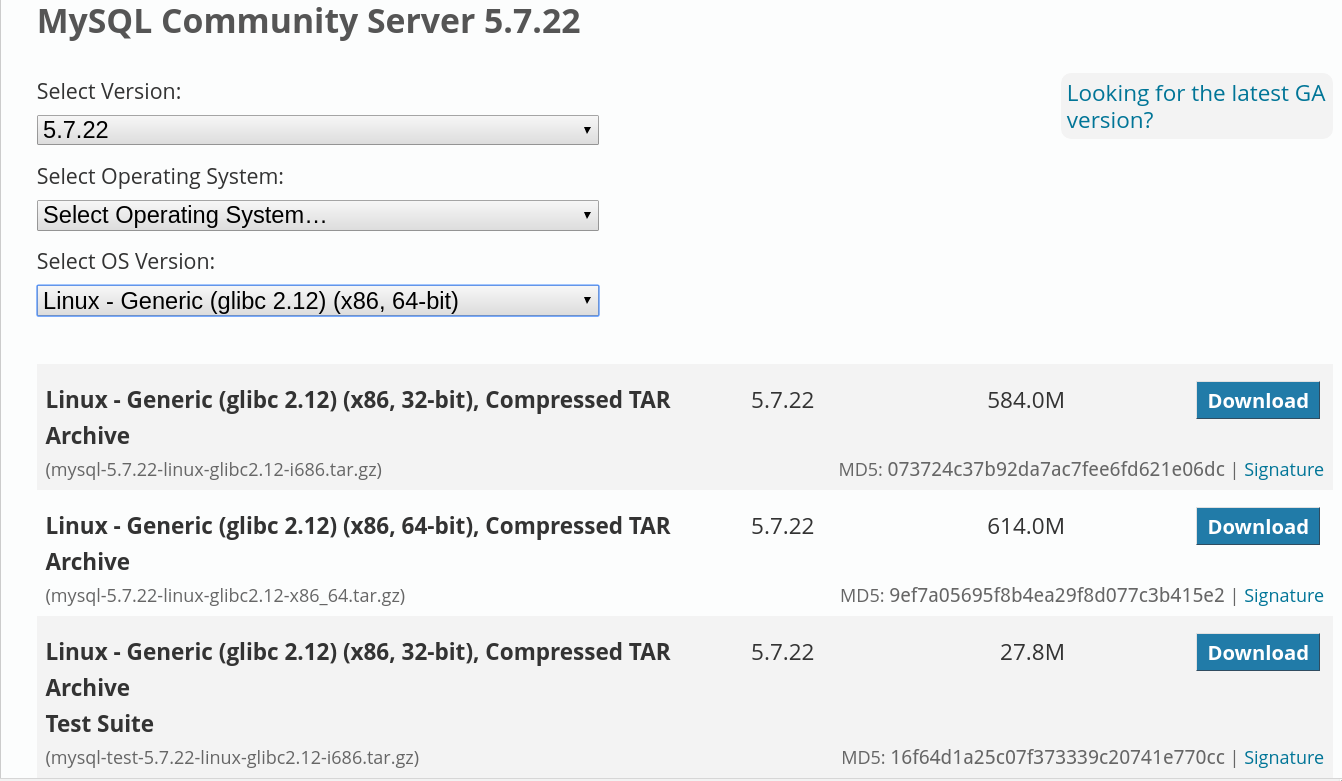
下载下来先将压缩文件解压到/usr/local,将长长的文件夹名称改为mysql(方便)
mv mysql-5.7.22-linux-glibc2.12-x86_64 mysql
安装步骤:
1、创建用户组:
groupadd mysql             //创建用户组mysql
useradd -r -g mysql mysql  //-r参数表示mysql用户是系统用户,不可用于登录系统,创建用户mysql并将其添加到用户组mysql中
chown -R mysql mysql/
chgrp -R mysql mysql/
2、创建配置文件
vim /etc/my.cnf
在该文件里面添加如下内容:
[client]
default-character-set=utf8
port = 3306
socket = /tmp/mysql.sock

[mysql]
default-character-set=utf8
port = 3306
socket = /tmp/mysql.sock

[mysqld]
character_set_server=utf8
init_connect='SET NAMES utf8'
basedir=/usr/local/mysql
datadir=/usr/local/mysql/data
socket=/tmp/mysql.sock
log-error=/var/log/mysqld.log
pid-file=/var/run/mysqld/mysqld.pid
#不区分大小写
lower_case_table_names = 1
sql_mode=STRICT_TRANS_TABLES,NO_ZERO_IN_DATE,NO_ZERO_DATE,ERROR_FOR_DIVISION_BY_ZERO,NO_AUTO_CREATE_USER,NO_ENGINE_SUBSTITUTION
max_connections=5000
default-time_zone = '+8:00'

# skip-grant-tables
3、初始化数据库
用下面语句初始化数据库:
bin/mysqld --initialize --user=mysql
执行的时候竟然出错了,报错如下:
libnuma.so.1: cannot open shared object file
缺少libnuma.so,安装numactl就可以解决这个问题:
sudo pacman -S numactl
再执行一次,OK了,安装顺利。
下面开启mysql服务并登陆:
/usr/local/mysql/support-files/mysql.server start
mysql -u root -p
不料这时又出现了错误(盗个图,当时我未截图):

缺少libncurses.so.5,在arch里是ncurses5-compat-libs,同样进行安装:
sudo pacman -S ncurses5-compat-libs
安装之后再次登陆,结果发现了新的问题:
Access denied for user 'root'@'localhost' (using password:YES)
解决这个问题需要修改mysql登录设置。
4、修改MySQL登录设置
(1)编辑/etc目录下面的my.cnf文件:
vim /etc/my.cnf
(2)在末尾追加语句:
skip-grant-tables
(3)重新启动mysql:
/usr/local/mysql/support-files/mysql.server restart
(4)登陆mysql,按照如下步骤进行修改:
# /usr/local/mysql/bin/mysql
Welcome to the MySQL monitor. Commands end with ; or g.
Your MySQL connection id is 3 to server version: 3.23.56
Type 'help;' or 'h' for help. Type 'c' to clear the buffer.

mysql> USE mysql ;
Reading table information for completion of table and column names
You can turn off this feature to get a quicker startup with -A
Database changed

mysql> UPDATE user SET authentication_string = password ( 'new-password' ) WHERE User = 'root' ;
Query OK, 0 rows affected (0.00 sec)
Rows matched: 2 Changed: 0 Warnings: 0

mysql> flush privileges ;
Query OK, 0 rows affected (0.01 sec)

mysql> quit
Bye
(5)将/etc/my.cnf中的skip-grant-tables删除并保存退出,重启mysqld即可。
5、设置开机自启
这个目前还在摸索中。。。
6、出现的问题
(1)今天登陆mysql,出现了一个问题:
Starting MySQL... ERROR! The server quit without updating PID file (/usr/local/mysql/data/mysqld.pid).
尝试遍很多方法都没能解决,最后在这篇博客里面找到了答案:
https://www.interserver.net/tips/kb/mysql-error-server-quit-without-updating-pid-file/
我这里是将my.cnf改为my.cnf.bak就OK了,究竟是什么原因导致的,还需要进一步研究
(2)忘记root密码
把root密码忘记了,无法登陆mysql,起初以为更改密码很简单,但过程中还是遇到了一些问题:
首先要停止mysql服务:
/usr/local/mysql/support-files/mysql.server stop
用以下命令启动MySQL,以不检查权限的方式启动:
mysqld --skip-grant-tables &
但就是执行完这部后出了问题,出错如下:
InnoDB: The innodb_system data file 'ibdata1' must be writable
[ERROR] InnoDB: The innodb_system data file 'ibdata1' must be writable
[ERROR] InnoDB: Plugin initialization aborted with error Generic error

[ERROR] Plugin 'InnoDB' init function returned error.
[ERROR] Plugin 'InnoDB' registration as a STORAGE ENGINE failed.
[ERROR] Failed to initialize builtin plugins.
[ERROR] Aborting
看着出错提示应该是权限问题,可以更改权限:
sudo chmod -R 777 mysql/*
在执行mysqld --skip-grant-tables & 就没有再出现错误
剩下的步骤参考上面修改mysql配置就可以