何为页面美化?永远没有止境的乱搞也。 ——hzz
写在最前面:F12真**是神器!(逃
首先是人手必备的背景图片


/*背景图片 粘在CSS框*/
body {
    color: #000;
    background:url(https://i.loli.net/2018/07/30/5b5ed586ec2a8.jpg) no-repeat fixed;/*url里放图片地址*/
    background-size:cover;
    font-family: "Helvetica Neue",Helvetica,Verdana,Arial,sans-serif;
    font-size: 12px;
    min-height: 101%;
}
效果↓
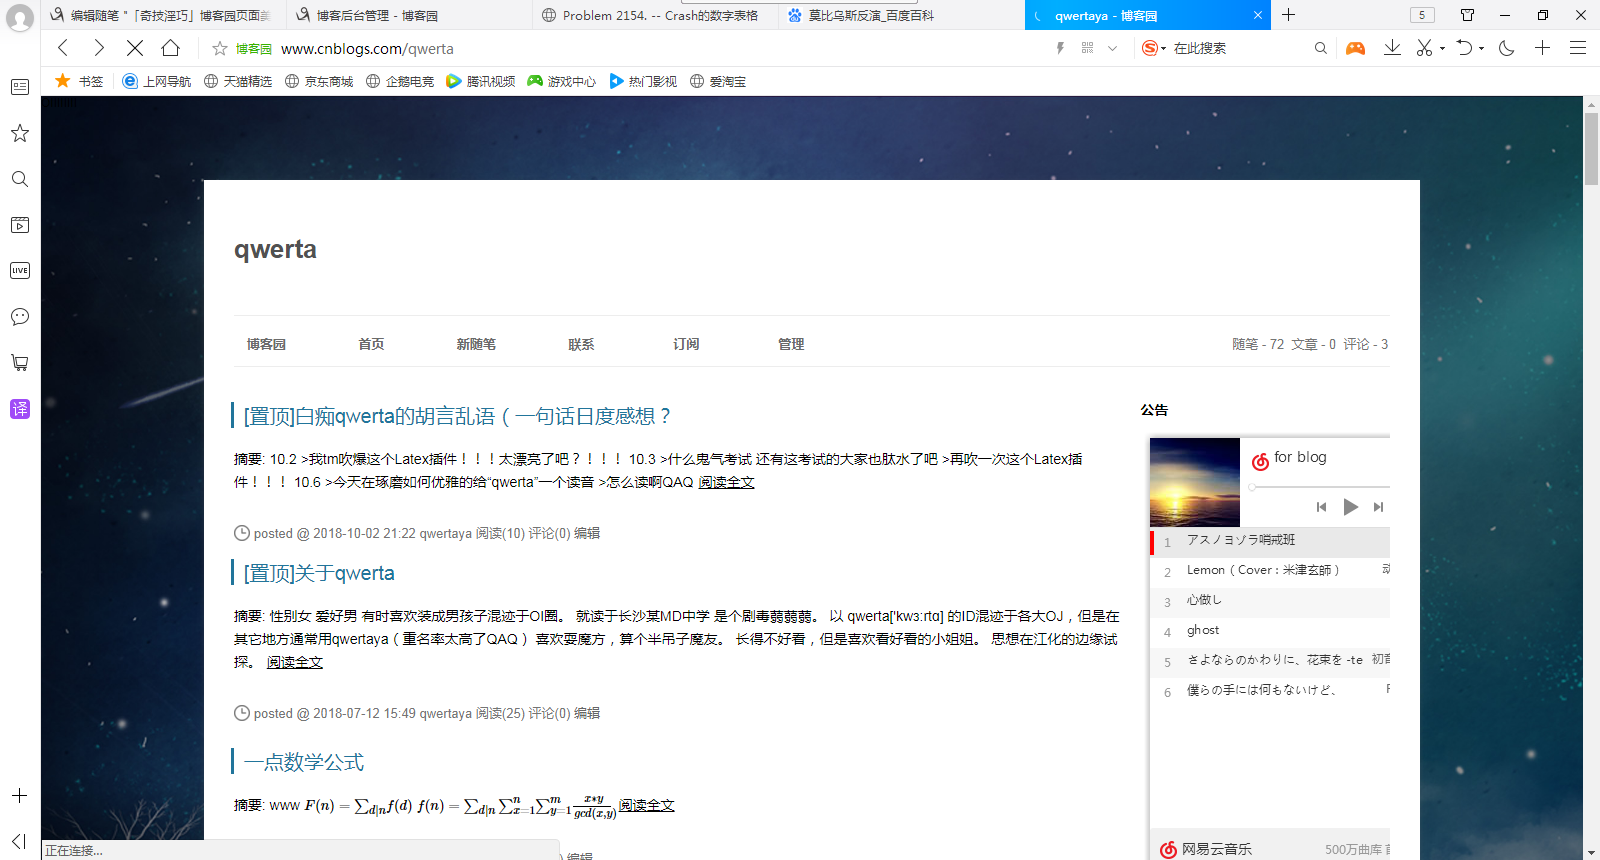
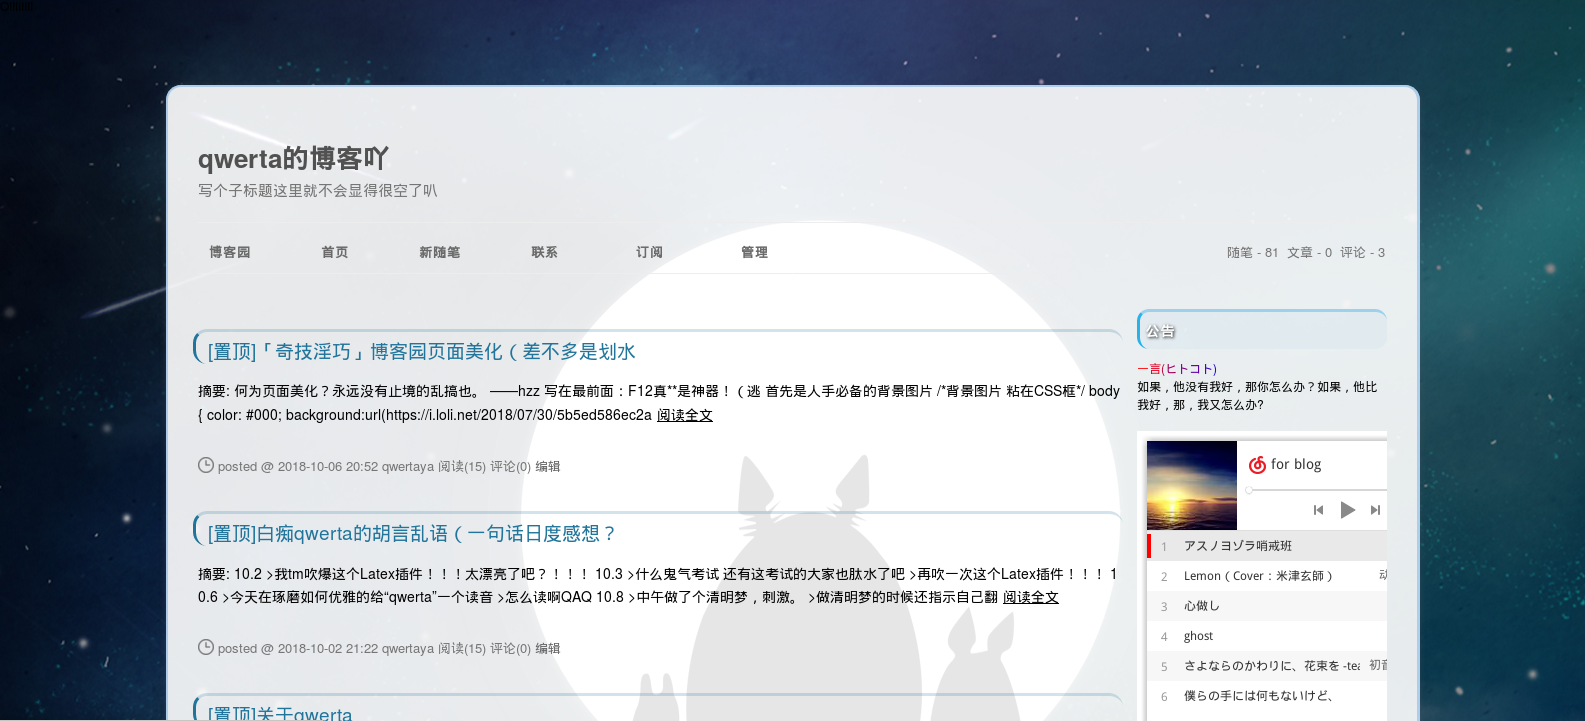
然后别人的博客都是半透明的对叭QAQ
所以要再调整一下中间的大框
/*主面板 粘在CSS框*/
/*建议先自己拿F12调试一下效果*/
#home {
    margin: 0 auto;
        margin-top: 0px;
        margin-bottom: 0px;
     75%;/*大白框的宽度*/
    min- 650px;/*最小宽度*/
    background-color: #ffffffe6;/*颜色 我比较喜欢不特别透的*/
    padding: 30px;
    margin-top: 70px;
    margin-bottom: 50px;
    box-shadow: 0 2px 6px rgba(100, 100, 100, 0.3);
}
效果↓

UPD:要用RGB的值!不然在Windows环境下会无法识别(Invalid property value
我也想要别人那样的标题!QAQ
/*粘在CSS框*/
/*编辑h1*/
#cnblogs_post_body h1 {
    background: #183E5D4D;
    border-radius: 6px 6px 6px 6px;
    color: #FFFFFF;/*字体颜色*/
    font-family: "微软雅黑" , "宋体" , "黑体" ,Arial;
    font-size: 20px;
    font-weight: bold;
    height: 35px;/*框框高度*/
    line-height: 34px;/*文本框高度*/
    margin: 18px 0 !important;
    padding: 8px 0 5px 7px;
    text-shadow: 2px 2px 3px #222222;
    /*下面三句是加左边那条线的*/
    border-left-color: rgb(29, 60, 74);
    border-left-style: solid;
    border-left- 3px;
}
#cnblogs_post_body h2 {
    background: #18639F1A;
    border-radius: 6px 6px 6px 6px;
    color: #FFFFFF;
    font-family: "微软雅黑" , "宋体" , "黑体" ,Arial;
    font-size: 17px;
    font-weight: bold;
    height: 25px;
    line-height: 25px;
    margin: 18px 0 !important;
    padding: 8px 0 5px 7px;
    text-shadow: 2px 2px 3px #222222;
}
#cnblogs_post_body h3 {
    background: #5BBBEF1A;
    border-radius: 6px 6px 6px 6px;
    color: #FFFFFF;
    font-family: "微软雅黑" , "宋体" , "黑体" ,Arial;
    font-size: 16px;
    font-weight: bold;
    height: 17px;
    line-height: 17px;
    margin: 12px 0 !important;
    padding: 5px 0 5px 5px;
    text-shadow: 2px 2px 3px #222222;
    border-left-color: rgb(107, 171, 234);
    border-left-style: solid;
    border-left- 3px;
}
效果↓

还有一个差不多的东西 给引用框左边加条线
/*引用框*/
blockquote {
    background: none;
    border: 2px solid #ffffff4d;
        border-left-color: rgba(255, 255, 255, 0.3);
        border-left-style: solid;
        border-left- 2px;
    padding-left: 10px;
    padding-right: 10px;
    padding-top: 5px;
    padding-bottom: 5px;
    margin-top: 10px;
    margin-bottom: 10px;
    border-left: 3px solid #21759b;
    border-left-color: rgb(33, 117, 155);
    border-left-style: solid;
    border-left- 3px;
}
也是粘在CSS框。
效果↓

接下来我们在公告栏搞事
鉴于公告栏是用html的,所以我们先学一点儿html。
为什么之前不学CSS呢?因为我不会鸭!(逃
首先,html的语句大多数是成对的,后面那个带/,表示结束。
- 段落:<p>这里填文字</p>
- 效果: 这里填文字
- 注意段落是会自动换行的。
- 换行:<br/>
- 在博客园里会被变成<br>,应该是html版本不同的原因。
- 可以用<p></p>当做换行符,但是一种非常不好的习惯。
- 删除线:<del>这里要删掉</del>
- 效果: 这里要删掉
- 跟段落一起用的时候套在段落里面。
- 标题:<h4>标题4</h4>
- 因为我调过h1~h3的显示,所以用h4~h6举例
这是h4
这是h5
这是h6
- 貌似标题也会自动换行。
- 引用链接:<a href="https://www.zhihu.com/">这是哔乎!</a>
- 效果:这是哔乎!
- 插入图片:<img src="www.qaq.png"/>
- 效果:
- 可以调大小 eg:<img src="www.qaq.png" width="250"/>

这几句话应该就够玩公告栏的了。
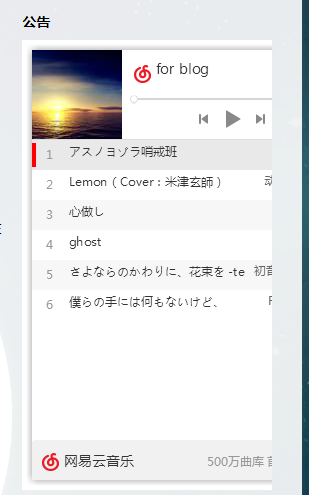
公告栏的音乐播放框
以网易云网页版为例,首先打开对应的歌单
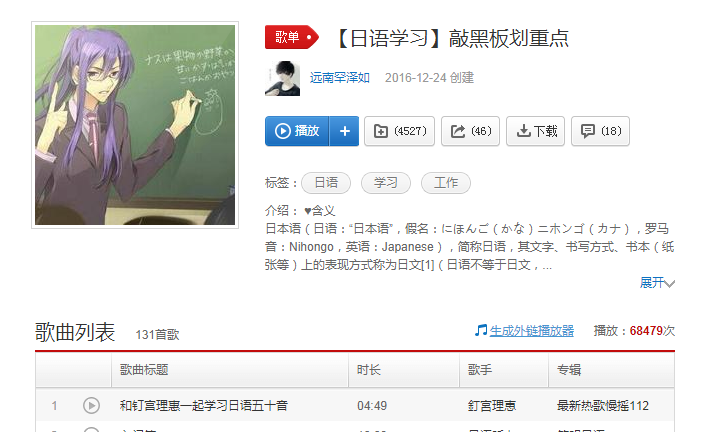
点一下生成外链播放器
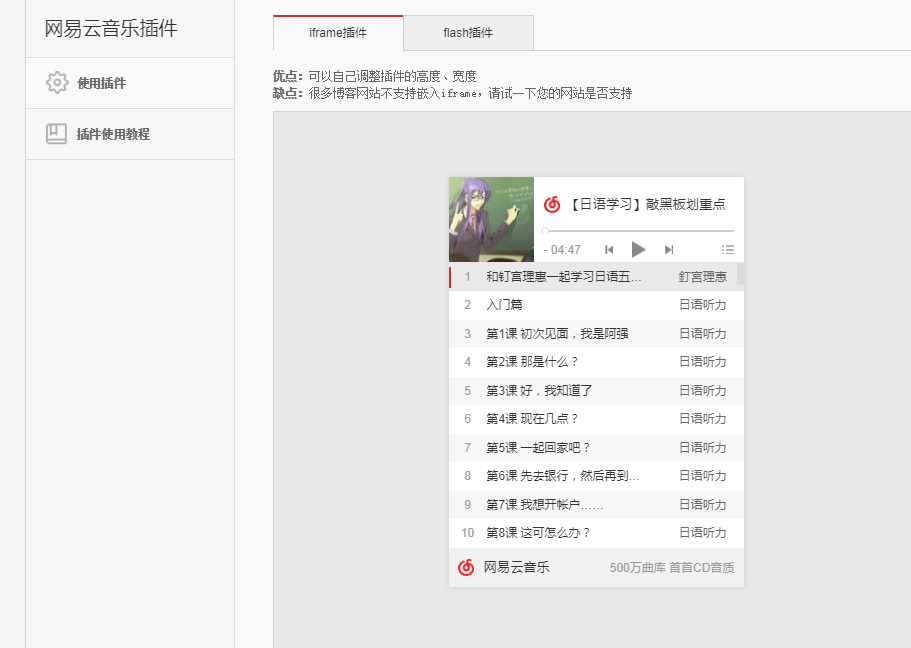
然后选择iframe插件,调整好之后复制页面给出的html代码,粘到公告栏框就行了。

效果↓
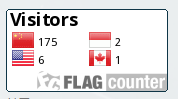
访客量显示
去flagcounter.com按照提示造一个,然后粘html代码,粘到公告栏框就行了

效果↓
以上是我自己会的
以下是我从网上学(抄)的
鼠标点击时出小心心❤
<!-- 粘在侧边栏 -->
<!-- 为页面添加爱心特效 -->
<script type="text/javascript">

(function(window,document,undefined){
    var hearts = [];

    window.requestAnimationFrame = (function(){
        return window.requestAnimationFrame ||
        window.webkitRequestAnimationFrame ||
        window.mozRequestAnimationFrame ||
         window.oRequestAnimationFrame ||
         window.msRequestAnimationFrame ||
         function (callback){
             setTimeout(callback,1000/60);
         }
    })();

    init();

    function init(){
        css(".heart{ 10px;height: 10px;position: fixed;background: #f00;transform: rotate(45deg);-webkit-transform: rotate(45deg);-moz-transform: rotate(45deg);}.heart:after,.heart:before{content: ''; inherit;height: inherit;background: inherit;border-radius: 50%;-webkit-border-radius: 50%;-moz-border-radius: 50%;position: absolute;}.heart:after{top: -5px;}.heart:before{left: -5px;}");
        attachEvent();
        gameloop();
    }

    function gameloop(){
        for(var i=0;i<hearts.length;i++){
            if(hearts[i].alpha <=0){
                document.body.removeChild(hearts[i].el);
                hearts.splice(i,1);
                continue;
             }

             hearts[i].y--;
             hearts[i].scale += 0.004;
             hearts[i].alpha -= 0.013;
             hearts[i].el.style.cssText = "left:"+hearts[i].x+"px;top:"+hearts[i].y+"px;opacity:"+hearts[i].alpha+";transform:scale("+hearts[i].scale+","+hearts[i].scale+") rotate(45deg);background:"+hearts[i].color;
        }

        requestAnimationFrame(gameloop);
    }

    function attachEvent(){
        var old = typeof window.onclick==="function" && window.onclick;
        window.onclick = function(event){
            old && old();
            createHeart(event);
        }
    }

    function createHeart(event){
        var d = document.createElement("div");
        d.className = "heart";
        hearts.push({
            el : d,
            x : event.clientX - 5,
            y : event.clientY - 5,
            scale : 1,
            alpha : 1,
            color : randomColor()
        });

        document.body.appendChild(d);
    }

    function css(css){
        var style = document.createElement("style");
        style.type="text/css";
        try{
            style.appendChild(document.createTextNode(css));
        }
        catch(ex){
            style.styleSheet.cssText = css;
        }

        document.getElementsByTagName('head')[0].appendChild(style);
    }

    function randomColor(){
        return "rgb("+(~~(Math.random()*255))+","+(~~(Math.random()*255))+","+(~~(Math.random()*255))+")";
    }

})(window,document);
</script>
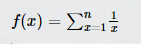
吹爆的LaTeX插件
<!-- 粘在页首html框 -->
<script type="text/x-mathjax-config">
MathJax.Hub.Config({
tex2jax: {
  inlineMath: [['$','$'], ['\(','\)']],
  processEscapes: true
  },
TeX: {
            equationNumbers: {
                autoNumber: ["AMS"],
                useLabelIds: true
            }
        },
        "HTML-CSS": {
            linebreaks: {
                automatic: true
            },
            scale: 85
        },
        SVG: {
            linebreaks: {
                automatic: true
            }
        }
});
</script>
<script type="text/javascript" src="https://cdn.mathjax.org/mathjax/latest/MathJax.js?config=TeX-AMS-MML_HTMLorMML">

</script>
效果↓
右下角的推荐和反对框
/*推荐和反对 粘在CSS框*/
#div_digg {
    padding: 10px;
    position: fixed;
    _position: absolute;
    z-index: 1000;
    bottom: 20px;
    right: 0;
    _right: 17px;
    border: 1px solid #D9DBE1;
    background-color: #FFFFFF;
    filter: alpha(Opacity=80);
    -moz-opacity: 0.8;
    opacity: 0.8;
}

.icon_favorite {
    background: transparent url('http://files.cnblogs.com/files/jackson0714/kj.gif') no-repeat 0 0;
    padding-left: 16px;
}

#blog_post_info_block a {
    text-decoration: none;
    color: #5B9DCA;
    padding: 3px;
}
效果↓
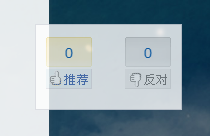
估计是因为我把主面板调透明了,所以它也是透明的2333
卖家秀是实心的。
撒花~
以上就是这个博客目前用到的全部改造啦
以下是教材
博客园美化教程大集合----极致个性化你的专属博客(超详细,看这篇就够了) - 洪卫 - 博客园
这篇的改造内容很多,拿来再F12搞搞,简单粗暴。
然后那个Latex的插件因为年代久远找不到了QAQ
我还想要很多大佬博客左下角的小姑娘QAQ
所以还是to be continued吧2333
UPD
今天(10.14)给主界面加了蓝色的浅浅边框,然后把整个主题改成了圆角风2333
效果:
好像不比原来好看emmm
/*圆角:*/
    border-radius: 12px;
/*其中12px是圆的半径?直径?*/