操作系统:
Ubuntu 14.04
前言
在之前,我直接从P4.org给的GitHub网址上下载了p4factory,但是在根据ReadMe的内容进行QuickStart的时候,发生了shell脚本cd错误。
在得到了国际友人的帮助之下,我发现首先要把这个仓库fork过来,然后在自己的fork分支下进行修改。
询问及解答的地址:When I fellow the step in ReadMe: ./autogen.sh, I found a problem
PS:不知道怎么感谢人家,于是点了他的关注。
准备过程:Git操作
参考我的前一篇博文:Git 使用ssh密钥
在文章的最后,顺便把GitHub上的P4factory内容clone了下来。
实际操作过程(参考ReadMe)
Important: git submodules
We often update the submodules for this repo. This is why we recommend that you run the following command whenever pulling the latest version of master:
git submodule update --init --recursive
在之前的尝试中,我直接拷贝了原master的zip,但是并没有从git中下载下来submodules的内容,导致文件夹为空。
在cd进p4factory之后,执行该操作:

Quickstart
To install all the Ubuntu 14.04 dependencies, run
./install_deps.sh
Before running the simulator, you need to create veth interfaces that the simulator can connect to. To create them, you need to run:
sudo p4factory/tools/veth_setup.sh
We use autoconf tools to generate makefiles. Run the following commands to prepare your workspace.
cd p4factory
./autogen.sh
./configure
注意:上述各步结束之后,都会返回p4factory目录。
To validate your installation and test the simulator on a simple P4 target, do the following:
cd p4factory/targets/basic_routing/
make bm
sudo ./behavioral-model
To run a simple test, run this in a different terminal:
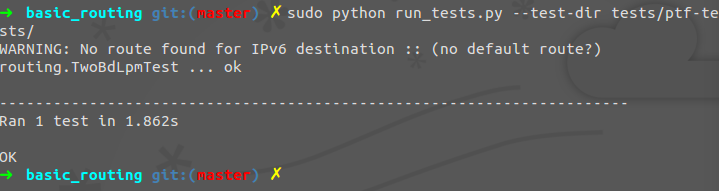
cd p4factory/targets/basic_routing/
sudo python run_tests.py --test-dir tests/ptf-tests/
大概的意思是,在Ubuntu上安装依赖关系,然后安装配置工具balabala,最后跑了一个例子,按照顺序一步步下来即可。
注意,命令所提到的文件名称p4factory是和ReadMe一样的,如果你是直接从原仓库下下来的话,名称是p4factory-master。
2016/9/24