一、操作步骤
①使用idea新建一个Spring Boot项目
②修改pom.xml
③修改application.properties
④修改编写一个Hello Spring Boot的Controller
⑤启动项目访问
二、详细步骤
1、File-->New-->Project

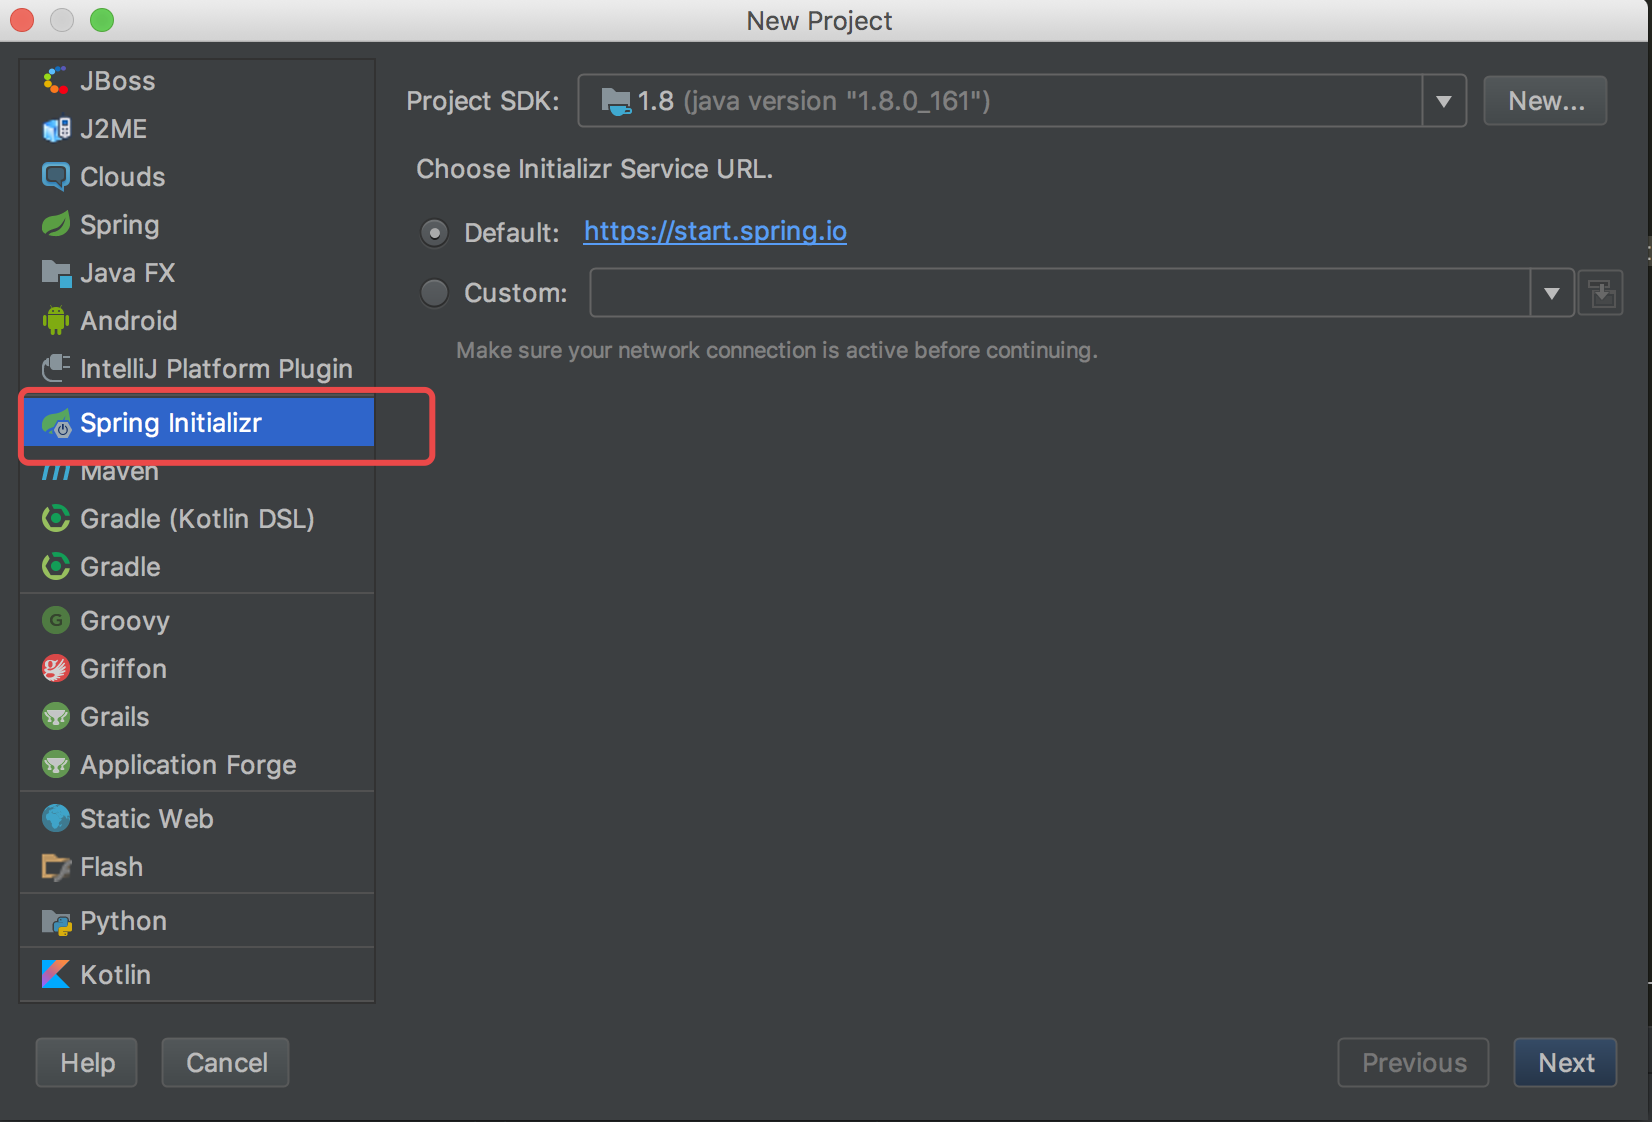
2、选择Spring Initializr 然后Next
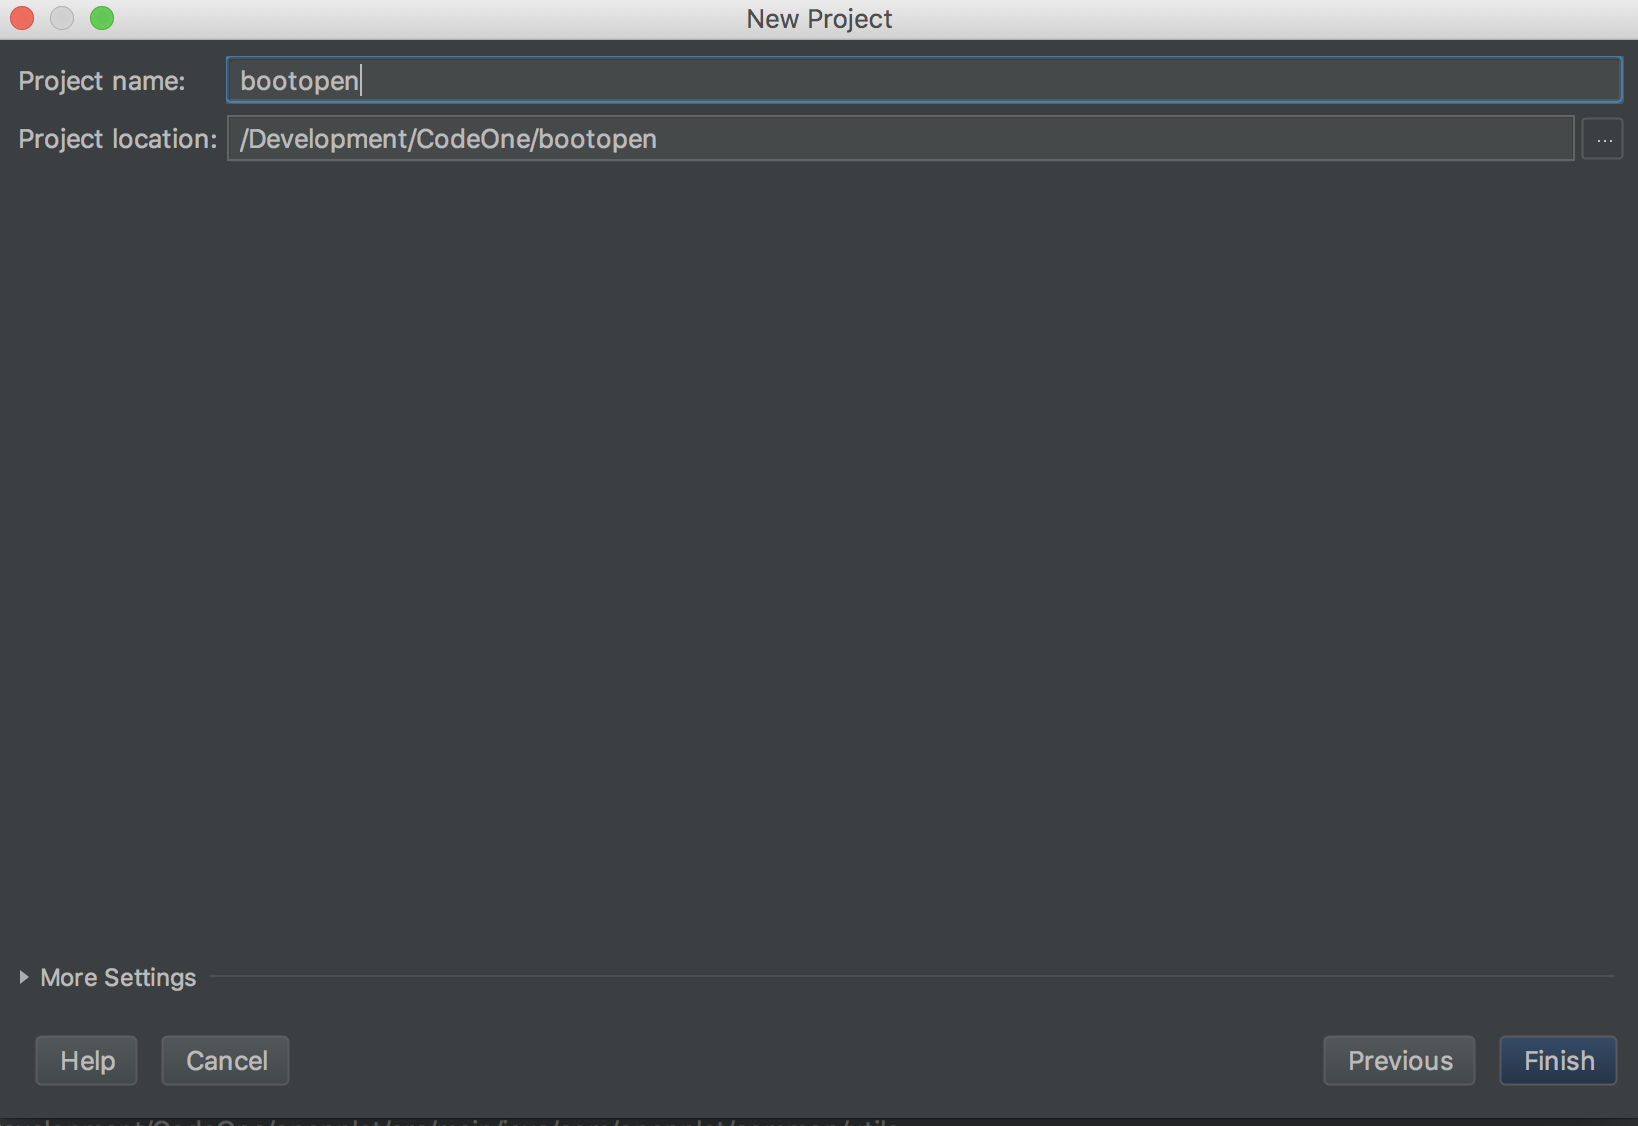
3、输入Artiface 然后Next

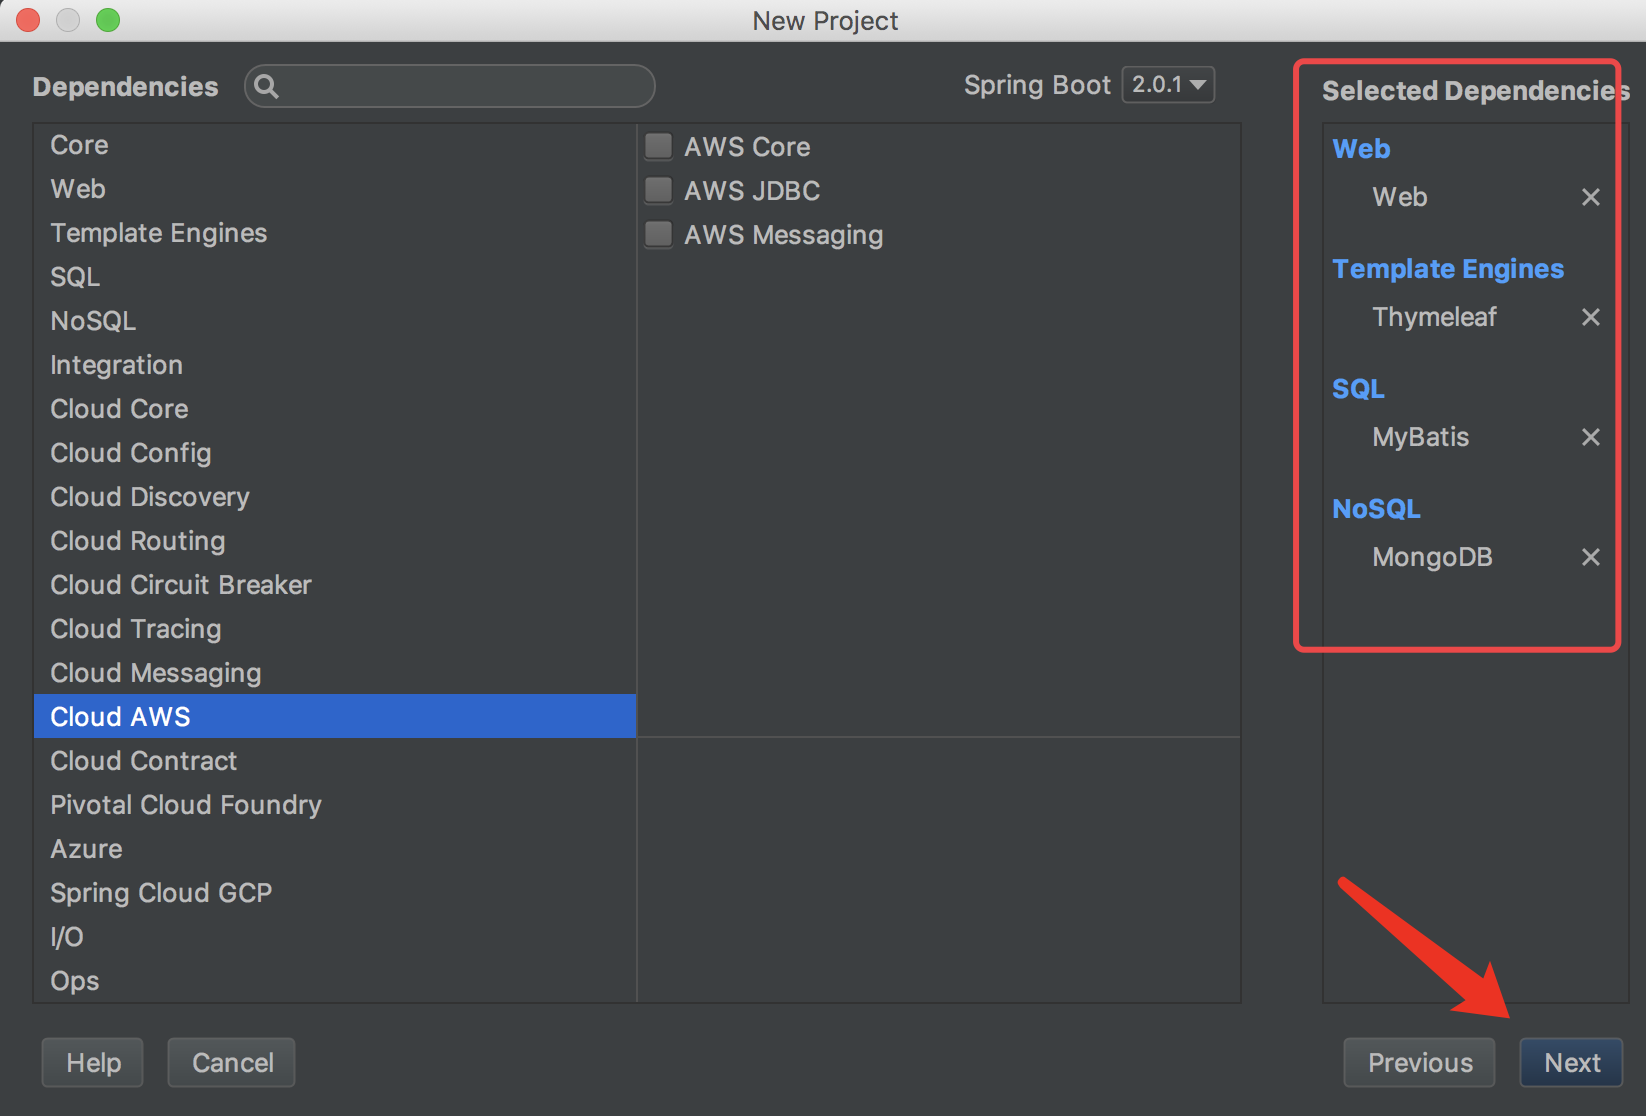
4、勾选Web 、模版我们选择官方推荐的Thymeleaf模版引擎,其他框架、中间件、数据库根据需要选择即可,而且无需我们手动去添加配置文件等,选择完成后Next
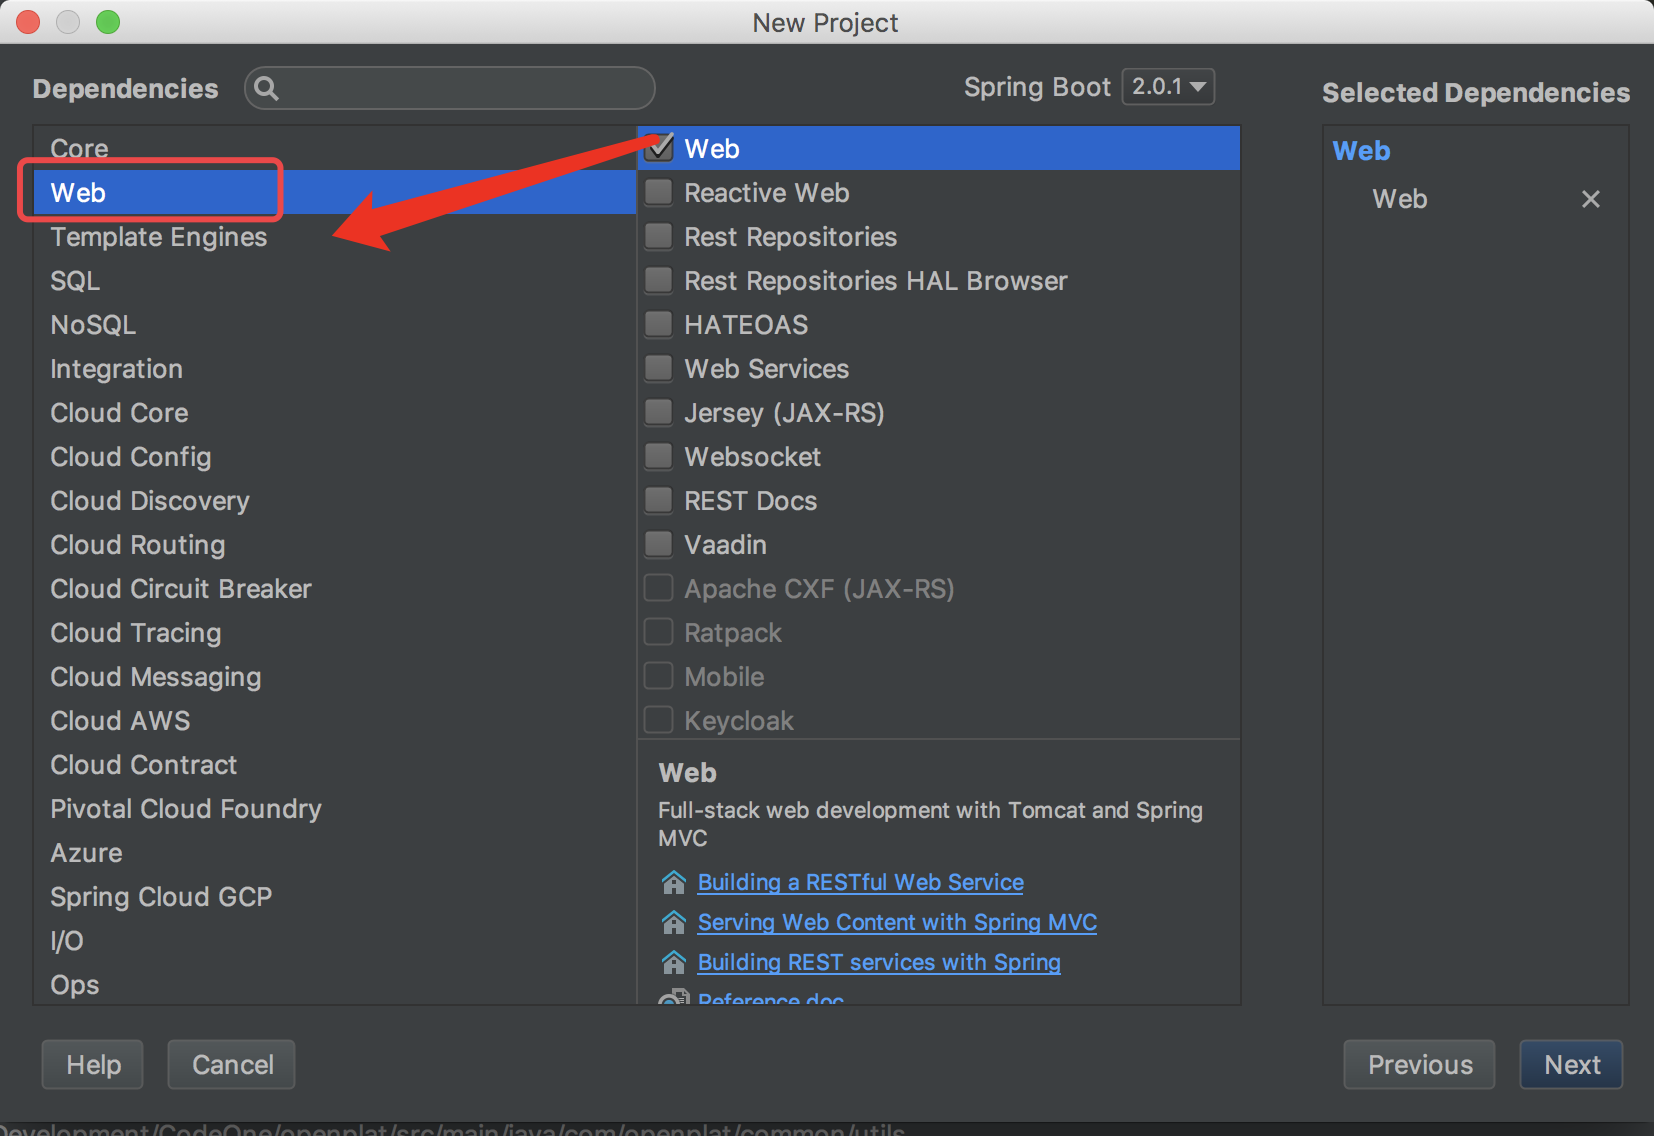
选择模版引擎

5、Finish即可
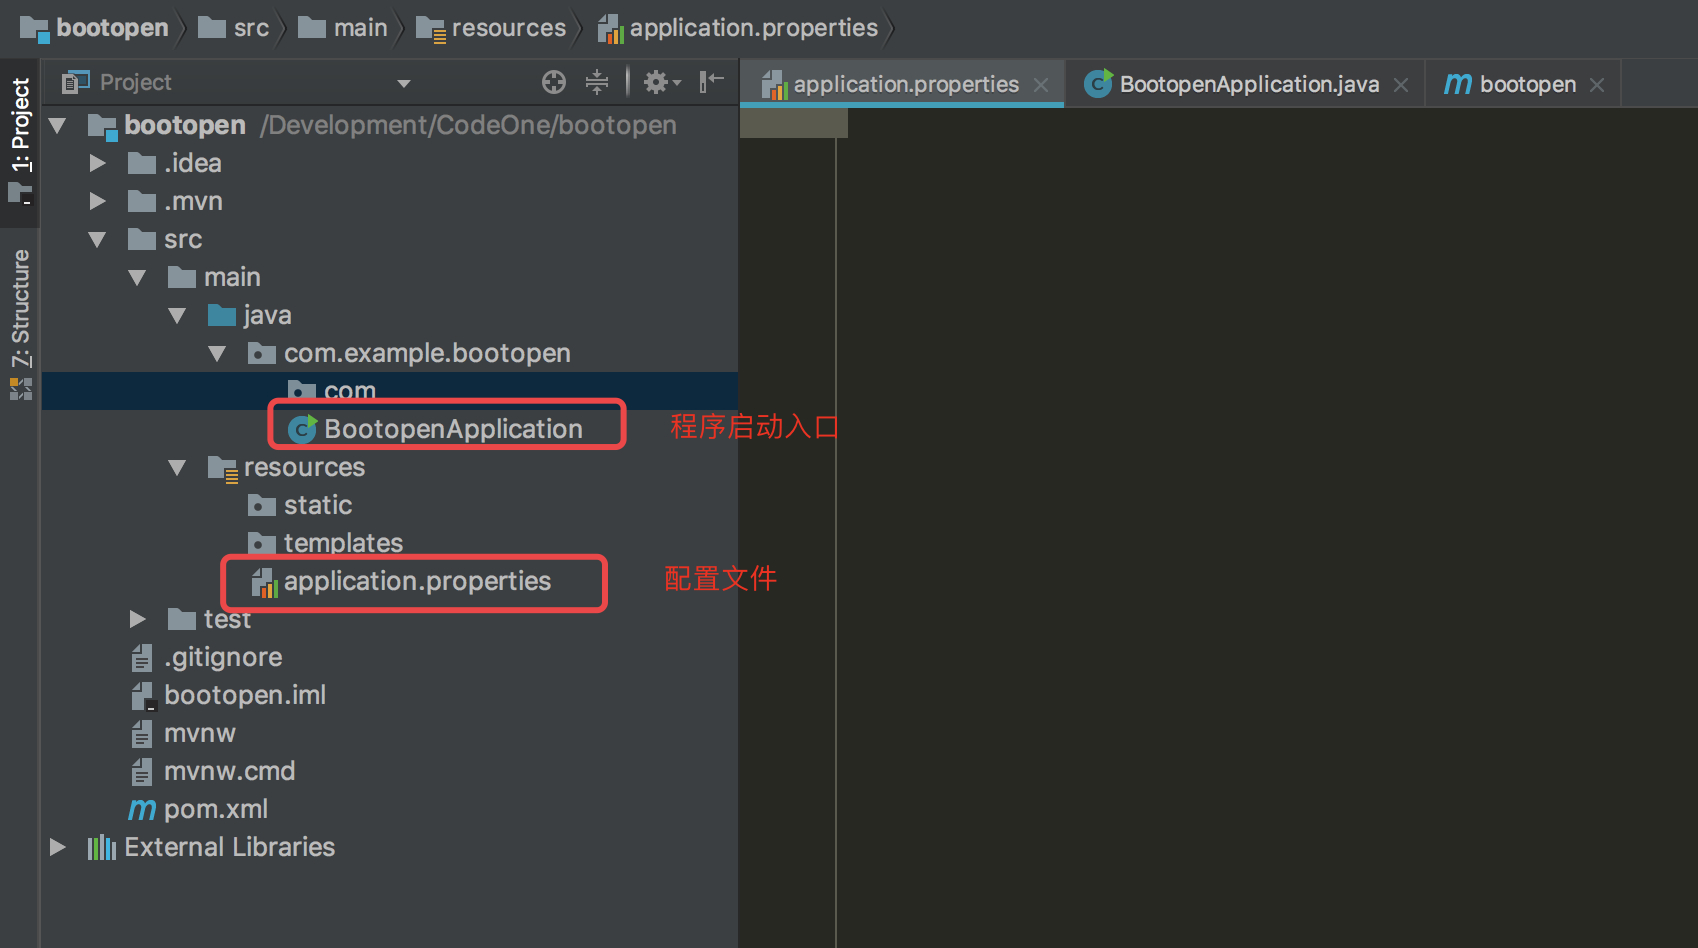
6、查看Spring Boot项目结构目录
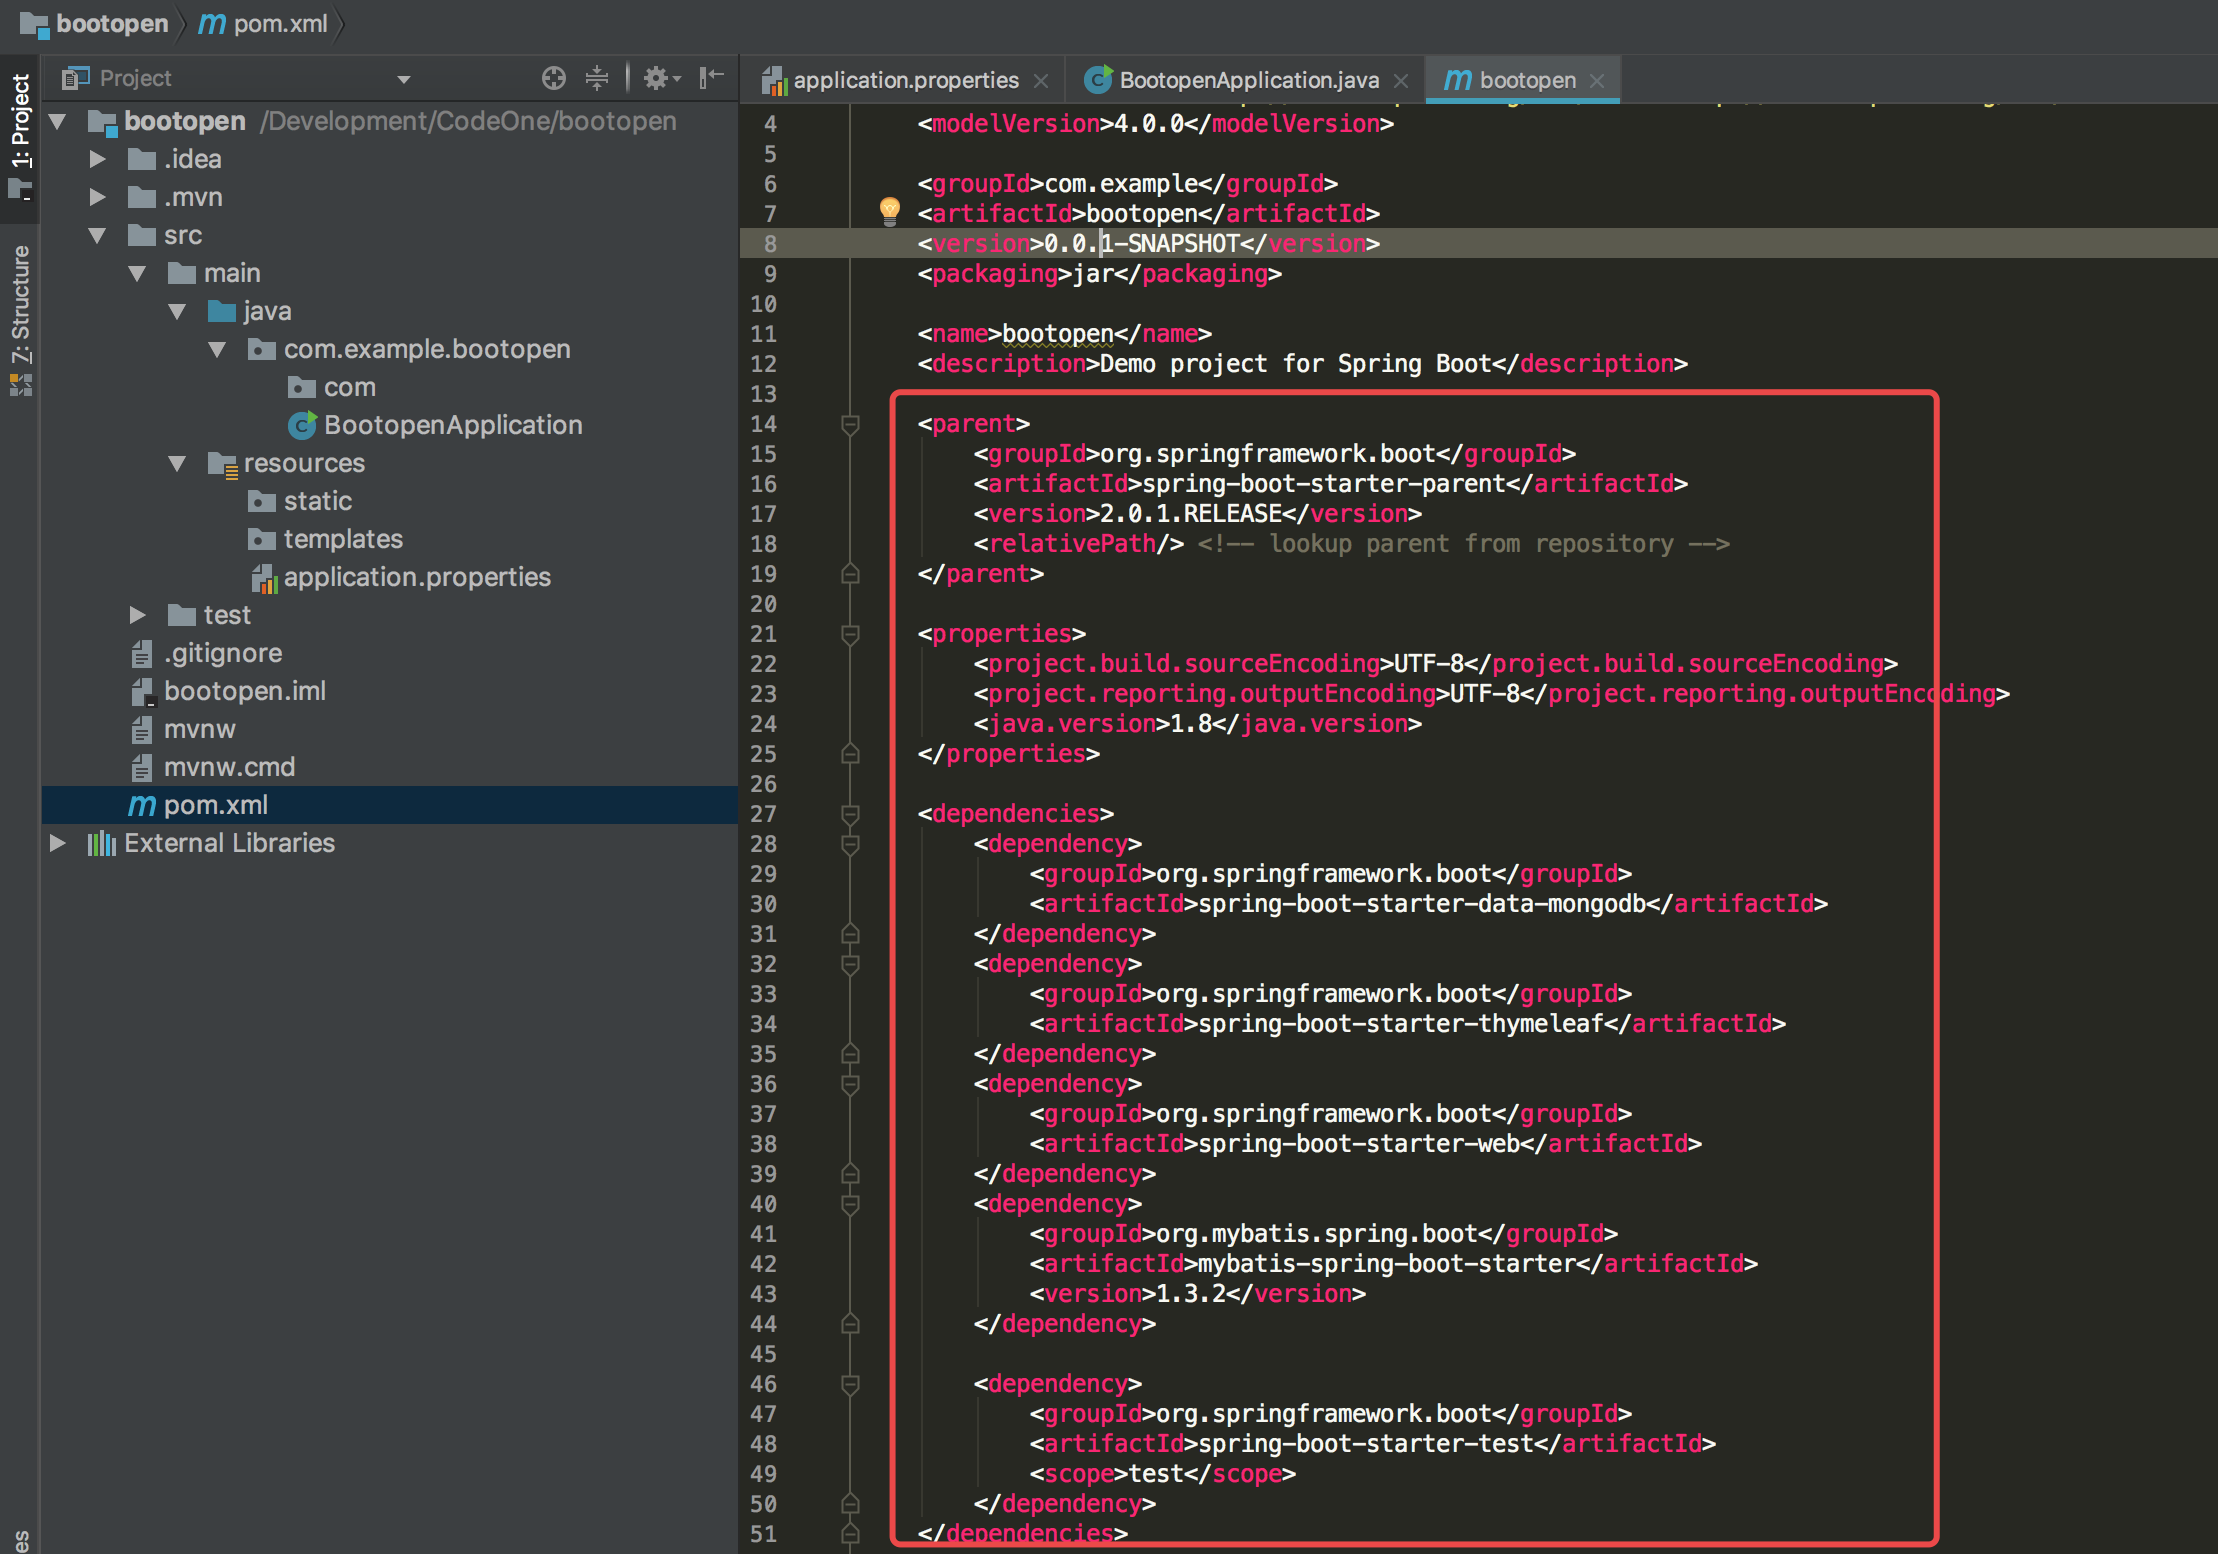
7、在pom.xml添加如下内容
注意:如果新建项目时选择了依赖的mybatis、mongodb之类的启动时候会报错,由于没配置数据源及mongodb的连接信息,此时如果只是想测试项目是否搭建成功先注释即可
<parent>
        <groupId>org.springframework.boot</groupId>
        <artifactId>spring-boot-starter-parent</artifactId>
        <version>2.0.1.RELEASE</version>
        <relativePath/> <!-- lookup parent from repository -->
    </parent>

    <properties>
        <project.build.sourceEncoding>UTF-8</project.build.sourceEncoding>
        <project.reporting.outputEncoding>UTF-8</project.reporting.outputEncoding>
        <java.version>1.8</java.version>
    </properties>

    <dependencies>
        <!--<dependency>-->
            <!--<groupId>org.springframework.boot</groupId>-->
            <!--<artifactId>spring-boot-starter-data-mongodb</artifactId>-->
        <!--</dependency>-->
        <dependency>
            <groupId>org.springframework.boot</groupId>
            <artifactId>spring-boot-starter-thymeleaf</artifactId>
        </dependency>
        <dependency>
            <groupId>org.springframework.boot</groupId>
            <artifactId>spring-boot-starter-web</artifactId>
        </dependency>
        <!--<dependency>-->
            <!--<groupId>org.mybatis.spring.boot</groupId>-->
            <!--<artifactId>mybatis-spring-boot-starter</artifactId>-->
            <!--<version>1.3.2</version>-->
        <!--</dependency>-->

        <dependency>
            <groupId>org.springframework.boot</groupId>
            <artifactId>spring-boot-starter-test</artifactId>
            <scope>test</scope>
        </dependency>
    </dependencies>
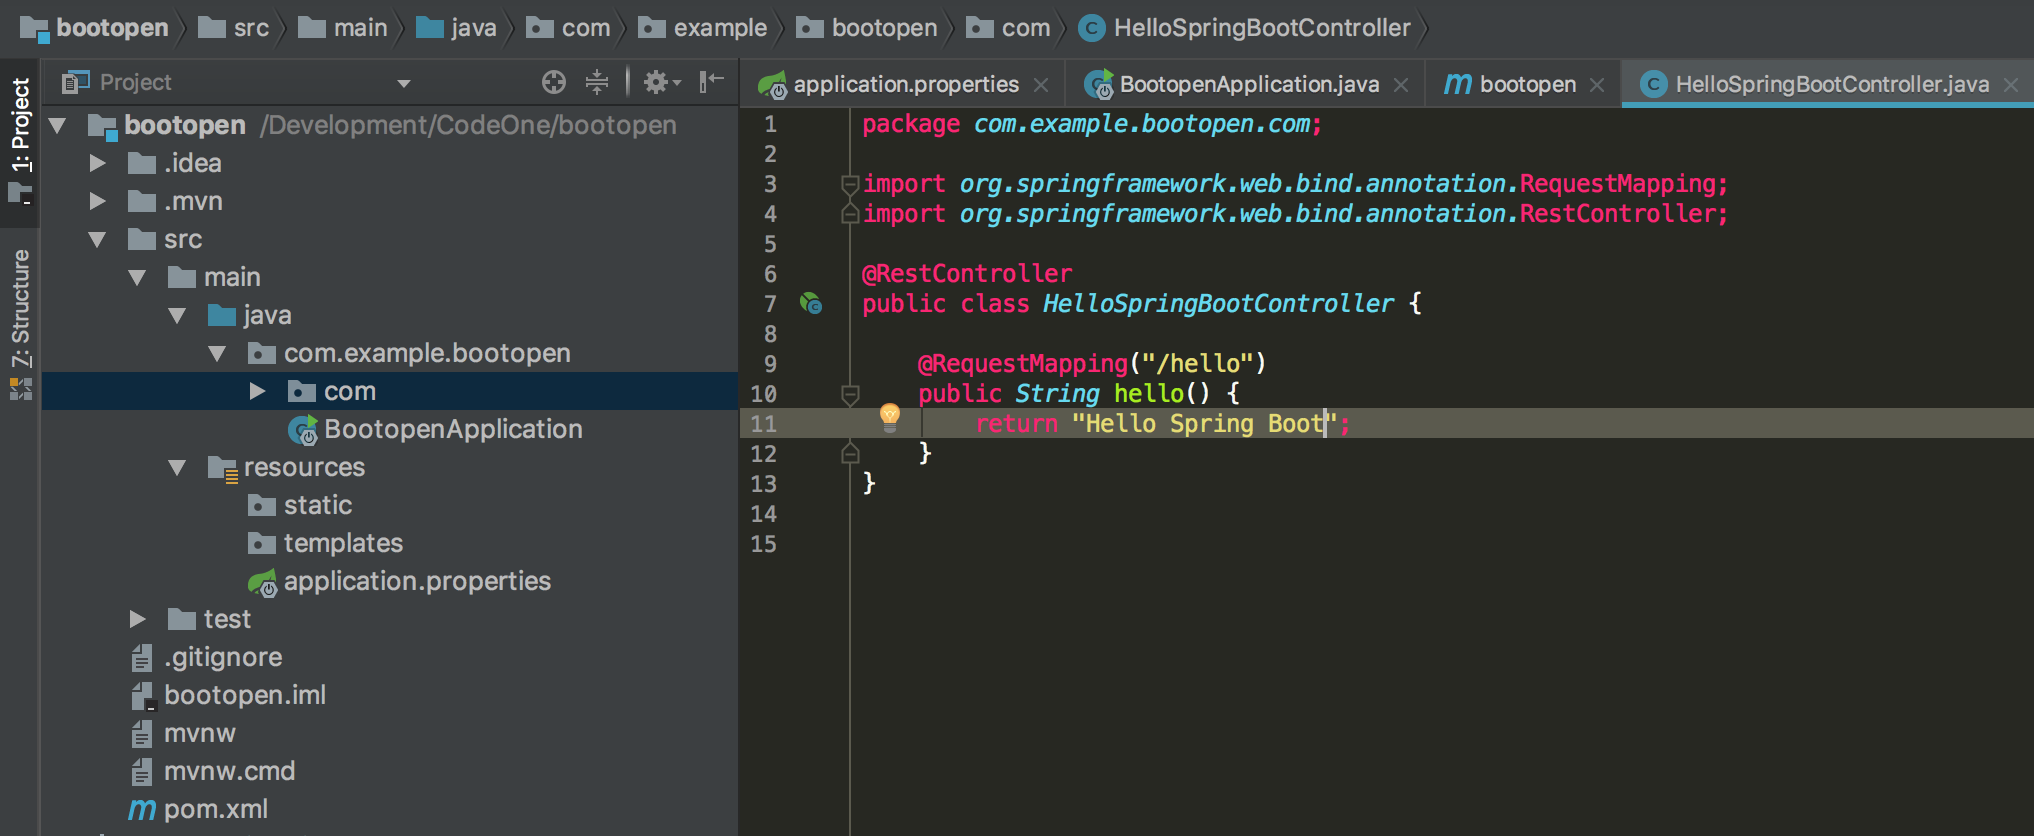
8、编写Hello Spring Boot的Controller
package com.example.bootopen.com;

import org.springframework.web.bind.annotation.RequestMapping;
import org.springframework.web.bind.annotation.RestController;

@RestController
public class HelloSpringBootController {

    @RequestMapping("/hello")
    public String hello() {
        return "Hello Spring Boot";
    }
}
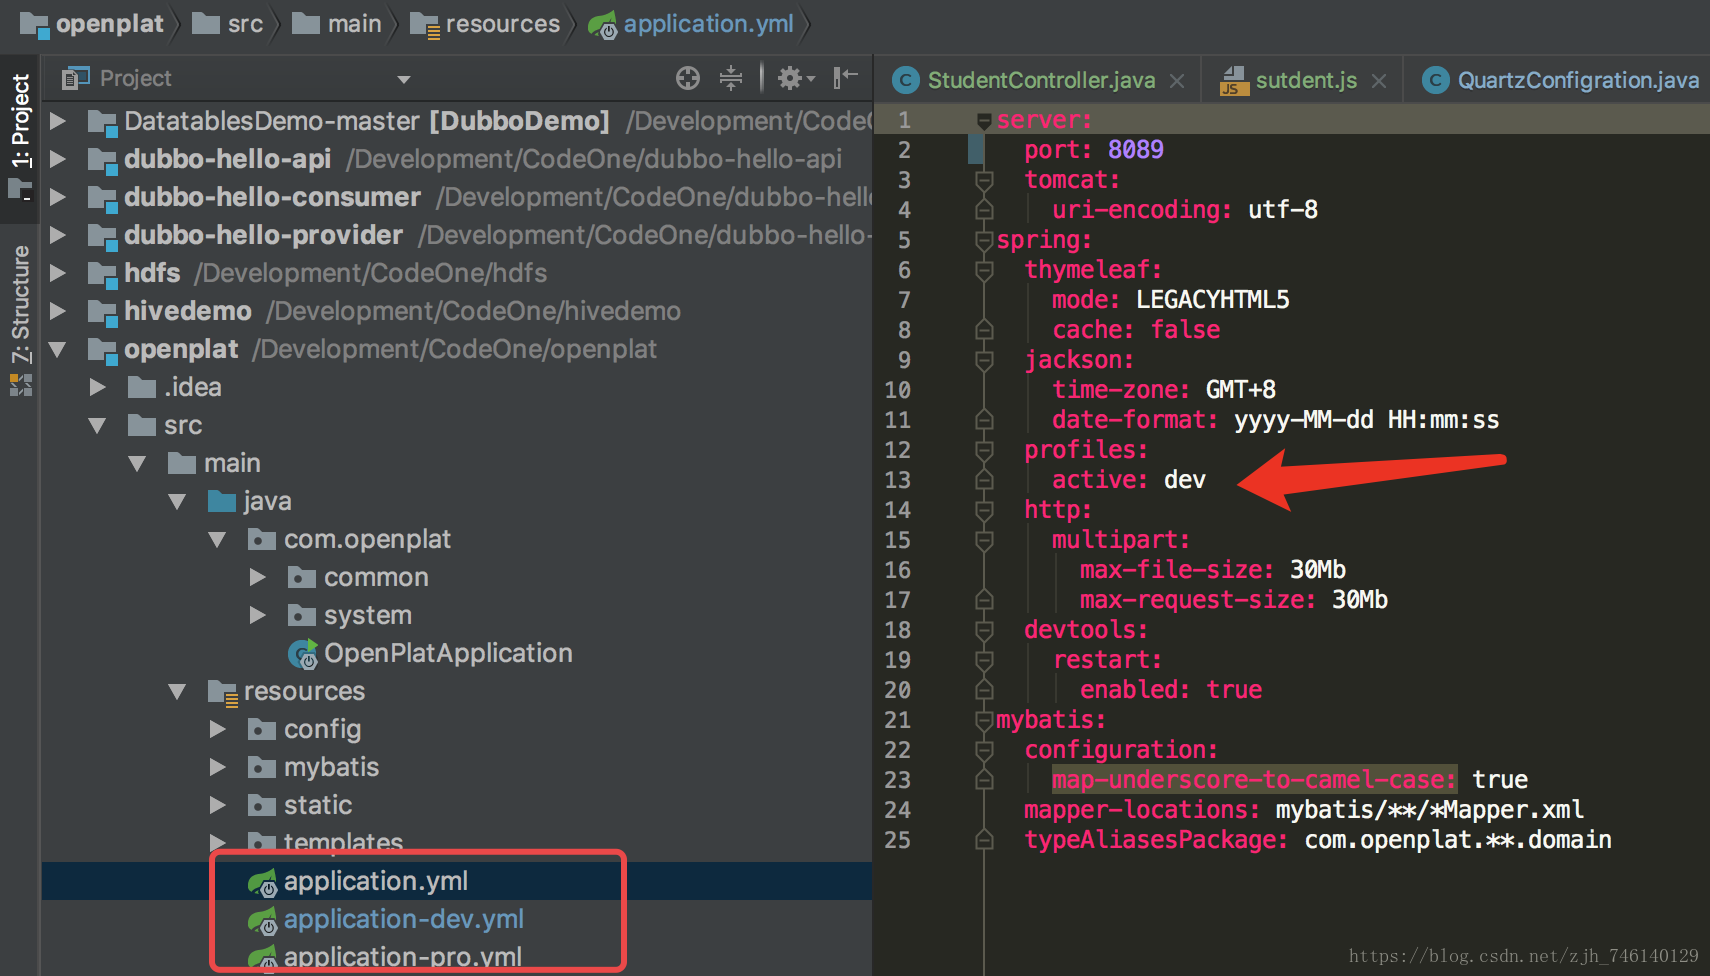
9、修改配置文件 application.properties
注意:如果只是简单测试项目只需要添加端口即可,其他数据源、缓存、静态资源路径也可以在此配置。

笔者推荐一种配置文件模式:另外新建2个配置文件,一个开发环境,一个线上环境,通过application.properties自由切换

10、启动项目 选择Run、Debug启动
关于@SpringBootApplication注解说明:@SpringBootApplication开启了Spring的组件扫描和springboot的自动配置功能,相当于将以下三个注解组合在了一起
(1)@Configuration:表名该类使用基于Java的配置,将此类作为配置类
(2)@ComponentScan:启用注解扫描
(3)@EnableAutoConfiguration:开启springboot的自动配置功能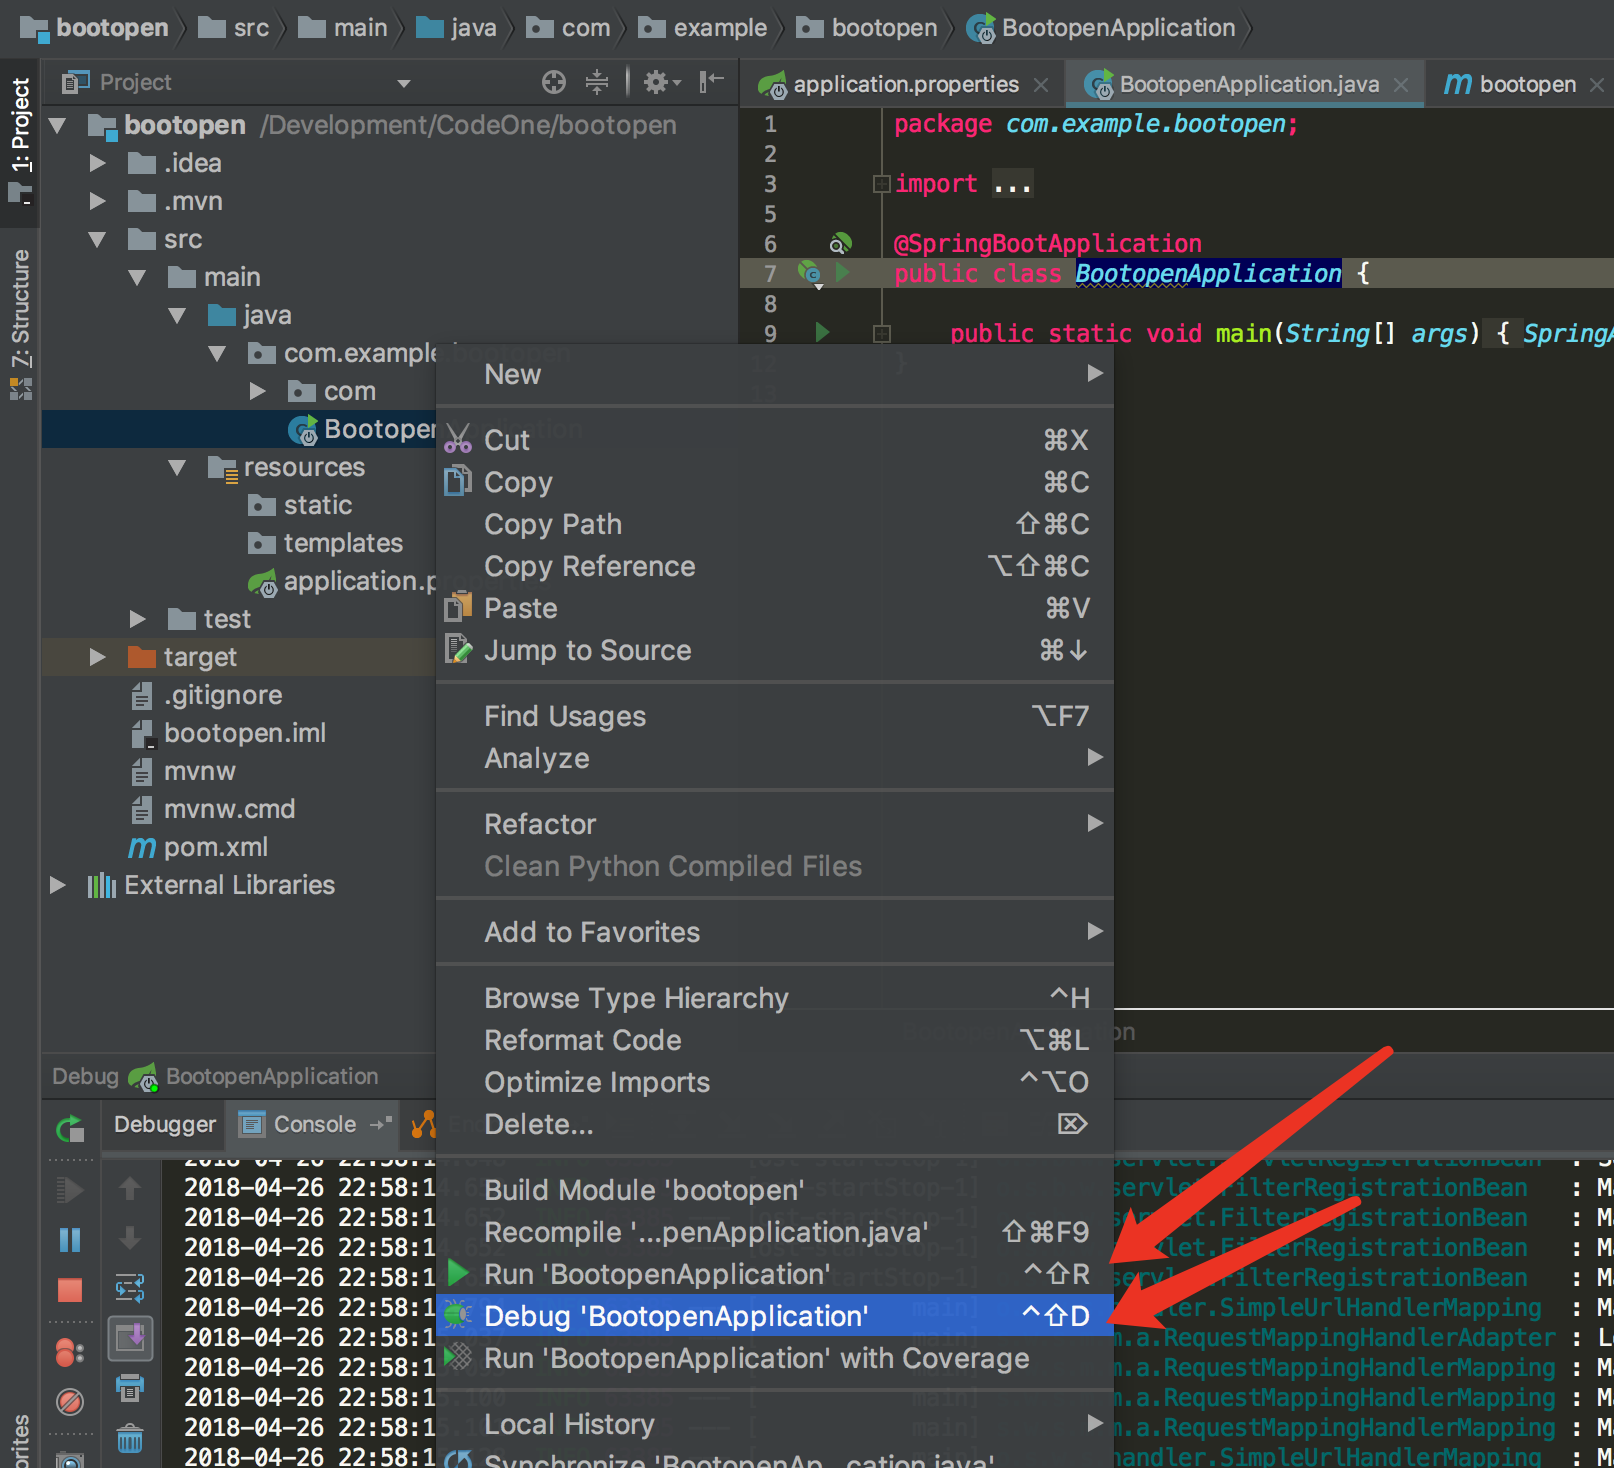

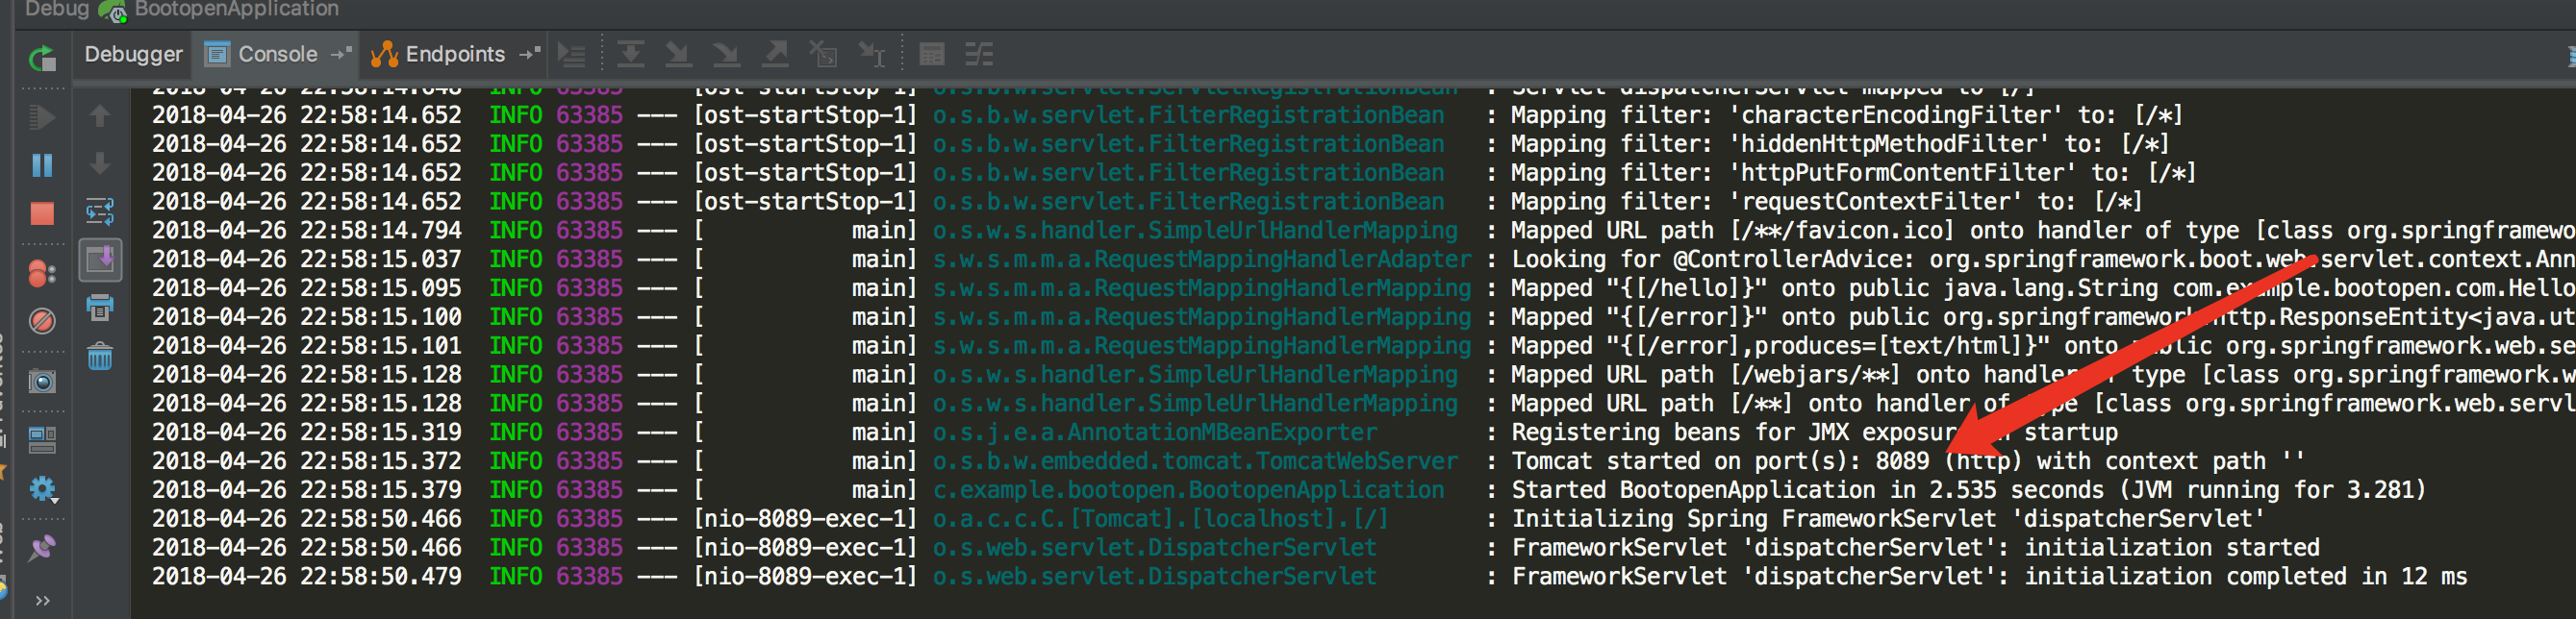
访问项目 http://localhost:8089/hello
