一:准备资源
两张贴图:地图和小球贴图。

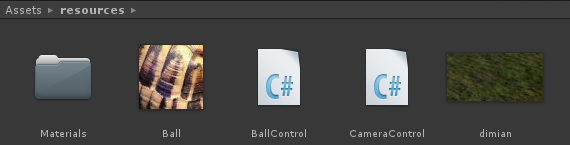
二:导入资源
在Assets下建立resources文件夹,然后将贴图导入。

三:建立场景游戏对象
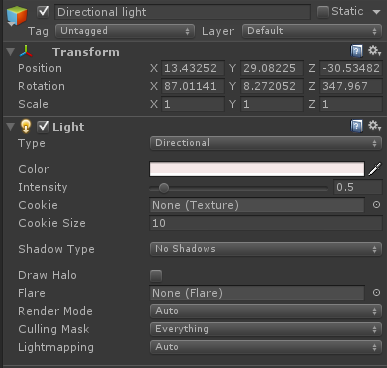
1.建立灯光:

2.创建一个相机,配置默认。

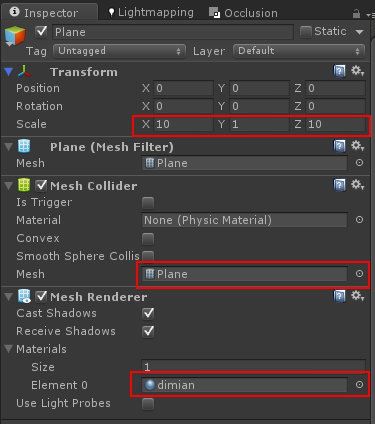
3.建立一个Plane用来表示地面,将导入的地面图片付给Plane。

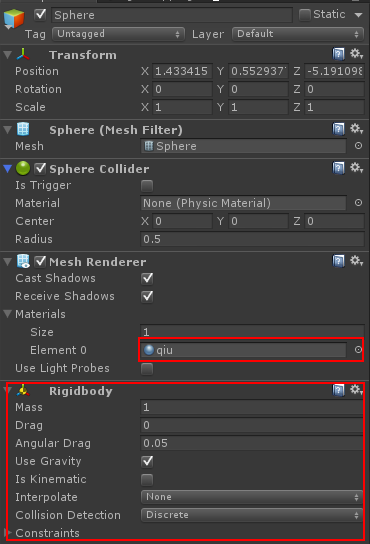
4:建立一个小球,并为其添加一个刚体,因为之后会通过重力感应为小球添加外部作用力,所以需要有刚体组件。

三:创建脚本
1.控制小球运动的脚本:首先要将手机的重力感应控件坐标转换为游戏世界的空间坐标。

建立一个C#脚本:
using UnityEngine;
using System.Collections;

public class BallControl : MonoBehaviour
{
        //移动速度
        public int speed = 10;

        void Update ()
        {
                //建立一个向量变量,将手机向量坐标改变为游戏向量坐标
                Vector3 dir = Vector3.zero;
                dir.z = Input.acceleration.y;
                dir.x = Input.acceleration.x;

                //钳制加速度向量到单位球
                if (dir.sqrMagnitude > 1)
                        dir.Normalize ();

                //使它每秒移动10米,而不是每帧10米
                dir *= Time.deltaTime;

                // Move object 移动物体
                rigidbody.AddForce (dir * speed, ForceMode.Force);
        }
}
将这个脚本附加给小球:

Speed:小球运动的速度。
2.控制相机脚本,使相机跟随小球移动
using UnityEngine;
using System.Collections;

public class CameraControl : MonoBehaviour
{
        public Transform target;
        public int relativeHeight = 10;
        public int zDistance = 1;
        public int dampSpeed = 1;

        // Update is called once per frame
        void Update ()
        {
                Vector3 newPos = target.position + new Vector3 (0, relativeHeight, -zDistance);
                transform.position = Vector3.Lerp (transform.position, newPos, Time.deltaTime * dampSpeed);
        }
}
然后将这个脚本附加给相机:
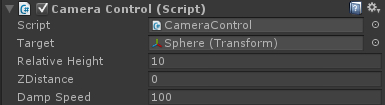
Target:指向小球物体。
Relative Height:相机的相对高度
ZDistace:Z轴相对的距离。
Damp Speed:物体移动的时候,相机跟随物体的速度。
最后运行如下:
源码及APK下载:http://download.csdn.net/detail/as294985925/7053823