写这篇文章主要是用于增强记忆,而我参考的是这位朋友的随笔,链接如下
http://www.xiaomager.com/415.html
服务端开发过程
1.首先创建一个maven项目,如下图

2.添加项目的依赖包以及设置相关配置
提示:首先介绍一下基础环境 ,开发编译器 intellij idea ,我们的jdk是1.7,tomcat是7,spring使用的是spring4,cxf准备使用3.1.4,这里特别需要说明的是,cxf 3.0以后的版本只能在jdk1.7上使用,如果在1.6使用的话,会直接报错的。
<project xmlns="http://maven.apache.org/POM/4.0.0" xmlns:xsi="http://www.w3.org/2001/XMLSchema-instance"
  xsi:schemaLocation="http://maven.apache.org/POM/4.0.0 http://maven.apache.org/maven-v4_0_0.xsd">
  <modelVersion>4.0.0</modelVersion>

  <groupId>com.rainsoft</groupId>
  <artifactId>cxfWebservice</artifactId>
  <packaging>war</packaging>
  <version>1.0-SNAPSHOT</version>

  <name>cxfWebservice</name>
  <url>http://maven.apache.org</url>

  <properties>
      <project.build.sourceEncoding>UTF-8</project.build.sourceEncoding>
      <java.version>1.7</java.version>
      <!-- spring版本号 -->
      <spring.version>4.3.2.RELEASE</spring.version>
      <!-- CXF版本号 -->
      <cxf.version>3.1.4</cxf.version>
  </properties>

  <dependencies>
    <!-- spring核心包 -->
    <!-- springframe start -->
      <dependency>
          <groupId>org.springframework</groupId>
          <artifactId>spring-beans</artifactId>
          <version>${spring.version}</version>
      </dependency>
      <dependency>
          <groupId>org.springframework</groupId>
          <artifactId>spring-web</artifactId>
          <version>${spring.version}</version>
      </dependency>
      <dependency>
          <groupId>org.springframework</groupId>
          <artifactId>spring-core</artifactId>
          <version>${spring.version}</version>
      </dependency>

      <!-- CXF webservice -->
      <dependency>
          <groupId>org.apache.cxf</groupId>
          <artifactId>cxf-rt-frontend-jaxws</artifactId>
          <version>${cxf.version}</version>
      </dependency>
      <dependency>
          <groupId>org.apache.cxf</groupId>
          <artifactId>cxf-rt-transports-http</artifactId>
          <version>${cxf.version}</version>
      </dependency>
      <dependency>
          <groupId>org.apache.cxf</groupId>
          <artifactId>cxf-rt-frontend-jaxrs</artifactId>
          <version>${cxf.version}</version>
      </dependency>

  </dependencies>
  <build>
      <finalName>cxfWebservice</finalName>
      <defaultGoal>compile</defaultGoal>
      <resources>
          <resource>
              <directory>src/main/resources</directory>
              <!-- 资源根目录排除各环境的配置,使用单独的资源目录来指定 -->
              <excludes>
                  <!--测试环境-->
                  <exclude>conf/test/*</exclude>
                  <!--生产环境-->
                  <exclude>conf/production/*</exclude>
                  <!--开发环境-->
                  <exclude>conf/development/*</exclude>
              </excludes>
          </resource>
          <resource>
              <directory>src/main/resources/conf/${profiles.active}</directory>
              <targetPath>conf</targetPath>
          </resource>
      </resources>
      <plugins>
          <!-- compiler插件, 设定JDK版本 -->
          <plugin>
              <groupId>org.apache.maven.plugins</groupId>
              <artifactId>maven-compiler-plugin</artifactId>
              <version>3.3</version>
              <configuration>
                  <source>${java.version}</source>
                  <target>${java.version}</target>
                  <showWarnings>true</showWarnings>
                  <encoding>${project.build.sourceEncoding}</encoding>
                  <compilerArguments>
                      <verbose />
                      <bootclasspath>${java.home}/lib/rt.jar;${java.home}/lib/jce.jar</bootclasspath>
                  </compilerArguments>
              </configuration>
          </plugin>
          <!-- 解决maven命令console出现中文乱码 -->
          <plugin>
              <groupId>org.apache.maven.plugins</groupId>
              <artifactId>maven-surefire-plugin</artifactId>
              <version>2.7.2</version>
              <configuration>
                  <forkMode>once</forkMode>
                  <argLine>-Dfile.encoding=UTF-8</argLine>
                  <skipTests>true</skipTests>
              </configuration>
          </plugin>
      </plugins>

  </build>

  <distributionManagement>
      <repository>
          <id>nexus-releases</id>
          <url>http://192.168.1.22:8081/nexus/content/repositories/releases/</url>
      </repository>
      <snapshotRepository>
          <id>nexus-snapshots</id>
          <url>http://192.168.1.22:8081/nexus/content/repositories/releases/</url>
      </snapshotRepository>
  </distributionManagement>

  <profiles>
    <!--生产环境-->
    <profile>
          <id>production</id>
          <properties>
              <profiles.active>production</profiles.active>
          </properties>
      </profile>
      <!--测试环境-->
      <profile>
          <id>test</id>
          <properties>
              <profiles.active>test</profiles.active>
          </properties>
      </profile>

      <profile>
          <id>development</id>
          <properties>
              <profiles.active>development</profiles.active>
          </properties>
          <activation><activeByDefault>true</activeByDefault></activation>
      </profile>
  </profiles>
</project>
保存后,需要执行maven 的 clean, install 来下载jar包到maven的本地库。
3.添加配置文件支持
一共有三处配置文件需要更新
第一处:需要新增一个cxf的配置文件,这里取名为cxf-servlet.xml,内容如下:
<?xml version="1.0" encoding="UTF-8"?>
<beans xmlns="http://www.springframework.org/schema/beans"
       xmlns:xsi="http://www.w3.org/2001/XMLSchema-instance"
       xmlns:jaxws="http://cxf.apache.org/jaxws"
       xmlns:context="http://www.springframework.org/schema/context"
       xsi:schemaLocation="http://www.springframework.org/schema/beans http://www.springframework.org/schema/beans/spring-beans.xsd
       http://www.springframework.org/schema/context http://www.springframework.org/schema/context/spring-context.xsd
       http://cxf.apache.org/jaxws
       http://cxf.apache.org/schemas/jaxws.xsd">

    <context:component-scan base-package="com.daisy" />
    <bean id="cxfdemo" class="com.daisy.cxf.server.impl.MyCxfServerImpl">
    </bean>
    <jaxws:endpoint id="cxfService" implementor="#cxfdemo" address="/cxfserver" />
</beans>
此处需要根据自己的包以及配置文件,添加配置
这里面主要就是定义了一个cxfService,它的 实现类是com.daisy.cxf.server.impl.CxfServerImpl,这个 实现类我们在第三步骤来加上,其次还定义了一个/cxfserver的路径,即我们的cxfserver服务端的请求路径。
第二处:需要在spring主配置applicationContext文件里把这个新建的文件添加上,配置如下:
<?xml version="1.0" encoding="UTF-8"?>
<beans xmlns="http://www.springframework.org/schema/beans"
               xmlns:context="http://www.springframework.org/schema/context"
               xmlns:xsi="http://www.w3.org/2001/XMLSchema-instance"
               xsi:schemaLocation="http://www.springframework.org/schema/beans
      http://www.springframework.org/schema/beans/spring-beans-3.0.xsd
      http://www.springframework.org/schema/context
      http://www.springframework.org/schema/context/spring-context.xsd">
    <context:annotation-config />

    <import resource="cxf-servlet.xml" />

</beans>
第三处:就是需要在web.xml里面配置cxf的servlet,具体如下:
该处定义了请求webService的前缀,及通过引入一个org.apache.cxf.transport.servlet.CXFServlet的servlet来处理 所有前缀 /webService/*的请求,所以 我们的cxf的全路径应该是 这里的servlet-mapping加上第一处的address,即 /webService/cxfserver。
<?xml version="1.0" encoding="UTF-8"?>
<web-app xmlns:xsi="http://www.w3.org/2001/XMLSchema-instance"
         xmlns="http://java.sun.com/xml/ns/javaee"
         xsi:schemaLocation="http://java.sun.com/xml/ns/javaee
         http://java.sun.com/xml/ns/javaee/web-app_3_0.xsd" version="3.0">
  <display-name>cxfWebservice</display-name>

  <context-param>
    <param-name>contextConfigLocation</param-name>
    <param-value>classpath:conf/applicationContext.xml</param-value>
  </context-param>
  <listener>
    <listener-class>org.springframework.web.util.IntrospectorCleanupListener</listener-class>
  </listener>
  <listener>
    <listener-class>org.springframework.web.context.ContextLoaderListener</listener-class>
  </listener>
  <servlet>
    <servlet-name>CXFServlet</servlet-name>
    <servlet-class>org.apache.cxf.transport.servlet.CXFServlet</servlet-class>
    <load-on-startup>1</load-on-startup>
  </servlet>

  <servlet-mapping>
    <servlet-name>CXFServlet</servlet-name>
    <url-pattern>/webService/*</url-pattern>
  </servlet-mapping>

  <welcome-file-list>
    <welcome-file>index.jsp</welcome-file>
  </welcome-file-list>
</web-app>
4. 添加cxf服务端的接口类和接口实现类,目录结构如下

java实现代码为 IMyCxfServer.java
此处必须声明一下,在接口的上面也必须加上 @WebService , 我开始抱着试试的心理将它去掉了,结果在客户端调用的时候就怎么都找不到对应的方法了
package com.daisy.cxf.server;

import javax.jws.WebService;

/**
 * @author daisy
 * @description IMyCxfServer
 * @date 2017/4/8
 */
@WebService
public interface IMyCxfServer {
    String sayHello(String name);
}
MyCxfServerImpl.java
package com.daisy.cxf.server.impl;

import com.daisy.cxf.server.IMyCxfServer;

import javax.jws.WebService;

/**
 * @author daisy
 * @description MyCxfServerImpl
 * @date 2017/4/8
 */
@WebService
public class MyCxfServerImpl implements IMyCxfServer {
    @Override
    public String sayHello(String name) {
        return "hello "+name;
    }
}
以上代码表示的意思很明白,即服务端提供一个sayHello的方法,将客户端传递的字符串参数 前面加上 hello 后返回。
5. 添加cxf服务端的接口类和接口实现类,目录结构如下
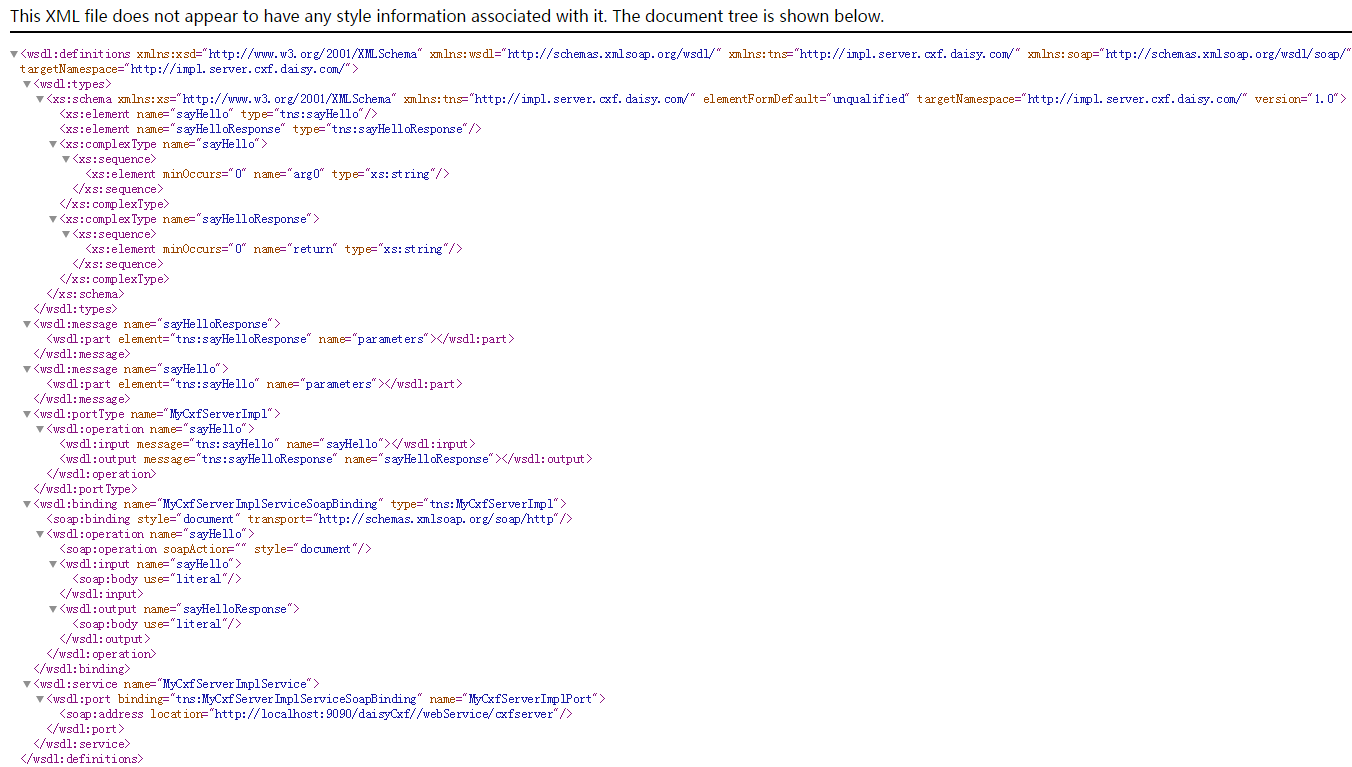
将项目添加到tomcat服务器上运行,访问链接 http://localhost:9090/daisyCxf//webService/cxfserver?wsdl 即可看到结果,如下图所示