前置准备:虚拟机安装以及配置相关
包含安装 centos7、8 虚拟机、设置静态 ip 等
https://www.cnblogs.com/poloyy/category/1703784.html
注意:我用的是 centos 7
官方安装教程
https://about.gitlab.com/install/
安装 Gitlab 前系统预配置准备工作
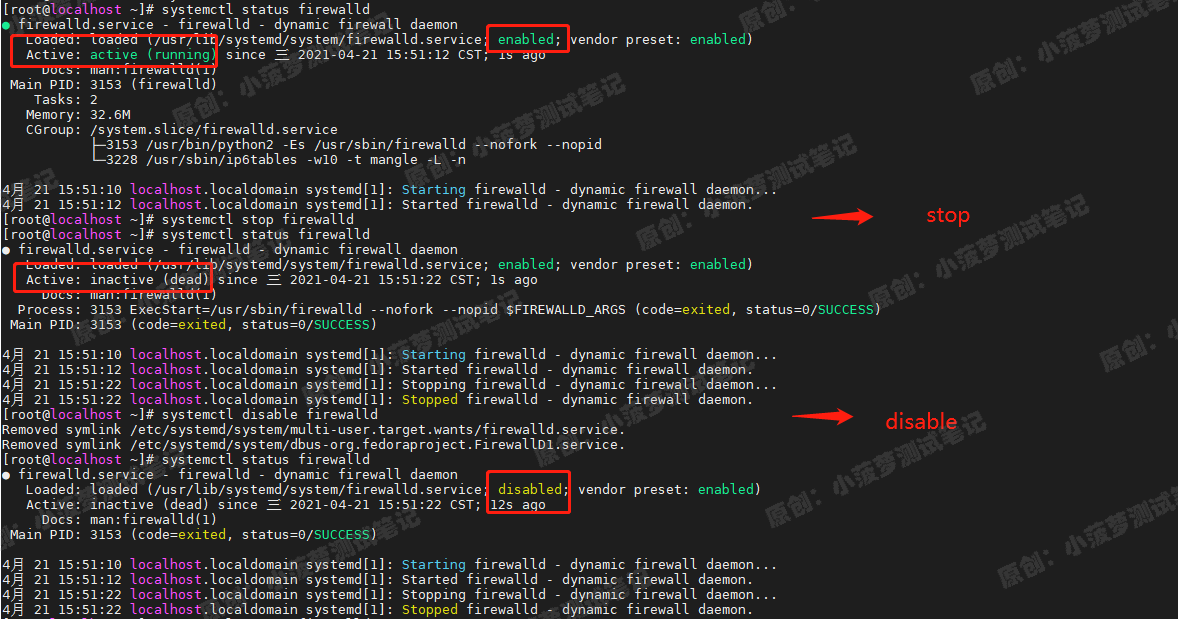
关闭 firewalld 防火墙
# 看防火墙状态
systemctl status firewalld

# 暂停运行防火墙
systemctl stop firewalld

# 看防火墙状态
systemctl status firewalld

# 禁止防火墙自启
systemctl disable firewalld

# 看防火墙状态
systemctl status firewalld
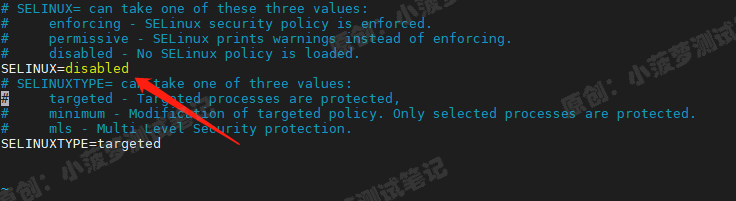
关闭 selinux 强制访问安全策略
保证该策略不会影响 gitlab 正常运行
# 第一步 关闭selinux
vim /etc/sysconfig/selinux
....
SELINUX = disabled
....


# 第二步重启虚拟机
reboot
验证是否已关闭成功
[root@localhost ~]# getenforce
Disabled
安装 Omnibus Gitlab-ce package
Omnibus
- 综合性
- Gitlab 为了方便大家快速上手,推出这个包,一键下载安装 Gitlab 需要的依赖、组件、配置
- 如果用源代码的安装方式,会比较繁琐、
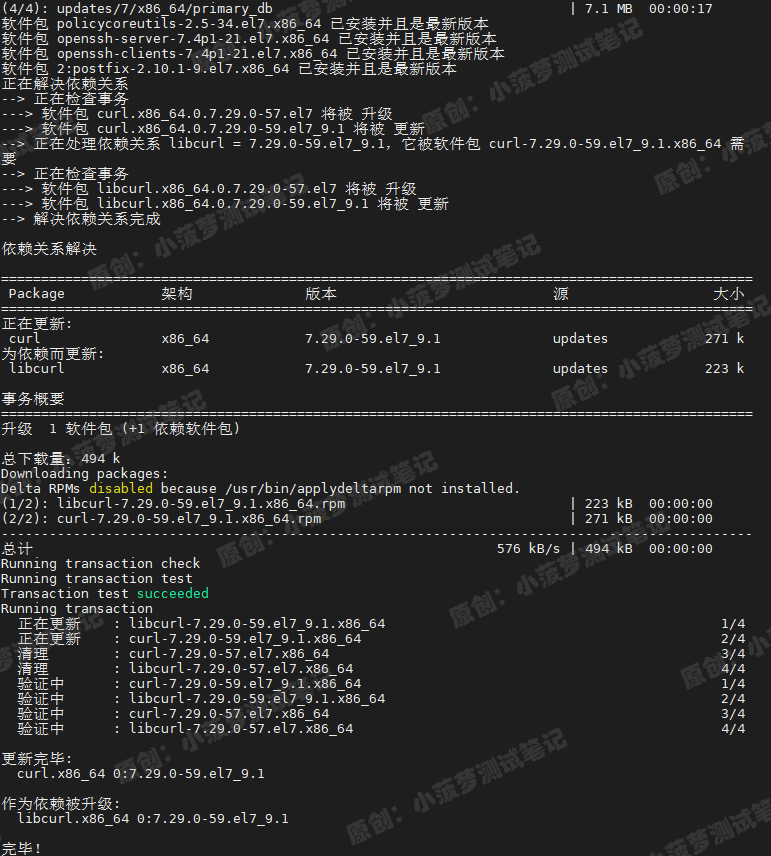
安装 Gitlab 组件
yum -y install curl policycoreutils openssh-server openssh-clients postfix perl
配置 Gitlab yum 仓库源
curl -sS https://packages.gitlab.com/install/repositories/gitlab/gitlab-ce/script.rpm.sh | sudo bash

启动 postfix 邮件服务
systemctl start postfix && systemctl enable postfix
安装 Gitlab-ce 社区版本
记住是社区版本,所以是免费的
sudo EXTERNAL_URL="http://gitlab.example.com" yum install -y gitlab-ce
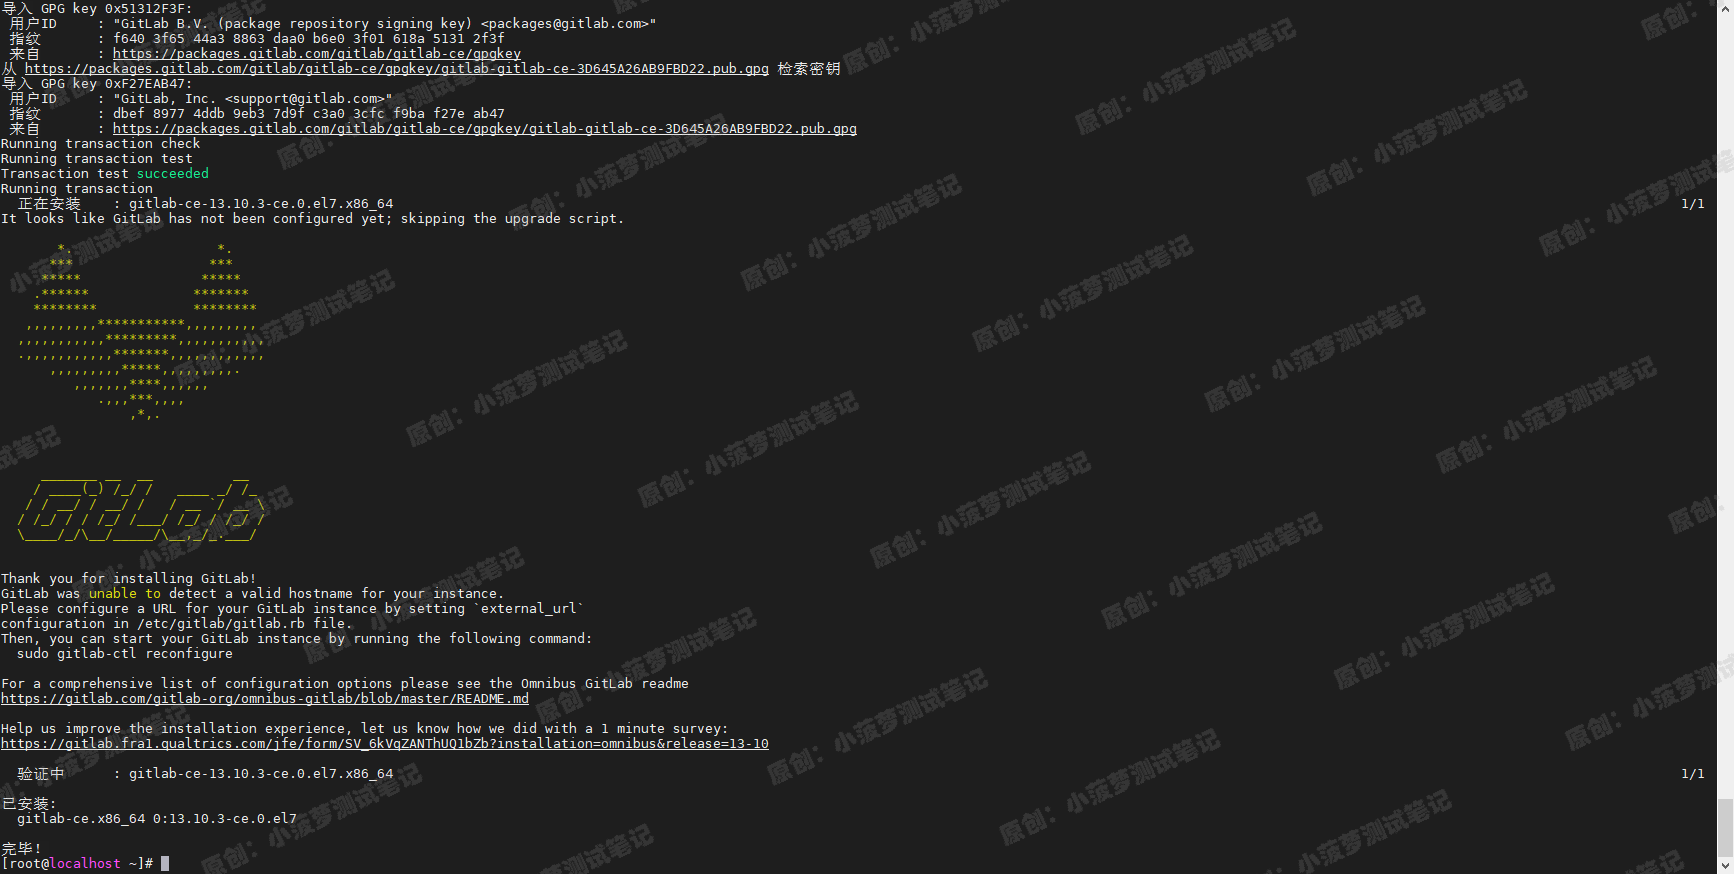
这里其实就可以通过浏览器访问你的 Gitlab 了,但还有一些操作要做
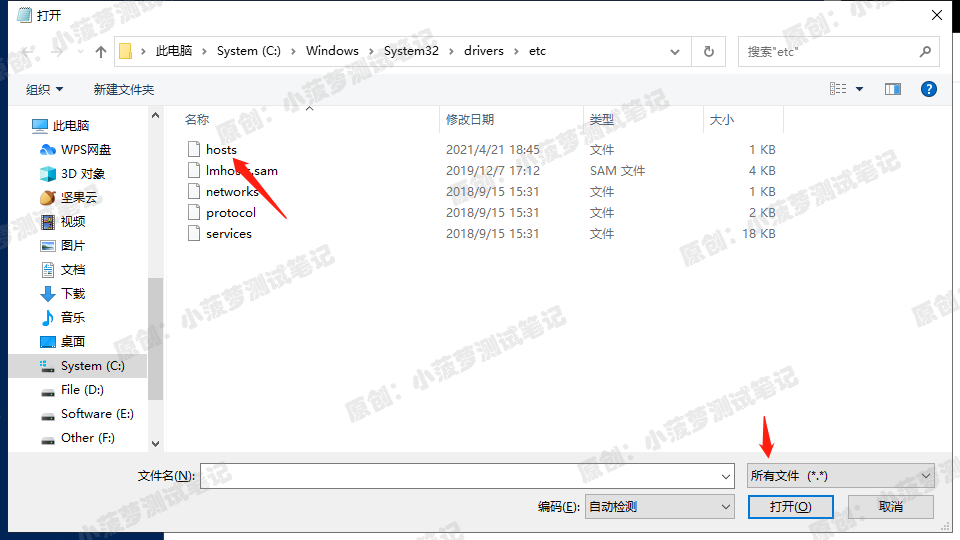
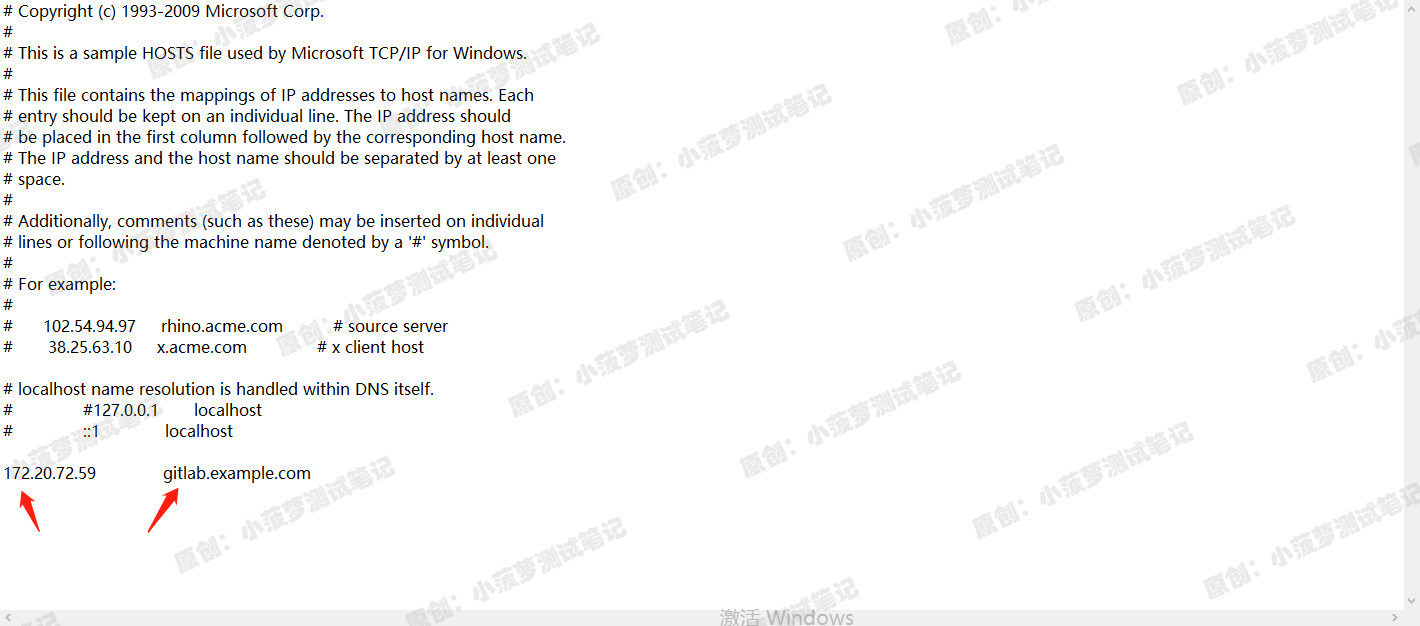
本地 hosts 文件,配置域名和虚拟机 IP
为什么要做这一步
因为我们是通过虚拟机需搭建社区版 Gitlab 的,上面安装 gitlab-ce 的时候也指定了相对 URL,为的就是更方便访问 Gitlab,有一个域名(就是下面这部分操作)
sudo EXTERNAL_URL="http://gitlab.example.com" yum install -y gitlab-ce
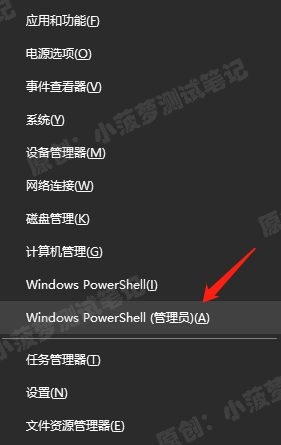
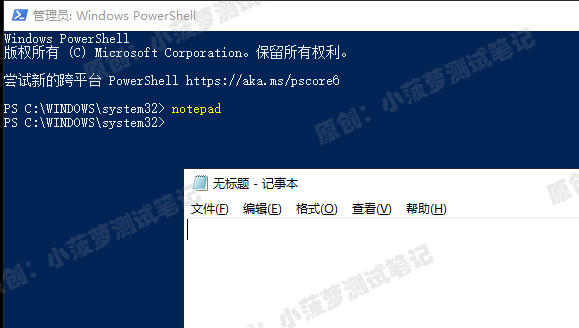
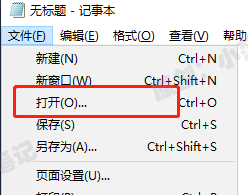
配置 hosts
window 电脑下 Ctrl + X
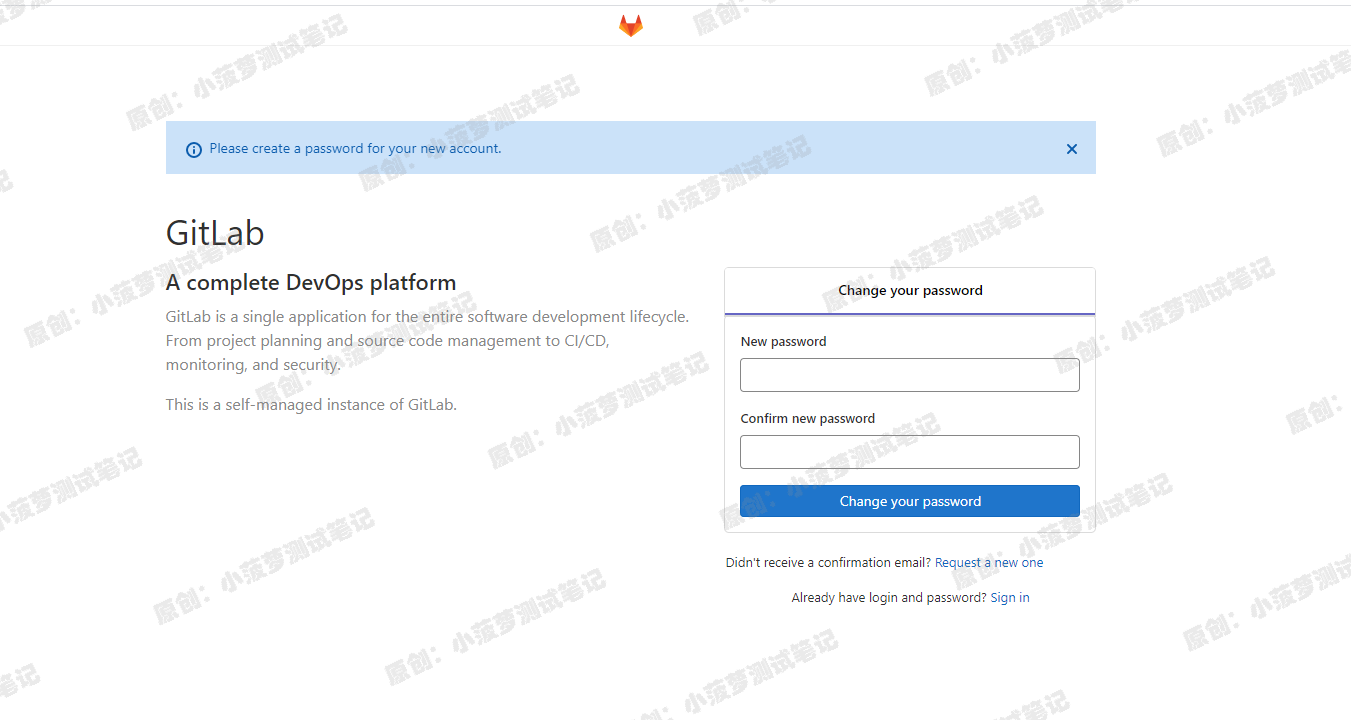
访问 gitlab
如果遇到 502 的问题
参考这篇博客
https://www.cnblogs.com/poloyy/p/14690030.html
Gitlab 相关配置初始化并完成安装
证书创建与配置加载
# 创建一个目录
mkdir -p /etc/gitlab/ssl

# 创建私钥
openssl genrsa -out "/etc/gitlab/ssl/gitlab.example.com.key" 2048

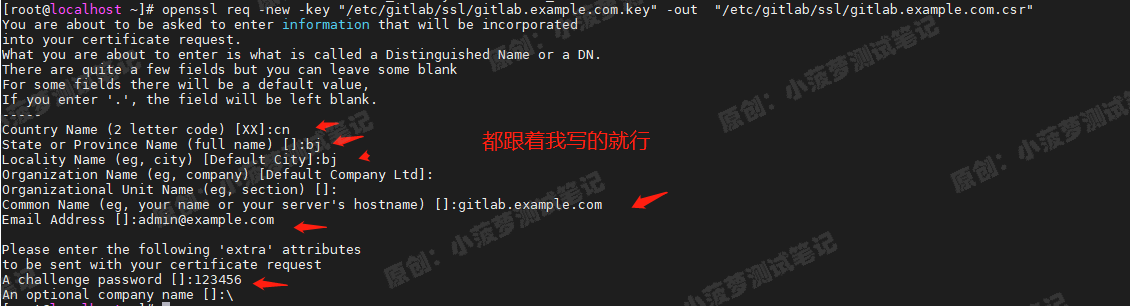
使用私钥创建 csr 证书
openssl req -new -key "/etc/gitlab/ssl/gitlab.example.com.key" -out "/etc/gitlab/ssl/gitlab.example.com.csr"
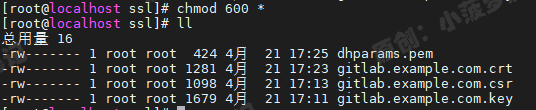
查看是否创建成功私钥和 csr 证书
cd /etc/gitlab/ssl
ll

利用私钥和 csr 证书创建 crt 签署证书
openssl x509 -req -days 365 -in "/etc/gitlab/ssl/gitlab.example.com.csr" -signkey "/etc/gitlab/ssl/gitlab.example.com.key" -out "/etc/gitlab/ssl/gitlab.example.com.crt"

生成 pm 证书
openssl dhparam -out /etc/gitlab/ssl/dhparams.pem 2048
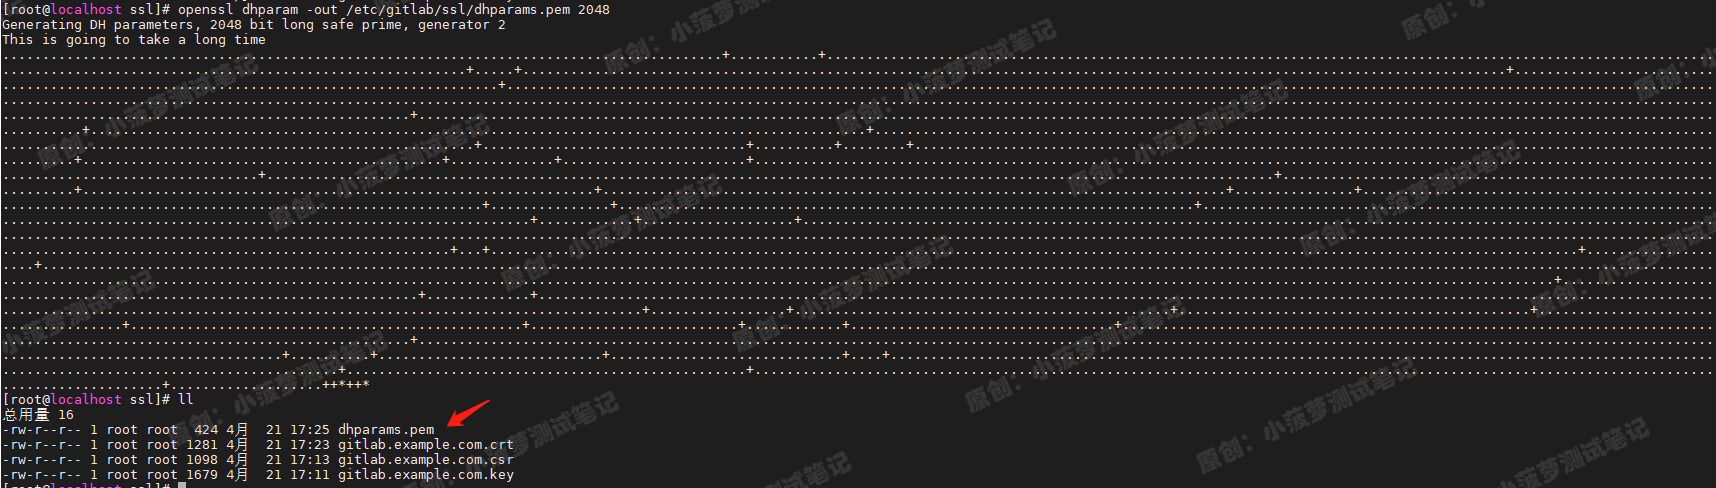
到此为止,所有证书已经都生成成功!
修改所有证书的权限
chmod 600 *
编辑 Gitlab 的配置文件
将所有证书配置到配置文件当中
vim /etc/gitlab/gitlab.rb
修改以下内容
external_url "https://gitlab.example.com"
nginx['redirect_http_to_https'] = true

初始化 Gitlab 所有配置
gitlab-ctl reconfigure
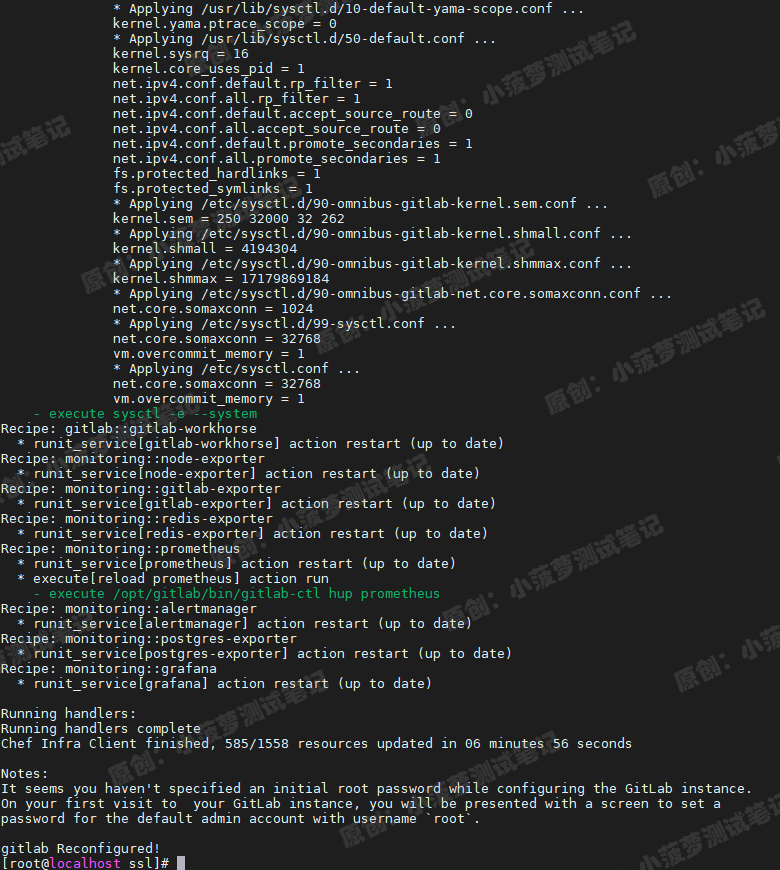
最后的 Notes 翻译
无伤大雅
- 似乎在配置GitLab实例时尚未指定初始root密码。
- 首次访问GitLab实例时,系统会显示一个屏幕,用于设置
- 默认管理员帐户的密码,用户名为“ root”。
Nginx SSL 代理服务配置
更改 Gitlab HTTP 配置文件
vim /var/opt/gitlab/nginx/conf/gitlab-http.conf
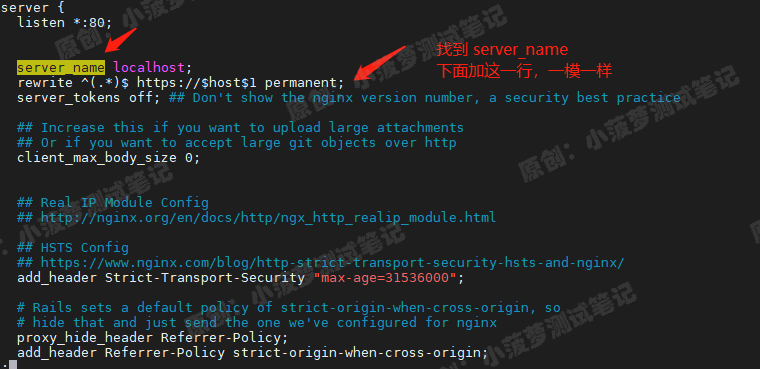
rewrite ^(.*)$ https://$host$1 permanent;
重启 Gitlab
gitlab-ctl restart
