首先使用插件:vue-cropper https://github.com/xyxiao001/vue-cropper
1. 看效果图吧?
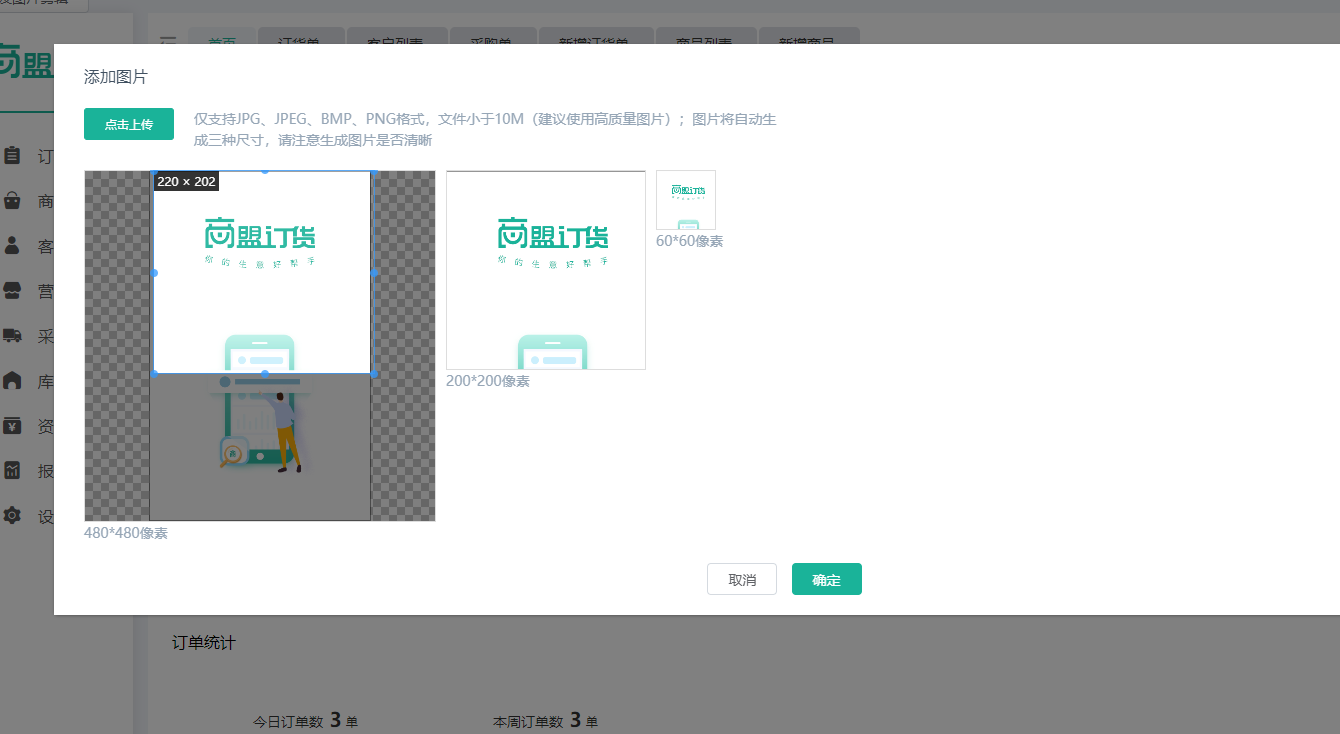
2. 代码如下:
<template>
  <el-dialog :width="$store.state.dialogWidth || '0px'"
             :visible.sync="dialogVisible"
             ref="elDialog"
             custom-class="modalStyle">
    <div class="card-box min-form-inner" ref="cardBox">
      <div class="width100">
        <p class="tiles">添加图片</p>
        <div class="uploadBox">
          <el-upload
            class="upload-demo"
            action="action"
            accept=".jpg,.png,.jpeg"
            :show-file-list="false"
            :http-request="uploadImg"
            :before-upload="beforeUploads"
            :multiple="false">
            <el-button size="small" type="primary">点击上传</el-button>
          </el-upload>
          <div class="upload__tip">仅支持JPG、JPEG、BMP、PNG格式,文件小于10M(建议使用高质量图片);图片将自动生成三种尺寸,请注意生成图片是否清晰</div>
        </div>
        <div class="cropperImgBox">
          <div class="overflowHidden">
            <div class="img-crop-box fl">
              <vueCropper ref="cropper"
                          :img="files.url"
                          :outputSize="option.outputSize"
                          :outputType="option.outputType"
                          :autoCropWidth="option.autoCropWidth"
                          :autoCropHeight="option.autoCropHeight"
                          :fixedBox="option.fixedBox"
                          :centerBox="option.centerBox"
                          :enlarge="option.enlarge"
                          :infoTrue="option.infoTrue"
                          :autoCrop="option.autoCrop"
                          @real-time="realTime"/>
            </div>
            <div class="fl" style="margin-left: 10px">
              <div class="img-crop-medium">
                <div :style="previews.div" class="overflowHidden">
                  <img class="imgCrop" :src="previews.url" :style="previews.img">
                </div>
              </div>
              <div>200*200像素</div>
            </div>
            <div class="fl" style="margin-left: 10px">
              <div class="img-crop-small">
                <div :style="previewStyleSmall">
                  <img class="imgCrop" :src="previews.url" :style="previews.img">
                </div>
              </div>
              <div>60*60像素</div>
            </div>
          </div>
          <div>480*480像素</div>
        </div>
      </div>
      <div class="text-center btnBox" ref="btnBox">
        <el-button @click="dialogVisible = false">取消</el-button>
        <el-button type="primary" @click="sureSearch">确定</el-button>
      </div>
    </div>
  </el-dialog>
</template>

<script>
  import Vue from 'vue'
  import { Component, Prop, Watch } from 'vue-property-decorator'
  import { namespace } from 'vuex-class'
  const imgModule = namespace('publicModule')
  @Component()
  // 图片剪辑弹窗
  export default class cropperImg extends Vue {
    @Prop({default: false, type: Boolean}) value
    @imgModule.Action('uploadReq1') uploadReq // 上传临时图片方法
    dialogVisible = false
    files = {url: 'https://avatars2.githubusercontent.com/u/15681693?s=460&v=4'}
    previews = {}
    previewStyleSmall = {}
    option = {
      outputSize: 1,
      autoCrop: true,
      // 只有自动截图开启 宽度高度才生效
      autoCropWidth: 200,
      autoCropHeight: 200,
      centerBox: true,
      fixedBox: false,
      enlarge: 1,
      infoTrue: false,
      outputType: 'jpeg'
    }
    sureSearch () {
      // 获取截图的base64 数据
      this.$refs.cropper.getCropData((data) => {
        // do something
        console.log(data)
      })
      // this.$emit('input', false)
    }
    // 上传文件前
    beforeUploads (file) {
      if (!/.(jpg|jpeg|png)$/i.test(file.name)) { // 文件类型过滤
        this.$message.warning({ showClose: true, message: '文件格式只支持jpg|jpeg|png' })
        return false
      } else if (file.size > 2 * 1024 * 1024) { // 文件大小过滤
        this.$message.warning({ showClose: true, message: '文件大小最大支持2M' })
        return false
      } else {
        this.files.fileObj = file
        return true
      }
    }
    uploadImg (e) {
      const { file } = e
      let form = new FormData()
      form.append('file', file)
      const data = {
        form,
        type: 'OTHER'
      }
      this.uploadReq(data).then(({ code, data }) => {
        console.log(data)
        if (code === '0') {
          this.files.fileIds = [data.fileId]
          this.files.url = URL.createObjectURL(this.files.fileObj)
        }
      })
    }
    // 实时预览函数
    realTime (data) {
        this.previewStyleSmall = {
             data.w + 'px',
            height: data.h + 'px',
            overflow: 'hidden',
            margin: '0',
            zoom: 60 / data.h
        }
        this.previews = data
    }
    @Watch('value')
    valueChange (val) {
      this.dialogVisible = val
    }
    @Watch('dialogVisible')
    dialogVisibleChange (val) {
      this.$emit('input', val)
    }
  }
</script>

<style scoped lang="less">
.min-form-inner {background: #fff;min-height: 100px;padding: 20px 30px;
  .tiles {
    font-size: 16px;
    margin-bottom: 20px;
    color: #415161;
  }
  .uploadBox {
     max- 700px;
     display: flex;
    .upload-demo {
      flex-shrink: 0;
    }
    .upload__tip {
      flex: 1;
      color: #96a6b6;
      font-size: 14px;
      padding-left: 20px;
    }
  }
  .cropperImgBox {
     100%;
    padding: 20px 0;
    color: #96a6b6;
    .img-crop-box {
      position: relative;
      height: 350px;
       350px;
      border: 1px solid #ddd;
      box-sizing: content-box;
    }
    .img-crop-medium { 200px;height: 200px;}
    .img-crop-small { 60px;height: 60px;}
    .img-crop-medium, .img-crop-small {
      border: 1px solid #ddd;
      position: relative;
      overflow: hidden;
    }
  }
}
</style>