一.线程的生命周期及五种基本状态
关于Java中线程的生命周期,首先看一下下面这张较为经典的图:
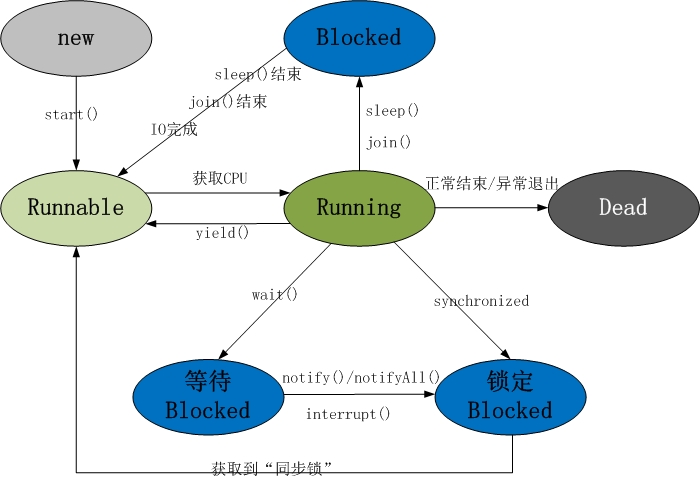
上图中基本上囊括了Java中多线程各重要知识点。掌握了上图中的各知识点,Java中的多线程也就基本上掌握了。主要包括:
Java线程具有五中基本状态
新建状态(New):当线程对象对创建后,即进入了新建状态,如:Thread t = new MyThread();
就绪状态(Runnable):当调用线程对象的start()方法(t.start();),线程即进入就绪状态。处于就绪状态的线程,只是说明此线程已经做好了准备,随时等待CPU调度执行,并不是说执行了t.start()此线程立即就会执行;
运行状态(Running):当CPU开始调度处于就绪状态的线程时,此时线程才得以真正执行,即进入到运行状态。注:就 绪状态是进入到运行状态的唯一入口,也就是说,线程要想进入运行状态执行,首先必须处于就绪状态中;
阻塞状态(Blocked):处于运行状态中的线程由于某种原因,暂时放弃对CPU的使用权,停止执行,此时进入阻塞状态,直到其进入到就绪状态,才 有机会再次被CPU调用以进入到运行状态。根据阻塞产生的原因不同,阻塞状态又可以分为三种:
1.等待阻塞:运行状态中的线程执行wait()方法,使本线程进入到等待阻塞状态;
2.同步阻塞 -- 线程在获取synchronized同步锁失败(因为锁被其它线程所占用),它会进入同步阻塞状态;
3.其他阻塞 -- 通过调用线程的sleep()或join()或发出了I/O请求时,线程会进入到阻塞状态。当sleep()状态超时、join()等待线程终止或者超时、或者I/O处理完毕时,线程重新转入就绪状态。
死亡状态(Dead):线程执行完了或者因异常退出了run()方法,该线程结束生命周期。
二. Java多线程的创建及启动
Java中线程的创建常见有如三种基本形式
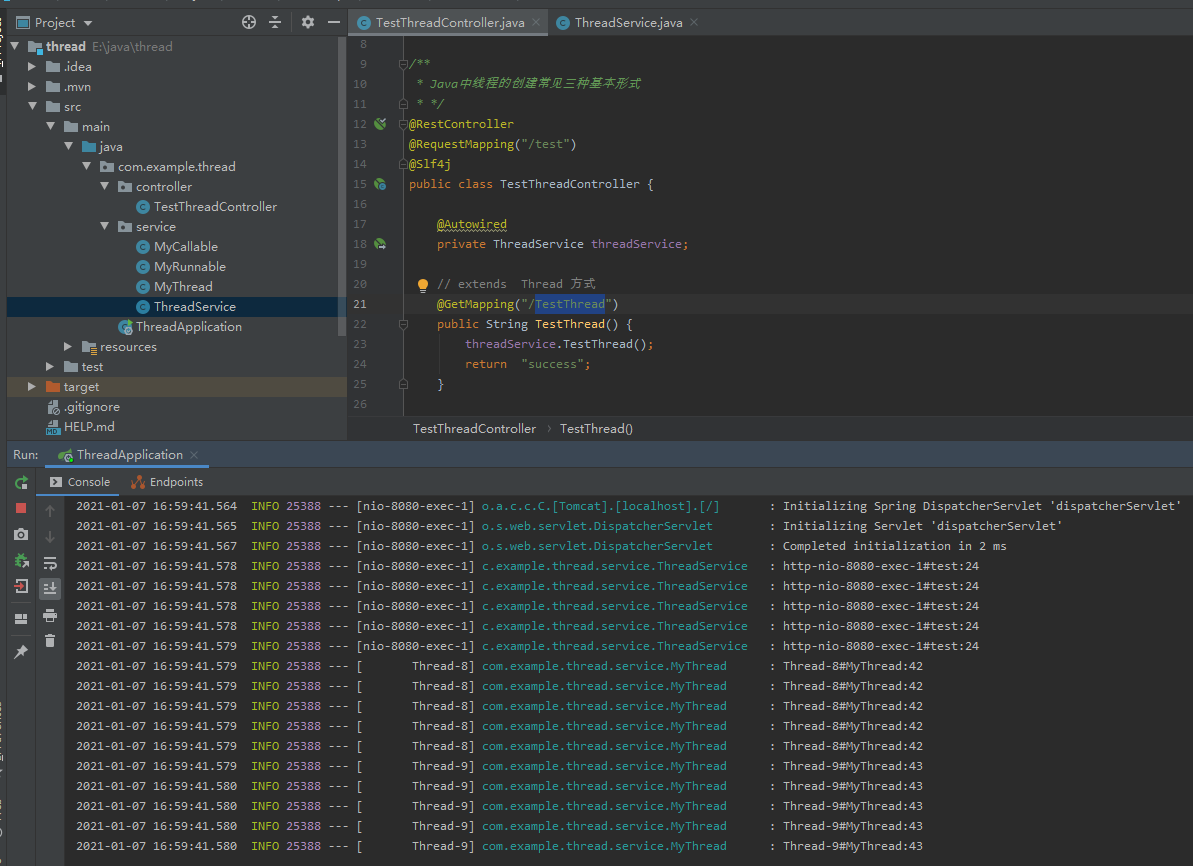
1.继承Thread类,重写该类的run()方法。
package com.example.thread.service;

import lombok.extern.slf4j.Slf4j;

@Slf4j
public class MyThread extends  Thread {

    @Override
    public void run() {
        for (int i = 0; i < 5; i++) {
            log.info(Thread.currentThread().getName() + "#MyThread:"+Thread.currentThread().getId());
        }
    }

}
    public void TestThread() {
        for (int i = 0; i < 5; i++) {
            log.info(Thread.currentThread().getName() + "#test:" + Thread.currentThread().getId());
            if (i == 3) {
                Thread myThread1 = new MyThread();     // 创建一个新的线程  myThread1  此线程进入新建状态
                Thread myThread2 = new MyThread();
                myThread1.start();                     // 调用start()方法使得线程进入就绪状态
                myThread2.start();
            }
        }
    }
如上所示,继承Thread类,通过重写run()方法定义了一个新的线程类MyThread,其中run()方法的方法体代表了线程需要完成的任务,称之为线程执行体。当创建此线程类对象时一个新的线程得以创建,并进入到线程新建状态。通过调用线程对象引用的start()方法,使得该线程进入到就绪状态,此时此线程并不一定会马上得以执行,这取决于CPU调度时机。
2.实现Runnable接口,并重写该接口的run()方法,该run()方法同样是线程执行体,创建Runnable实现类的实例,并以此实例作为Thread类的target来创建Thread对象,该Thread对象才是真正的线程对象。
package com.example.thread.service;

import lombok.extern.slf4j.Slf4j;

@Slf4j
public class MyRunnable implements Runnable {

    @Override
    public void run() {
        for (int i = 0; i < 5; i++) {
            log.info(Thread.currentThread().getName() + "#MyRunnable:"+Thread.currentThread().getId());
        }
    }
}
public void TestRunnable() {
        for (int i = 0; i < 5; i++) {
            log.info(Thread.currentThread().getName() + "#TestRunnable:" + Thread.currentThread().getId());
            if (i == 3) {
                Runnable myRunnable = new MyRunnable(); // 创建一个Runnable实现类的对象
                Thread myThread1 = new Thread(myRunnable);     // 将myRunnable作为Thread  target创建新的线程
                Thread myThread2 = new Thread(myRunnable);
                myThread1.start();                     // 调用start()方法使得线程进入就绪状态
                myThread2.start();
            }
        }
    }

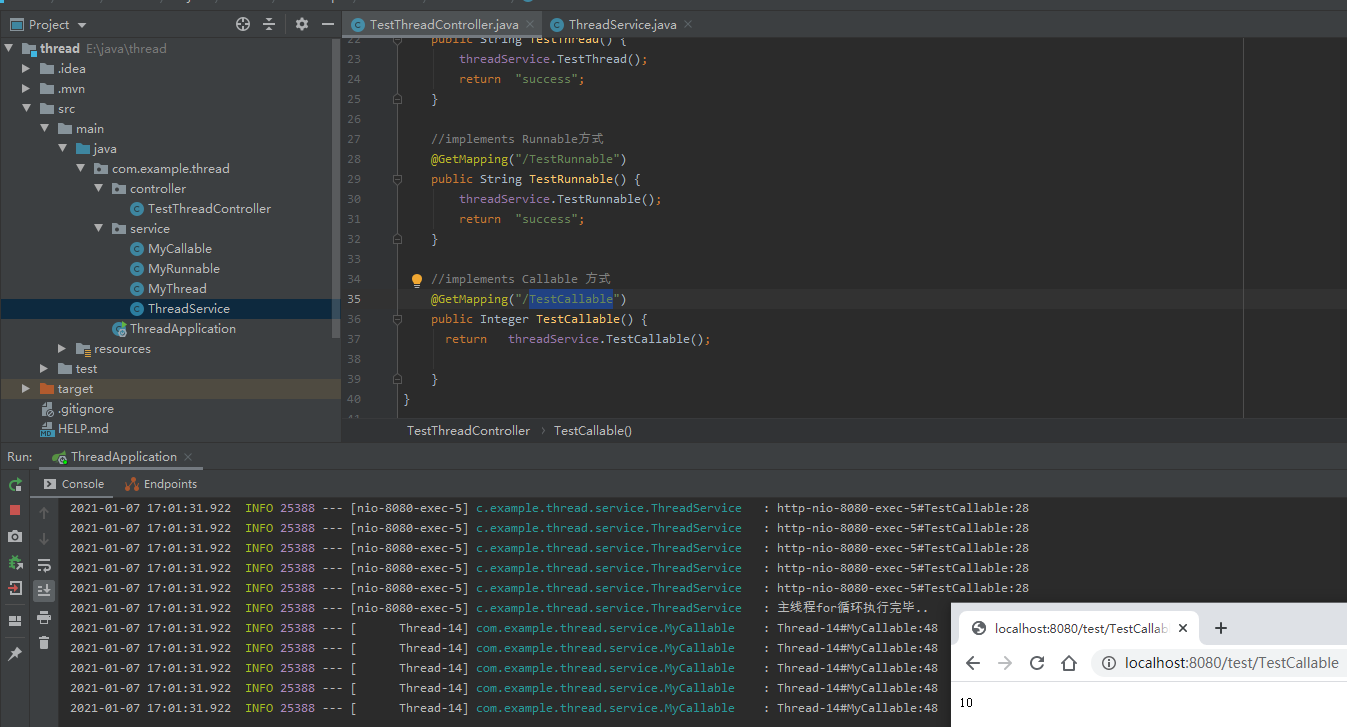
3.使用Callable和Future接口创建线程。具体是创建Callable接口的实现类,并实现clall()方法。并使用FutureTask类来包装Callable实现类的对象,且以此FutureTask对象作为Thread对象的target来创建线程。
package com.example.thread.service;

import lombok.extern.slf4j.Slf4j;

import java.util.concurrent.Callable;

@Slf4j
public class MyCallable implements Callable<Integer> {

    //call方法具有返回值
    @Override
    public Integer call() throws Exception {
        int sum=0;
        for (int i=0;i<5;i++)
        {
            log.info(Thread.currentThread().getName() + "#MyCallable:"+Thread.currentThread().getId());
            sum+=i;
        }
        return sum;
    }
}
    public int TestCallable() {
        Callable<Integer> myCallable = new MyCallable();//创建MyCallable对象
        FutureTask<Integer> ft = new FutureTask<>(myCallable);//使用FutureTask包装myCallable对象
        for (int i = 0; i < 5; i++) {
            log.info(Thread.currentThread().getName() + "#TestCallable:" + Thread.currentThread().getId());
            if (i == 3) {
                Thread thread = new Thread(ft);     // 使用FutureTask作为Thread对象  target创建新的线程
                thread.start();                     // 线程进入就绪状态
            }
        }
        log.info("主线程for循环执行完毕..");
        try {
            int result = ft.get();//取得新创建线程call方法的返回值
            return result;
        } catch (Exception ex) {
            log.error(ex.getMessage());
        }
        return -1;
    }
首先,我们发现,在实现Callable接口中,此时不再是run()方法了,而是call()方法,此call()方法作为线程执行体,同时还具有返回值!在创建新的线程时,是通过FutureTask来包装MyCallable对象,同时作为了Thread对象的target。那么看下FutureTask类的定义:
public class FutureTask<V> implements RunnableFuture<V> {
    /*
     * Revision notes: This differs from previous versions of this
     * class that relied on AbstractQueuedSynchronizer, mainly to
     * avoid surprising users about retaining interrupt status during
     * cancellation races. Sync control in the current design relies
     * on a "state" field updated via CAS to track completion, along
     * with a simple Treiber stack to hold waiting threads.
     *
     * Style note: As usual, we bypass overhead of using
     * AtomicXFieldUpdaters and instead directly use Unsafe intrinsics.
     */
}
public interface RunnableFuture<V> extends Runnable, Future<V> {
    /**
     * Sets this Future to the result of its computation
     * unless it has been cancelled.
     */
    void run();
}
于是,我们发现FutureTask类实际上是同时实现了Runnable和Future接口,由此才使得其具有Future和Runnable双重特性。通过Runnable特性,可以作为Thread对象的target,而Future特性,使得其可以取得新创建线程中的call()方法的返回值。
执行下此程序,我们发现sum = 10永远都是最后输出的。而“主线程for循环执行完毕..”则很可能是在子线程循环中间输出。由CPU的线程调度机制,我们知道,“主线程for循环执行完毕..”的输出时机是没有任何问题的,那么为什么sum =10会永远最后输出呢?
原因在于通过ft.get()方法获取子线程call()方法的返回值时,当子线程此方法还未执行完毕,ft.get()方法会一直阻塞,直到call()方法执行完毕才能取到返回值。
上述主要讲解了三种常见的线程创建方式,对于线程的启动而言,都是调用线程对象的start()方法,需要特别注意的是:不能对同一线程对象两次调用start()方法。