前言
SignalR Demo搭建起来之后,是没有相应的认证和授权功能的。于是乎,参考官方文档实现了相应的逻辑。
简单认证
首先使用稍微简单的方式实现。添加如下代码:
 services.AddAuthentication(auth =>
           {
                auth.DefaultScheme = "User";
           }).AddScheme<UserAuthenticationOptions, UserAuthenticationHandler>("User", o => { });
 public class UserAuthenticationOptions : AuthenticationSchemeOptions
    {

    }
然后在新增Handler,重写 AuthenticationHandler 的HandleAuthenticateAsync 方法
  public class UserAuthenticationHandler : AuthenticationHandler<UserAuthenticationOptions>
    {
        private readonly ILayIMUserFactory userFactory;

        public UserAuthenticationHandler(IOptionsMonitor<UserAuthenticationOptions> options, ILoggerFactory logger, UrlEncoder encoder, ISystemClock clock, IServiceProvider serviceProvider)
        : base(options, logger, encoder, clock)
        {
            userFactory = serviceProvider.GetService<ILayIMUserFactory>();
        }
        protected override Task<AuthenticateResult> HandleAuthenticateAsync()
        {
            var userId = userFactory.GetUserId(Request.HttpContext);
            if (string.IsNullOrEmpty(userId))
            {
                return Task.FromResult(AuthenticateResult.Fail("no user"));
            }
            var claims = new[] { new Claim("user", userId) };
            var identity = new ClaimsIdentity(claims, nameof(UserAuthenticationHandler));
            var ticket = new AuthenticationTicket(new ClaimsPrincipal(identity), Scheme.Name);
            return Task.FromResult(AuthenticateResult.Success(ticket));
        }
    }
最后在Hub上增加AuthorizeAttribute即可
 [Authorize(AuthenticationSchemes = “User”)]
 public class LayIMHub : Hub<ILayIMClient>{}
JWT Bearer认证
首先安装 Microsoft.AspNetCore.Authentication.JwtBearer .
然后在Startup中增加如下代码:(基本上就是官方教程中的)
 services.AddAuthentication(options =>
            {
                options.DefaultAuthenticateScheme = JwtBearerDefaults.AuthenticationScheme;
                options.DefaultChallengeScheme = JwtBearerDefaults.AuthenticationScheme;
            })
            .AddJwtBearer(options =>
            {
                options.TokenValidationParameters =
                    new TokenValidationParameters
                    {
                        LifetimeValidator = (before, expires, token, param) =>
                        {
                            return expires > DateTime.UtcNow;
                        },
                        ValidateAudience = false,
                        ValidateIssuer = false,
                        ValidateActor = false,
                        ValidateLifetime = true,
                        IssuerSigningKey = new SymmetricSecurityKey(Encoding.ASCII.GetBytes(SignalRSecurityKey.TOKEN_KEY))
                    };
                options.Events = new JwtBearerEvents
                {
                    OnMessageReceived = context =>
                    {
                        var accessToken = context.Request.Query["access_token"];

                        var path = context.HttpContext.Request.Path;
                        if (!string.IsNullOrEmpty(accessToken) &&
                            (path.StartsWithSegments("/layimHub")))
                        {
                            context.Token = accessToken;
                        }
                        return Task.CompletedTask;
                    }
                };
            });
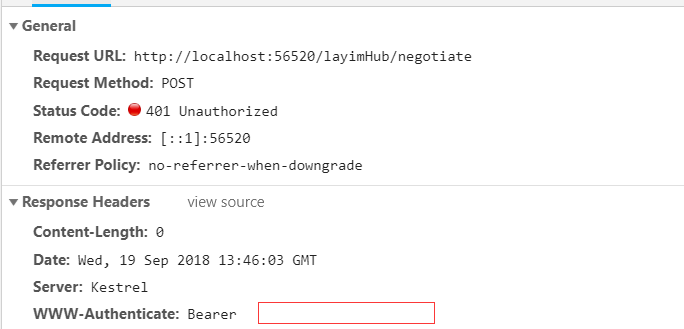
不过AuthorizeAttribute 的Scheme 要改成 JwtBearerDefaults.AuthenticationScheme. 运行一下程序,因为刚开始没有提供token,所以肯定是401的。
对了,客户端连接的时候要加上accessTokenFactory:
        var options = {};
            options.accessTokenFactory = () => token;
            //options.skipNegotiation = true;
            connection = new signalR.HubConnectionBuilder()
                .configureLogging(signalR.LogLevel.Trace)
                .withUrl(hubRoute, options)
                .withHubProtocol(protocol)
                .build();
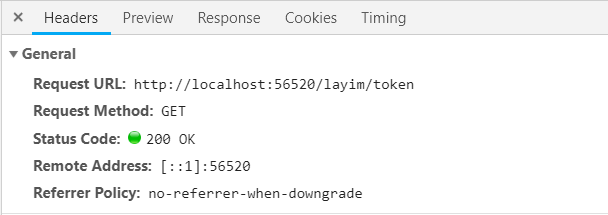
我们在实现一个获取Token的接口,在调用SignalR连接之前,先获取Token,然后把token带上即可。以下代码是生成Token的方法,Subject的内容可以随便定义
       var tokenHandler = new JwtSecurityTokenHandler();
            var key = Encoding.ASCII.GetBytes(SignalRSecurityKey.TOKEN_KEY);
            var authTime = DateTime.UtcNow;
            var expiresAt = authTime.AddDays(7);
            var tokenDescriptor = new SecurityTokenDescriptor
            {
                Subject = new ClaimsIdentity(new Claim[]
                {
                   new Claim("uid",userId)
                }),
                Expires = expiresAt,
                SigningCredentials = new SigningCredentials(new SymmetricSecurityKey(key), SecurityAlgorithms.HmacSha256Signature)
            };
            var token = tokenHandler.CreateToken(tokenDescriptor);
            var tokenString = tokenHandler.WriteToken(token);
            return tokenString;
下面在看演示:
再次请求,已经带上了token头
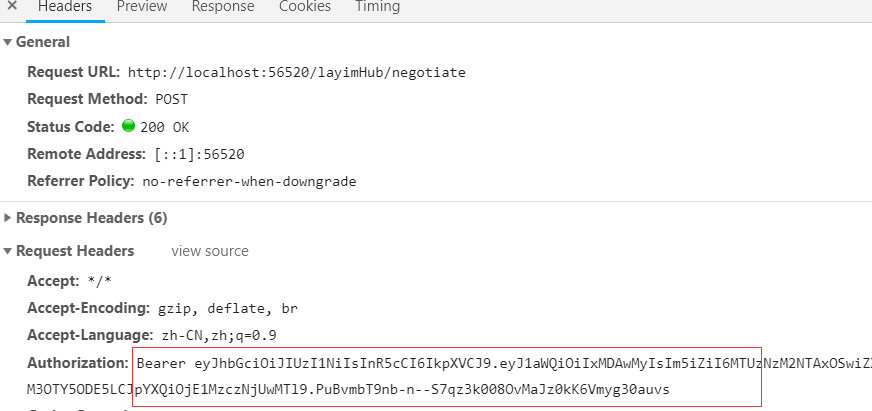
最后,在websocket握手阶段,也会将这个token传到后端。

这样我们的程序就能正常运行了。
总结
本文只是一篇简单的流水账记录。就酱吧