本文使用KVM,在 Server with GUI 安装的 Red Hat Linux 7.3 中,安装一个单实例的 Oracle12.2.01。目的是为 Oracle12c 的学习和研究提供一个快速可靠的实验环境。
一、环境说明
1.安装操作系统软件包
Linux 系统安装时选项包
Server with GUI                 #带GUI的服务器
Hardware Monitoring Utilities   #硬件监控实用程序
Large Systems Performance       #大型系统性能
Network file system client      #网络文件系统客户端
Performance Tools               #性能工具
Compatibility Libraries         #兼容性库
Development Tools               #开发工具
2.系统版本和内存
[root@ehs-db-01 ~]# cat /etc/redhat-release
Red Hat Enterprise Linux Server release 7.3 (Maipo)
[root@ehs-db-01 ~]# free -m
     total used free shared buff/cache available
Mem: 7983 555 6338 9 1089 7110
Swap: 15999 0 15999
3.数据库安装文件
Oracle Database 12c Release 2(12.2.0.1.0),可以在Oracle主页中下载到。需要下载的文件名称为 linuxx64_12201_database.zip。
二、操作系统设置
1.修改 /etc/selinux/config 配置
[root@ehs-db-01 ~]# sed -i 's/^SELINUX=.*/SELINUX=disabled/' /etc/selinux/config; setenforce 0 ; cat /etc/selinux/config | grep -i SELINUX= | grep -v "^#"
SELINUX=disabled
2.关闭防火墙
[root@ehs-db-01 ~]# systemctl stop firewalld; systemctl disable firewalld
Removed symlink /etc/systemd/system/dbus-org.fedoraproject.FirewallD1.service.
Removed symlink /etc/systemd/system/basic.target.wants/firewalld.service.
确认开机启动已经无效
[root@ehs-db-01 ~]# systemctl is-enabled firewalld
disabled
3.安装依赖包
[root@ehs-db-01 ~]# yum -y install binutils compat-libcap1
compat-libstdc++ gcc gcc-c++ glibc
glibc-devel libgcc libstdc++
libstdc++-devel libaio sysstat
libaio-devel elfutils-libelf-devel
unixODBC unixODBC-devel libXext
libXtst libX11 libXau libxcb
ksh make libXi
4.修改hosts文件
这里不再配置DNS服务器(bind),而简单的配置一个静态的 hosts 文件,确保主机名永远都能被解析到。
[root@ehs-db-01 ~]# vim /etc/hosts
127.0.0.1 localhost localhost.localdomain localhost4 localhost4.localdomain4
10.0.7.110 ehs-db-01
10.0.7.110 orcl.example.com
5.数据库安装选项设置
备份文件 /etc/pam.d/login
[root@ehs-db-01 ~]# cp /etc/pam.d/login /etc/pam.d/login.$(date +'%F').bak
执行下面的命令,修改/etc/pam.d/login,启用 limits:
[root@ehs-db-01 ~]# sed -i -e '/session required pam_selinux.so open/i
session required /lib64/security/pam_limits.so
session required pam_limits.so' /etc/pam.d/login
修改后的文件如下:
[root@ehs-db-01 ~]# cat /etc/pam.d/login
#%PAM-1.0
auth [user_unknown=ignore success=ok ignore=ignore default=bad] pam_securetty.so
auth substack system-auth
auth include postlogin
account required pam_nologin.so
account include system-auth
password include system-auth
# pam_selinux.so close should be the first session rule
session required pam_selinux.so close
session required pam_loginuid.so
session optional pam_console.so
# pam_selinux.so open should only be followed by sessions to be executed in the user context
session required /lib64/security/pam_limits.so
session required pam_limits.so
session required pam_selinux.so open
session required pam_namespace.so
session optional pam_keyinit.so force revoke
session include system-auth
session include postlogin
-session optional pam_ck_connector.so
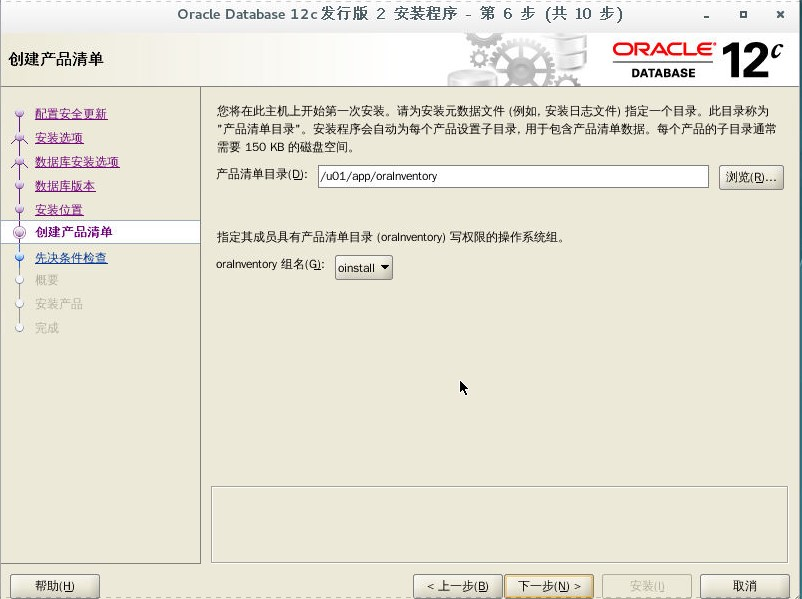
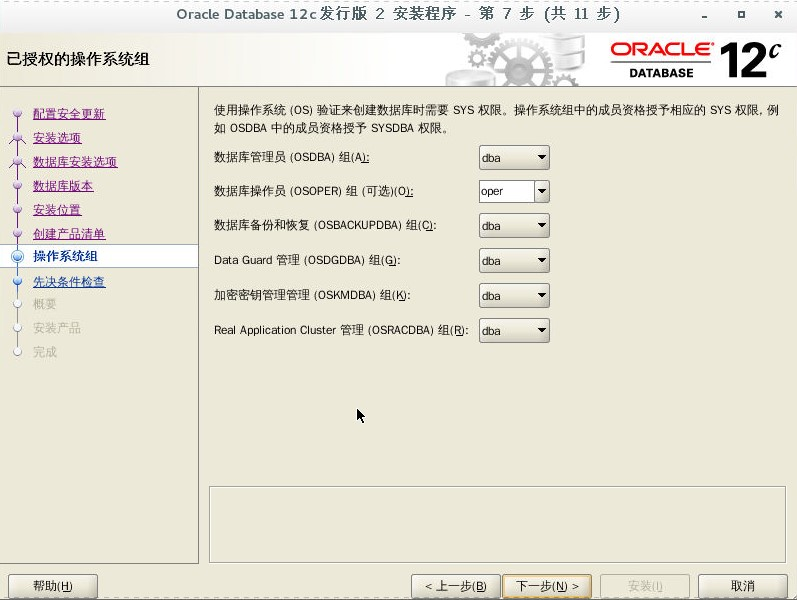
6.添加用户及相关目录
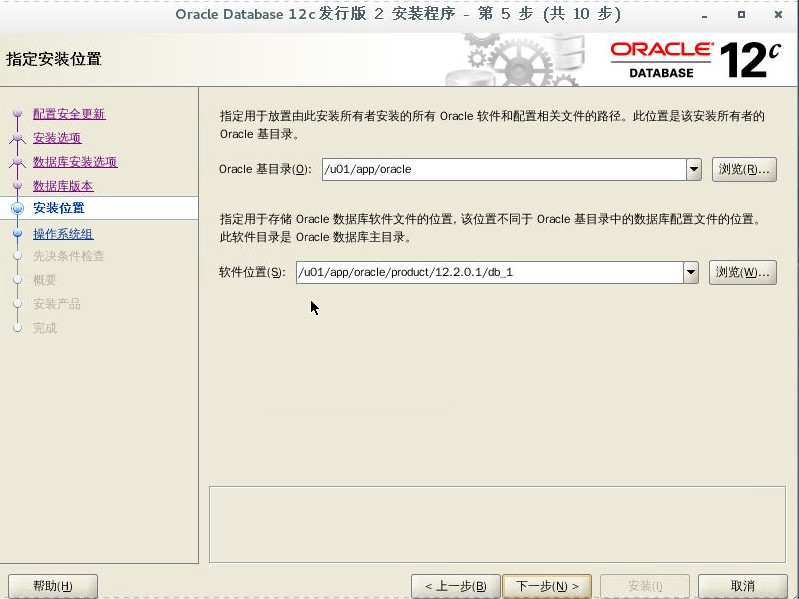
[root@ehs-db-01 ~]# groupadd -g 54321 oinstall
[root@ehs-db-01 ~]# groupadd -g 54322 dba
[root@ehs-db-01 ~]# groupadd -g 54323 oper
[root@ehs-db-01 ~]# useradd -u 54321 -g oinstall -G dba,oper oracle
[root@ehs-db-01 ~]# echo 'oracle' | passwd --stdin oracle
更改用户 oracle 的密码 。
passwd:所有的身份验证令牌已经成功更新。
[root@ehs-db-01 ~]# id oracle
uid=54321(oracle) gid=54321(oinstall) 组=54321(oinstall),54322(dba),54323(oper)
[root@ehs-db-01 ~]# mkdir -p /u01/app/oracle/product/12.2.0.1/db_1
[root@ehs-db-01 ~]# mkdir /u01/app/oracle/oraInventory
[root@ehs-db-01 ~]# chmod -R 775 /u01/
[root@ehs-db-01 ~]# chown -R oracle:oinstall /u01/app/
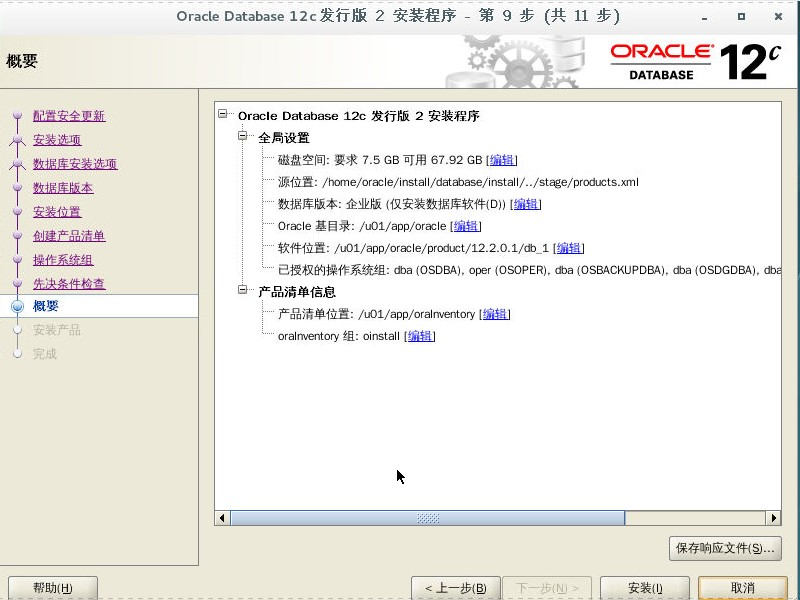
Oracle_Base目录:/u01/app/oracle/
Oracle_Home目录:/u01/app/oracle/product/12.2.0.1/db_1
Oracle清单目录:/u01/app/oracle/oraInventory
7.配置内核参数
[root@ehs-db-01 ~]# cp /etc/sysctl.conf /etc/sysctl.conf.$(date +'%F').bak [root@ehs-db-01 ~]# MEMTOTAL=$(free -b | sed -n '2p' | awk '{print $2}') [root@ehs-db-01 ~]# SHMMAX=$(expr ${MEMTOTAL} * 4 / 5) [root@ehs-db-01 ~]# SHMMNI=4096 [root@ehs-db-01 ~]# SHMALL=$(expr ${MEMTOTAL} / ( 4 * 1024 )) [root@ehs-db-01 ~]# cat >> /etc/sysctl.conf << EOF fs.file-max = 6815744 kernel.sem = 250 32000 100 128 kernel.shmmax = $SHMMAX kernel.shmall = $SHMALL kernel.shmmni = $SHMMNI kernel.panic_on_oops = 1 net.core.rmem_default = 262144 net.core.rmem_max = 4194304 net.core.wmem_default = 262144 net.core.wmem_max = 1048576 net.ipv4.conf.all.rp_filter = 2 net.ipv4.conf.default.rp_filter = 2 fs.aio-max-nr = 1048576 net.ipv4.ip_local_port_range = 9000 65500 EOF #修改生效 [root@ehs-db-01 ~]# /sbin/sysctl -p fs.file-max = 6815744 kernel.sem = 250 32000 100 128 kernel.shmmax = 6697274572 kernel.shmall = 2043846 kernel.shmmni = 4096 kernel.panic_on_oops = 1 net.core.rmem_default = 262144 net.core.rmem_max = 4194304 net.core.wmem_default = 262144 net.core.wmem_max = 1048576 net.ipv4.conf.all.rp_filter = 2 net.ipv4.conf.default.rp_filter = 2 fs.aio-max-nr = 1048576 net.ipv4.ip_local_port_range = 9000 65500
# kernel.shmmax 大于共享内存区,小于物理内存
# kernel.shmall 物理内存/4K
参考值:
kernel.shmmni = 4096
kernel.shmall = 1073741824
kernel.shmmax = 4398046511104
8.修改系统限制参数
[root@ehs-db-01 ~]# cp /etc/security/limits.conf /etc/security/limits.conf.$(date +'%F').bak
[root@ehs-rac-01 ~]# cat >> /etc/security/limits.conf << EOF
oracle soft nofile 1024
oracle hard nofile 65536
oracle soft nproc 16384
oracle hard nproc 16384
oracle soft stack 10240
oracle hard stack 32768
oracle hard memlock 134217728
oracle soft memlock 134217728
EOF
9.修改oracle用户的环境变量
[root@ehs-db-01 ~]# su - oracle
[oracle@ehs-db-01 ~]$ cd ~
[oracle@ehs-db-01 ~]$ cp .bash_profile .bash_profile.$(date +'%F').bak
[oracle@ehs-db-01 ~]$ cat >> .bash_profile << EOF
export ORACLE_BASE=/u01/app/oracle
export ORACLE_HOME=/u01/app/oracle/product/12.2.0.1/db_1
export ORACLE_SID=orcl
export PATH=$ORACLE_HOME/bin:$PATH
export LD_LIBRARY_PATH=$ORACLE_HOME/lib:/lib:/usr/lib
export CLASSPATH=$ORACLE_HOME/JRE:$ORACLE_HOME/jlib:$ORACLE_HOME/rdbms/jlib
TEMP=/tmp
TMPDIR=/tmp
export PATH TEMP TMPDIR
umask=022
EOF
三、安装oracle软件
先从共享目录中把数据库的安装文件拷贝到oracle用户的主目录中,并解压缩。
[oracle@ehs-db-01 ~]$ mkdir install
[oracle@ehs-db-01 ~]$ cp linuxx64_12201_database.zip install/
[oracle@ehs-db-01 ~]$ cd install/
[oracle@ehs-db-01 install]$ unzip linuxx64_12201_database.zip
使用vnc进入桌面
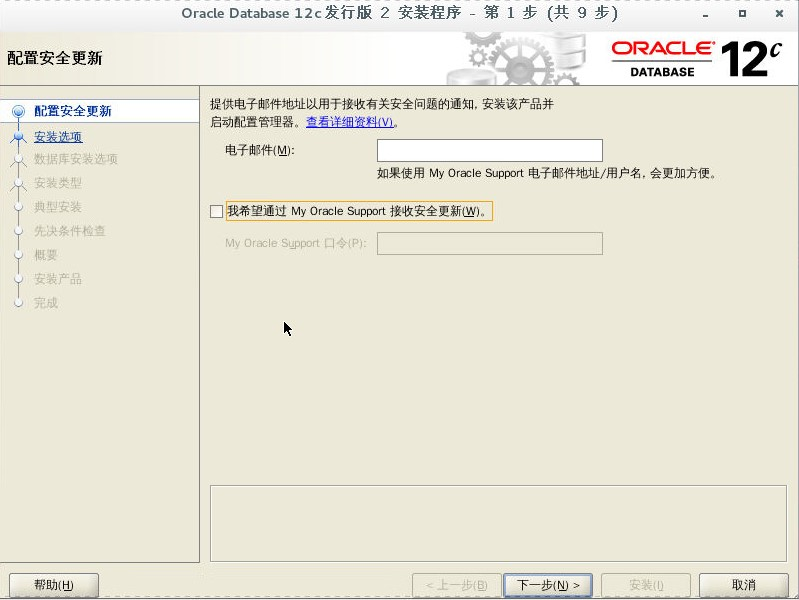
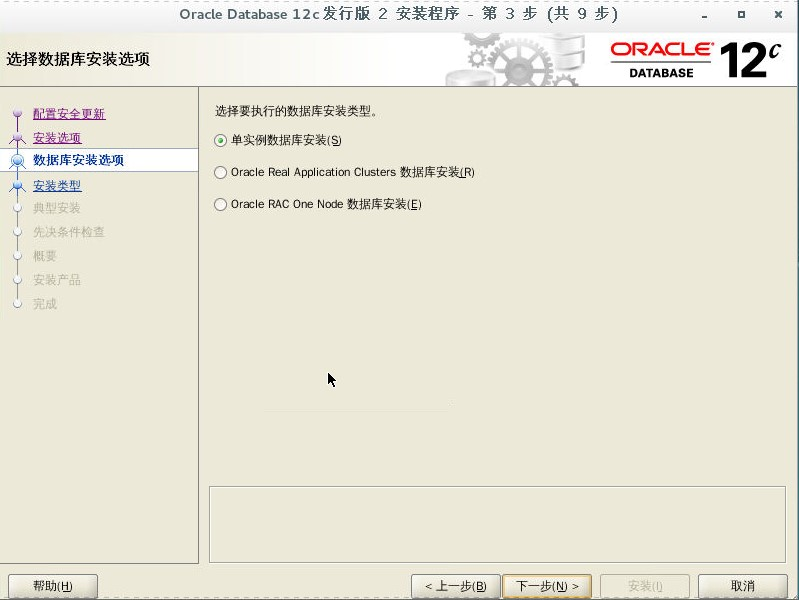
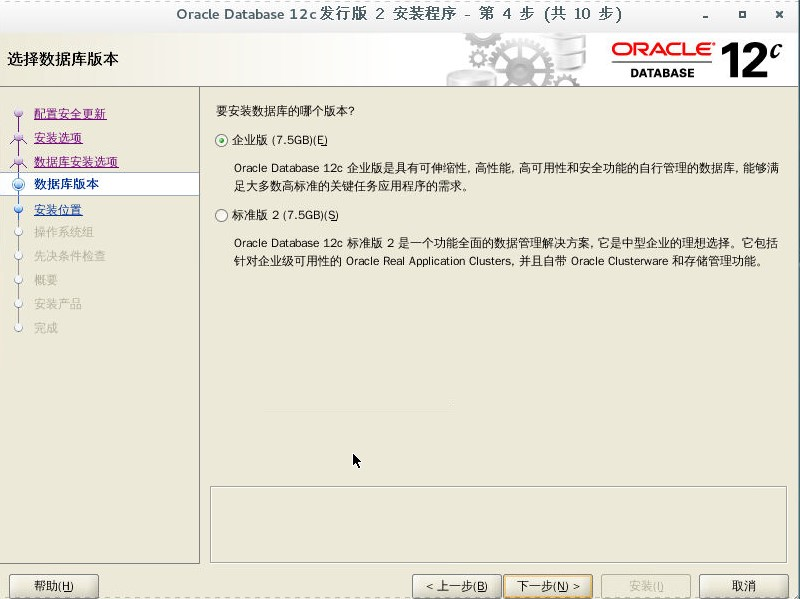
[root@ehs-db-01 ~]# xhost +
access control disabled, clients can connect from any host
[root@ehs-db-01 ~]# su - oracle
[oracle@ehs-db-01 ~]$ source .bash_profile
[oracle@ehs-db-01 ~]$ export DISPLAY=:0
[oracle@ehs-db-01 ~]$ cd install/database/
[oracle@ehs-db-01 database]$ ./runInstaller


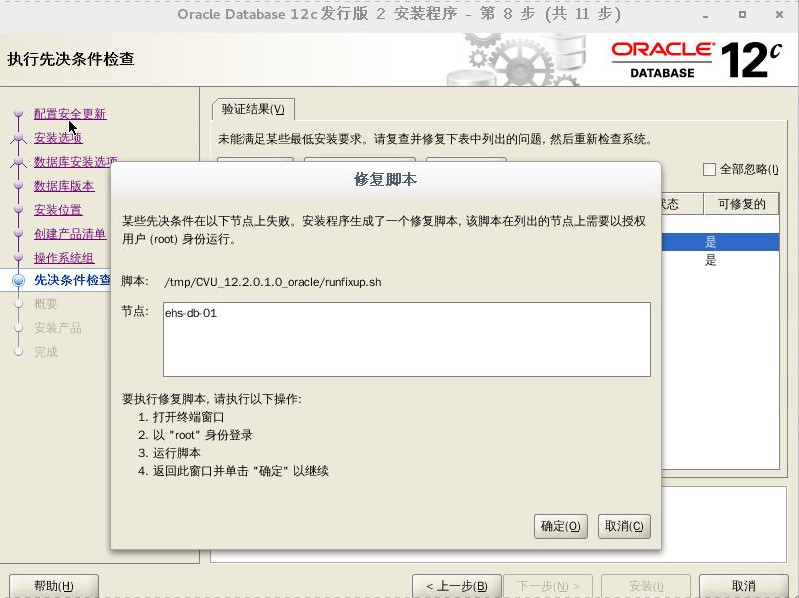
[root@ehs-db-01 ~]# /tmp/CVU_12.2.0.1.0_oracle/runfixup.sh
All Fix-up operations were completed successfully.

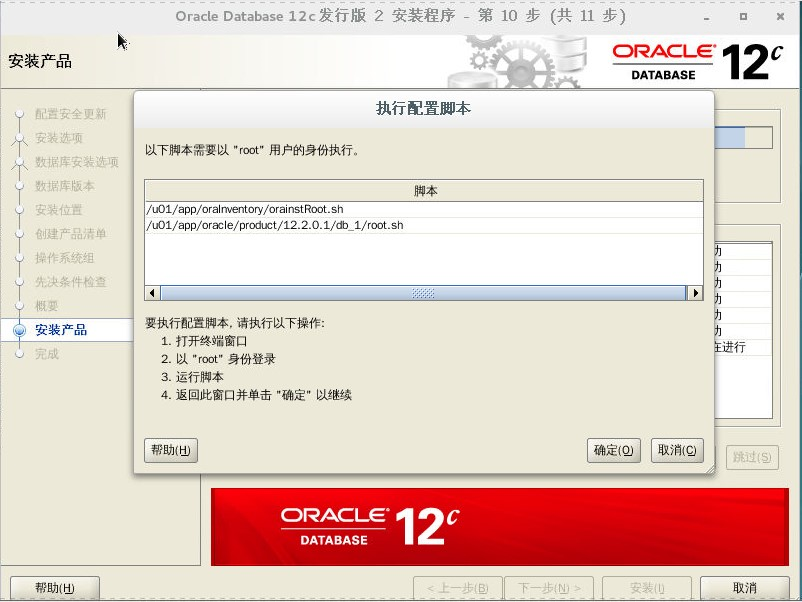
[root@ehs-db-01 ~]# /u01/app/oraInventory/orainstRoot.sh
更改权限/u01/app/oraInventory.
添加组的读取和写入权限。
删除全局的读取, 写入和执行权限。

更改组名/u01/app/oraInventory 到 oinstall.
脚本的执行已完成。
[root@ehs-db-01 ~]# /u01/app/oracle/product/12.2.0.1/db_1/root.sh
Performing root user operation.

The following environment variables are set as:
ORACLE_OWNER= oracle
ORACLE_HOME= /u01/app/oracle/product/12.2.0.1/db_1

Enter the full pathname of the local bin directory: [/usr/local/bin]:
Copying dbhome to /usr/local/bin ...
Copying oraenv to /usr/local/bin ...
Copying coraenv to /usr/local/bin ...


Creating /etc/oratab file...
Entries will be added to the /etc/oratab file as needed by
Database Configuration Assistant when a database is created
Finished running generic part of root script.
Now product-specific root actions will be performed.
Do you want to setup Oracle Trace File Analyzer (TFA) now ? yes|[no] :

Oracle Trace File Analyzer (TFA - User Mode) is available at :
/u01/app/oracle/product/12.2.0.1/db_1/suptools/tfa/release/tfa_home/bin/tfactl

OR

Oracle Trace File Analyzer (TFA - Daemon Mode) can be installed by running this script :
/u01/app/oracle/product/12.2.0.1/db_1/suptools/tfa/release/tfa_home/install/roottfa.sh

[root@ehs-db-01 ~]#
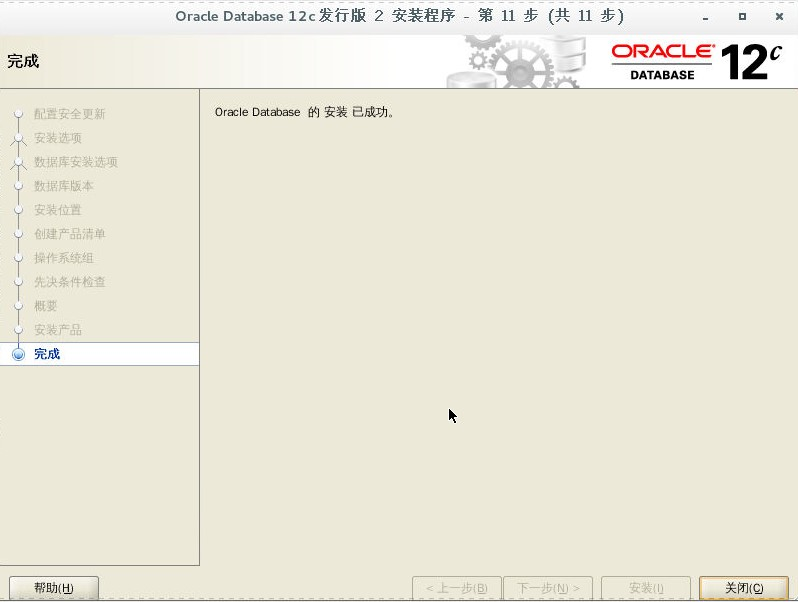
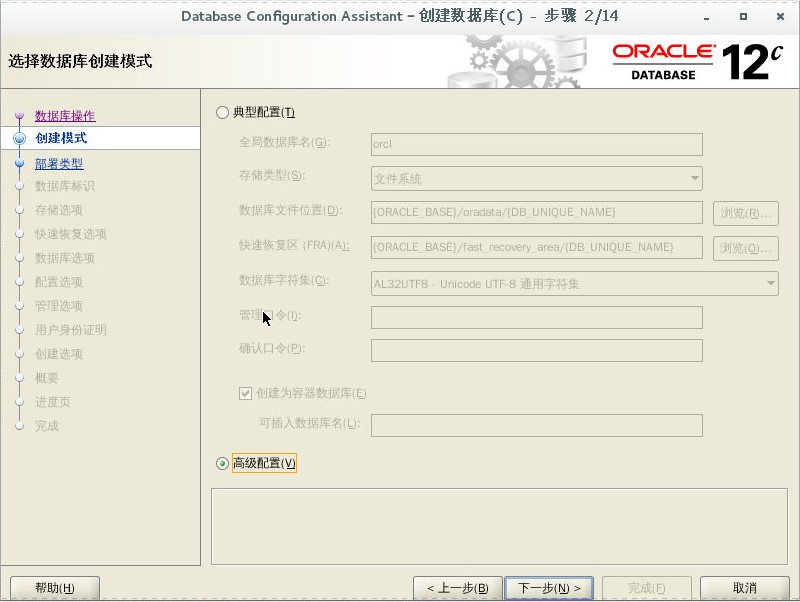
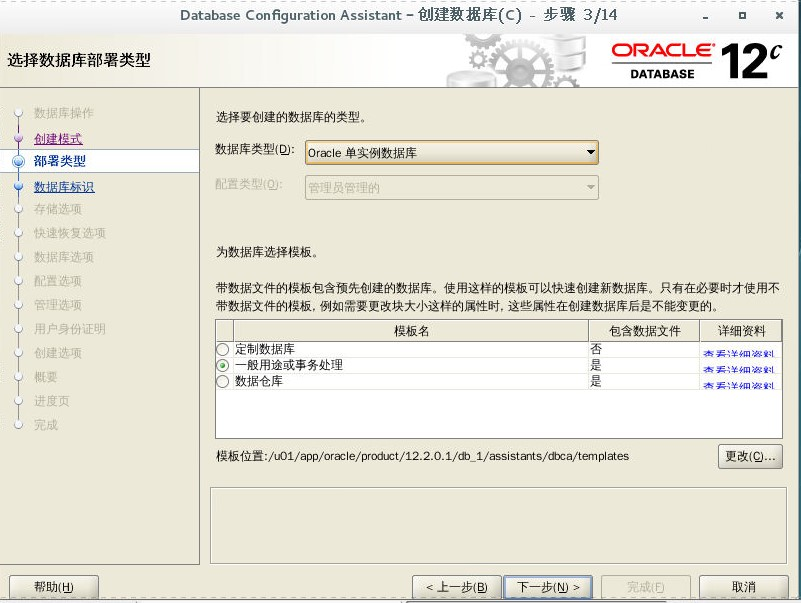
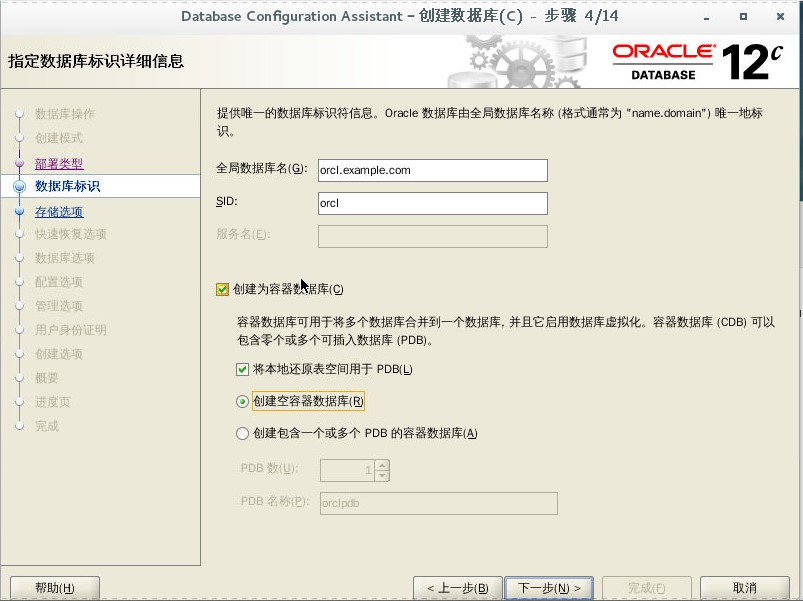
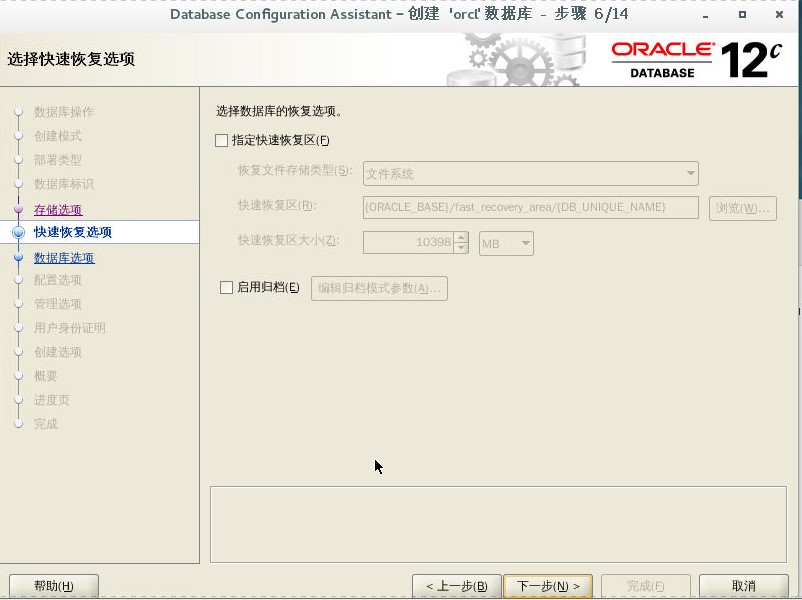
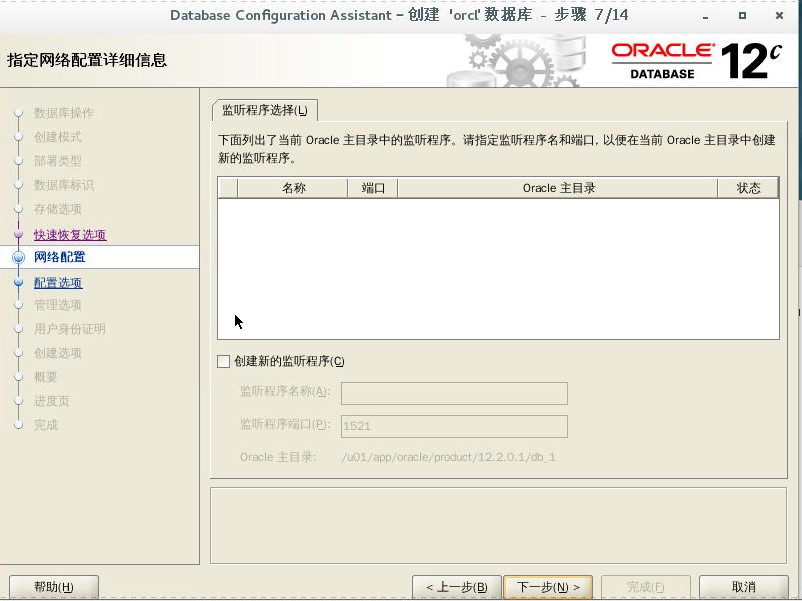
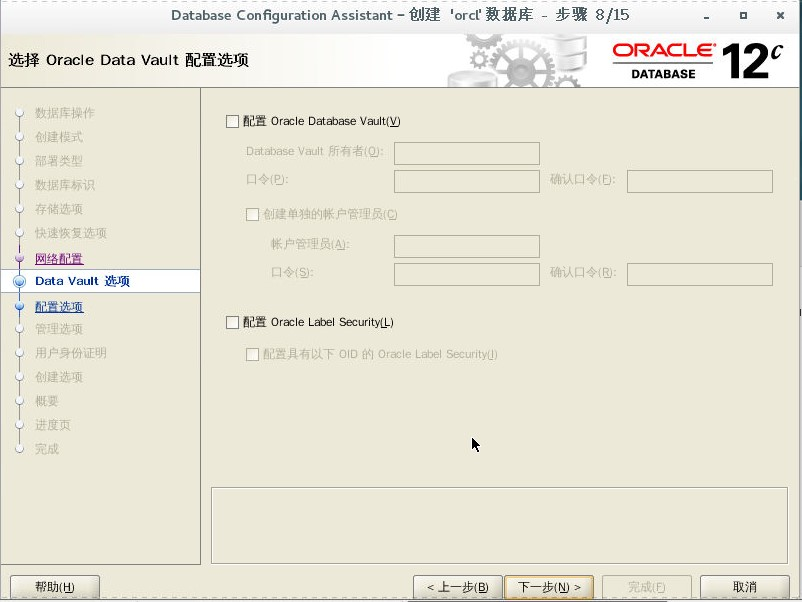
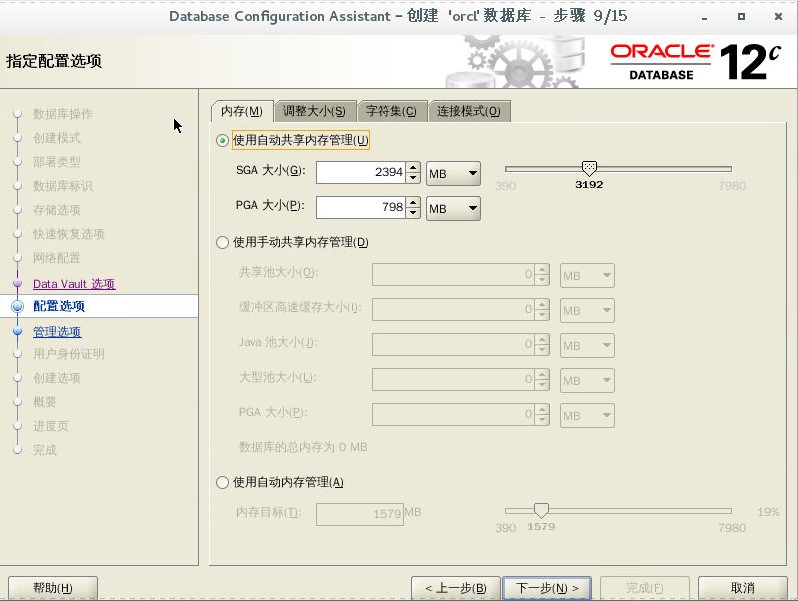
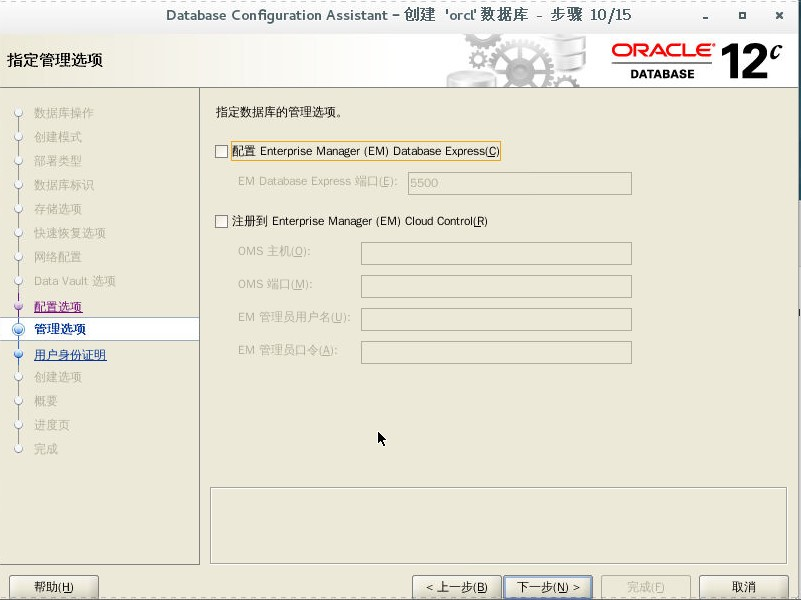
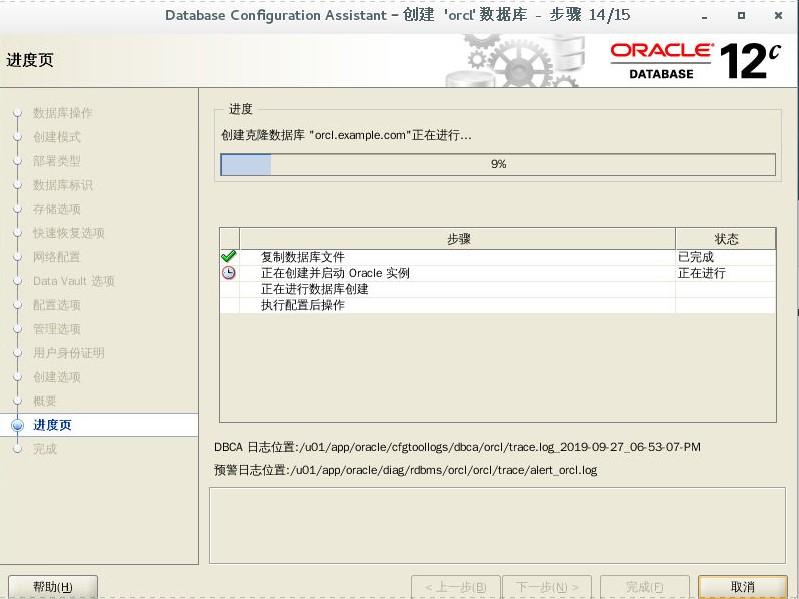
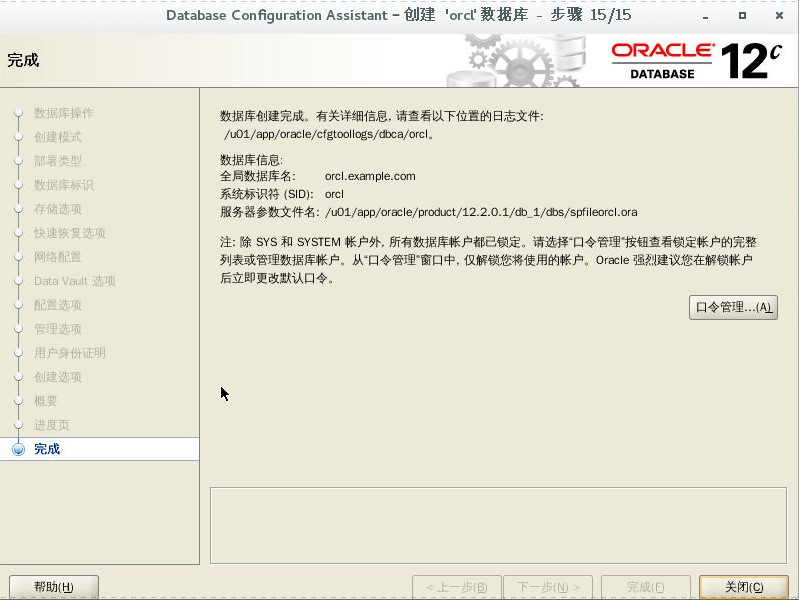
四、安装数据库
[oracle@ehs-db-01 database]$ dbca


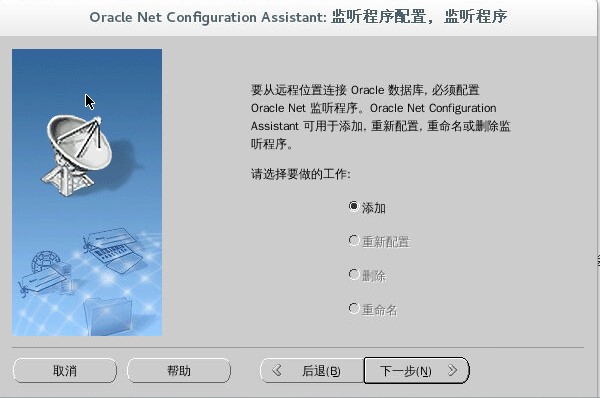
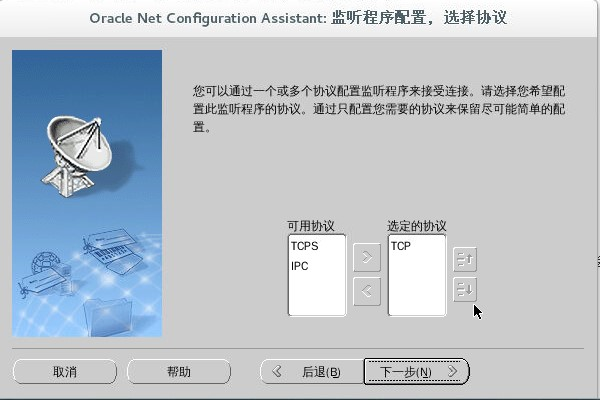
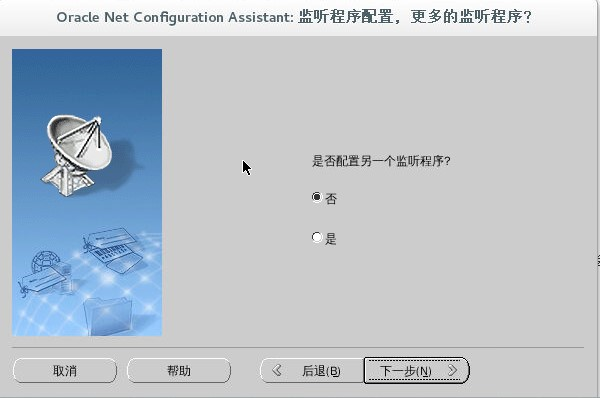
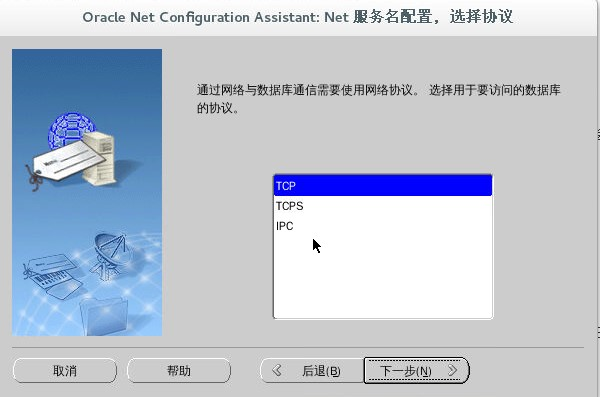
五、创建监听器
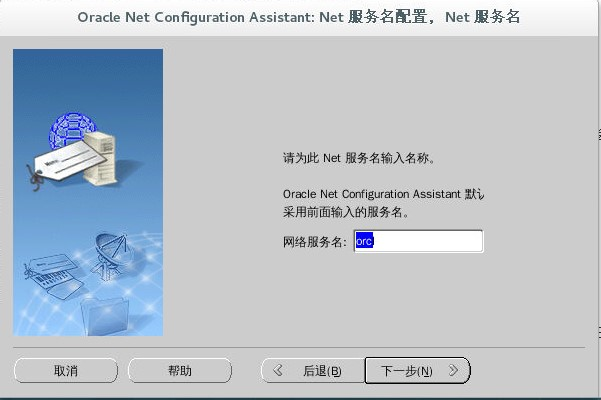
[oracle@ehs-db-01 database]$ netca


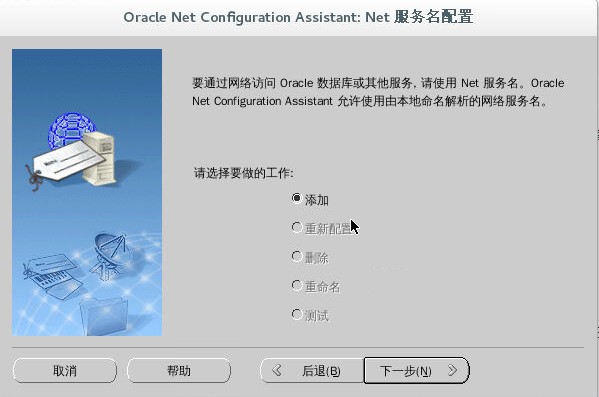
输入全局数据库(Global database name)名称orcl.example.com


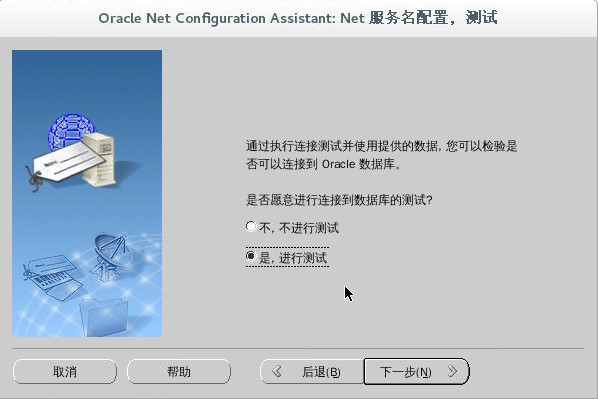
输入用户名system,密码oracle进行测试

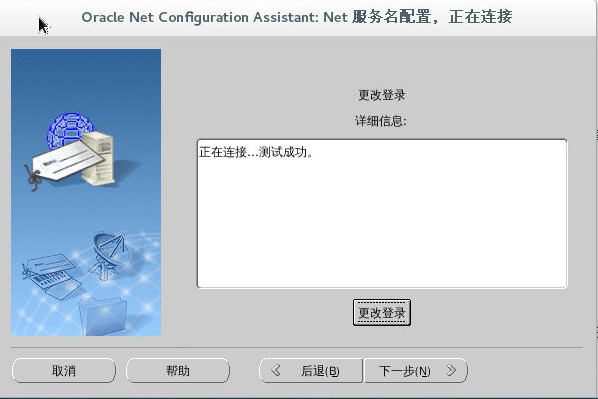
至此,数据库安装完成。
六、测试 oracle
[oracle@ehs-db-01 ~]$ sqlplus / as sysdba SQL*Plus: Release 12.2.0.1.0 Production on Thu Feb 22 22:45:40 2018 Copyright (c) 1982, 2016, Oracle. All rights reserved. Connected to: Oracle Database 12c Enterprise Edition Release 12.2.0.1.0 - 64bit Production SQL> startup ORA-01081: cannot start already-running ORACLE - shut it down first SQL> shutdown immediate Database closed. Database dismounted. ORACLE instance shut down. SQL> startup ORACLE instance started. Total System Global Area 2516582400 bytes Fixed Size 8795904 bytes Variable Size 687868160 bytes Database Buffers 1811939328 bytes Redo Buffers 7979008 bytes Database mounted. Database opened. SQL> select name from v$database; NAME --------- ORCL SQL> select tablespace_name from dba_tablespaces; TABLESPACE_NAME ------------------------------ SYSTEM SYSAUX UNDOTBS1 TEMP USERS SQL> create table t1(id int, name char(20)); Table created. SQL> insert into t1 values(1,'miao'); 1 row created. SQL> insert into t1 values(2,'qing'); 1 row created. SQL> select * from t1; ID NAME ---------- -------------------- 1 miao 2 qing SQL> shutdown immediate ORA-01097: cannot shutdown while in a transaction - commit or rollback first SQL> commit; Commit complete. SQL> shutdown immediate Database closed. Database dismounted. ORACLE instance shut down. SQL> quit Disconnected from Oracle Database 12c Enterprise Edition Release 12.2.0.1.0 - 64bit Production [oracle@node01 ~]$
七、重启时自动启动数据库
以root用户,修改/etc/oratab的最后一行,将N改成Y,保证数据库在系统重启之后自动启动。
[root@ehs-db-01 ~]# vim /etc/oratab
orcl:/u01/app/oracle/product/12.2.0.1/db_1:Y
参考官方安装文档,创建自启动脚本/etc/init.d/dbora,输入如下内容:
[root@ehs-db-01 ~]# vim /etc/init.d/dbora
#! /bin/sh -x
#
# chkconfig: 2345 80 05
# description: Oracle auto start-stop script.
#
# Set ORACLE_HOME to be equivalent to the $ORACLE_HOME
# from which you wish to execute dbstart and dbshut;
#
# Set ORA_OWNER to the user id of the owner of the
# Oracle database in ORACLE_HOME.
ORA_HOME=/u01/app/oracle/product/12.2.0.1/db_1
ORA_OWNER=oracle
case "$1" in
'start')
   # Start the Oracle databases:
   # The following command assumes that the oracle login
   # will not prompt the user for any values
   # Remove "&" if you don't want startup as a background process.
   su - $ORA_OWNER -c "$ORA_HOME/bin/dbstart $ORA_HOME" &
   touch /var/lock/subsys/dbora
  ;;
'stop')
   # Stop the Oracle databases:
   # The following command assumes that the oracle login
   # will not prompt the user for any values
   su - $ORA_OWNER -c "$ORA_HOME/bin/dbshut $ORA_HOME" &
   rm -f /var/lock/subsys/dbora
  ;;
esac
修改启动脚本的权限
[root@ehs-db-01 ~]# chgrp dba /etc/init.d/dbora
[root@ehs-db-01 ~]# chmod 750 /etc/init.d/dbora
将启动脚本注册为自启动服务
[root@ehs-db-01 ~]# chkconfig --add dbora
[root@ehs-db-01 ~]# chkconfig dbora on
PDB Pluggable Database是12c中扛鼎的一个新特性, 但是对于CDB中的PDB,默认启动CDB时不会将所有的PDB带起来,这样我们就需要手动alter pluggable database ALL OPEN。
解决方法就是使用SYS用户创建如下触发器:
[oracle@ehs-db-01 ~]$ sqlplus / as sysdba
CREATE TRIGGER open_all_pdbs
  AFTER STARTUP
  ON DATABASE
BEGIN
  EXECUTE IMMEDIATE 'alter pluggable database all open';
END open_all_pdbs;
/
八、注册到EM Express中
登录到数据库中,保证XDB已经安装好,通过exec DBMS_XDB_CONFIG.setHTTPPort(5500);开启EM Express,并使用默认端口5500.
[oracle@ehs-db-01 ~]$ sqlplus system@orcl SQL*Plus: Release 12.2.0.1.0 Production on Fri Sep 27 19:58:29 2019 Copyright (c) 1982, 2016, Oracle. All rights reserved. Enter password: ERROR: ORA-12514: TNS:listener does not currently know of service requested in connect descriptor
解决方法/步骤:
1.
先看oracle的监听和oracle的服务是否都启动了。
启动oracle监听:cmd命令行窗口下,输入lsnrctl start,回车即启动监听。
[oracle@ehs-db-01 ~]$ lsnrctl start LSNRCTL for Linux: Version 12.2.0.1.0 - Production on 27-SEP-2019 20:05:20 Copyright (c) 1991, 2016, Oracle. All rights reserved. TNS-01106: Listener using listener name LISTENER has already been started
2.
查看oracle的sid叫什么,比如创建数据库的时候,实例名叫“orcl”,
那么先手工设置一下oralce的sid,cmd命令窗口中,set ORACLE_SID=orcl
[oracle@ehs-db-01 ~]$ set ORACLE_SID=orcl
3.
再输入sqlplus /nolog,回车
再输入 conn / as sysdba;回车
再输入startup,回车.这步是启动oracle服务。
[oracle@ehs-db-01 ~]$ sqlplus /nolog SQL*Plus: Release 12.2.0.1.0 Production on Fri Sep 27 20:06:26 2019 Copyright (c) 1982, 2016, Oracle. All rights reserved. SQL> conn / as sysdba; Connected to an idle instance. SQL> startup ORACLE instance started. Total System Global Area 2516582400 bytes Fixed Size 8795904 bytes Variable Size 687868160 bytes Database Buffers 1811939328 bytes Redo Buffers 7979008 bytes
4.
如果startup启动被告知已经启动了,可以先输入shutdown immediate;
等shutdown结束之后,再输入startup。
5.
过几秒钟等命令运行完成,就能连接了。
[oracle@ehs-db-01 ~]$ sqlplus system@orcl SQL*Plus: Release 12.2.0.1.0 Production on Wed Apr 12 15:37:15 2017 Copyright (c) 1982, 2016, Oracle. All rights reserved. Enter password: Last Successful login time: Wed Apr 12 2017 15:08:54 +08:00 Connected to: Oracle Database 12c Enterprise Edition Release 12.2.0.1.0 - 64bit Production SQL> show parameter dispatchers NAME TYPE VALUE ------------------------------------ ----------- ------------------------------ dispatchers string (PROTOCOL=TCP) (SERVICE=orclXD B) max_dispatchers integer SQL> exec DBMS_XDB_CONFIG.setHTTPPort(5500); PL/SQL procedure successfully completed.
查看监听器状态
[oracle@ehs-db-01 ~]$ lsnrctl status LSNRCTL for Linux: Version 12.2.0.1.0 - Production on 27-SEP-2019 20:10:22 Copyright (c) 1991, 2016, Oracle. All rights reserved. Connecting to (DESCRIPTION=(ADDRESS=(PROTOCOL=TCP)(HOST=ehs-db-01)(PORT=1521))) STATUS of the LISTENER ------------------------ Alias LISTENER Version TNSLSNR for Linux: Version 12.2.0.1.0 - Production Start Date 27-SEP-2019 19:30:46 Uptime 0 days 0 hr. 39 min. 37 sec Trace Level off Security ON: Local OS Authentication SNMP OFF Listener Parameter File /u01/app/oracle/product/12.2.0.1/db_1/network/admin/listener.ora Listener Log File /u01/app/oracle/diag/tnslsnr/ehs-db-01/listener/alert/log.xml Listening Endpoints Summary... (DESCRIPTION=(ADDRESS=(PROTOCOL=tcp)(HOST=ehs-db-01)(PORT=1521))) (DESCRIPTION=(ADDRESS=(PROTOCOL=ipc)(KEY=EXTPROC1521))) (DESCRIPTION=(ADDRESS=(PROTOCOL=tcp)(HOST=ehs-db-01)(PORT=5500))(Presentation=HTTP)(Session=RAW)) Services Summary... Service "orcl.example.com" has 1 instance(s). Instance "orcl", status READY, has 1 handler(s) for this service... Service "orclXDB.example.com" has 1 instance(s). Instance "orcl", status READY, has 1 handler(s) for this service... The command completed successfully
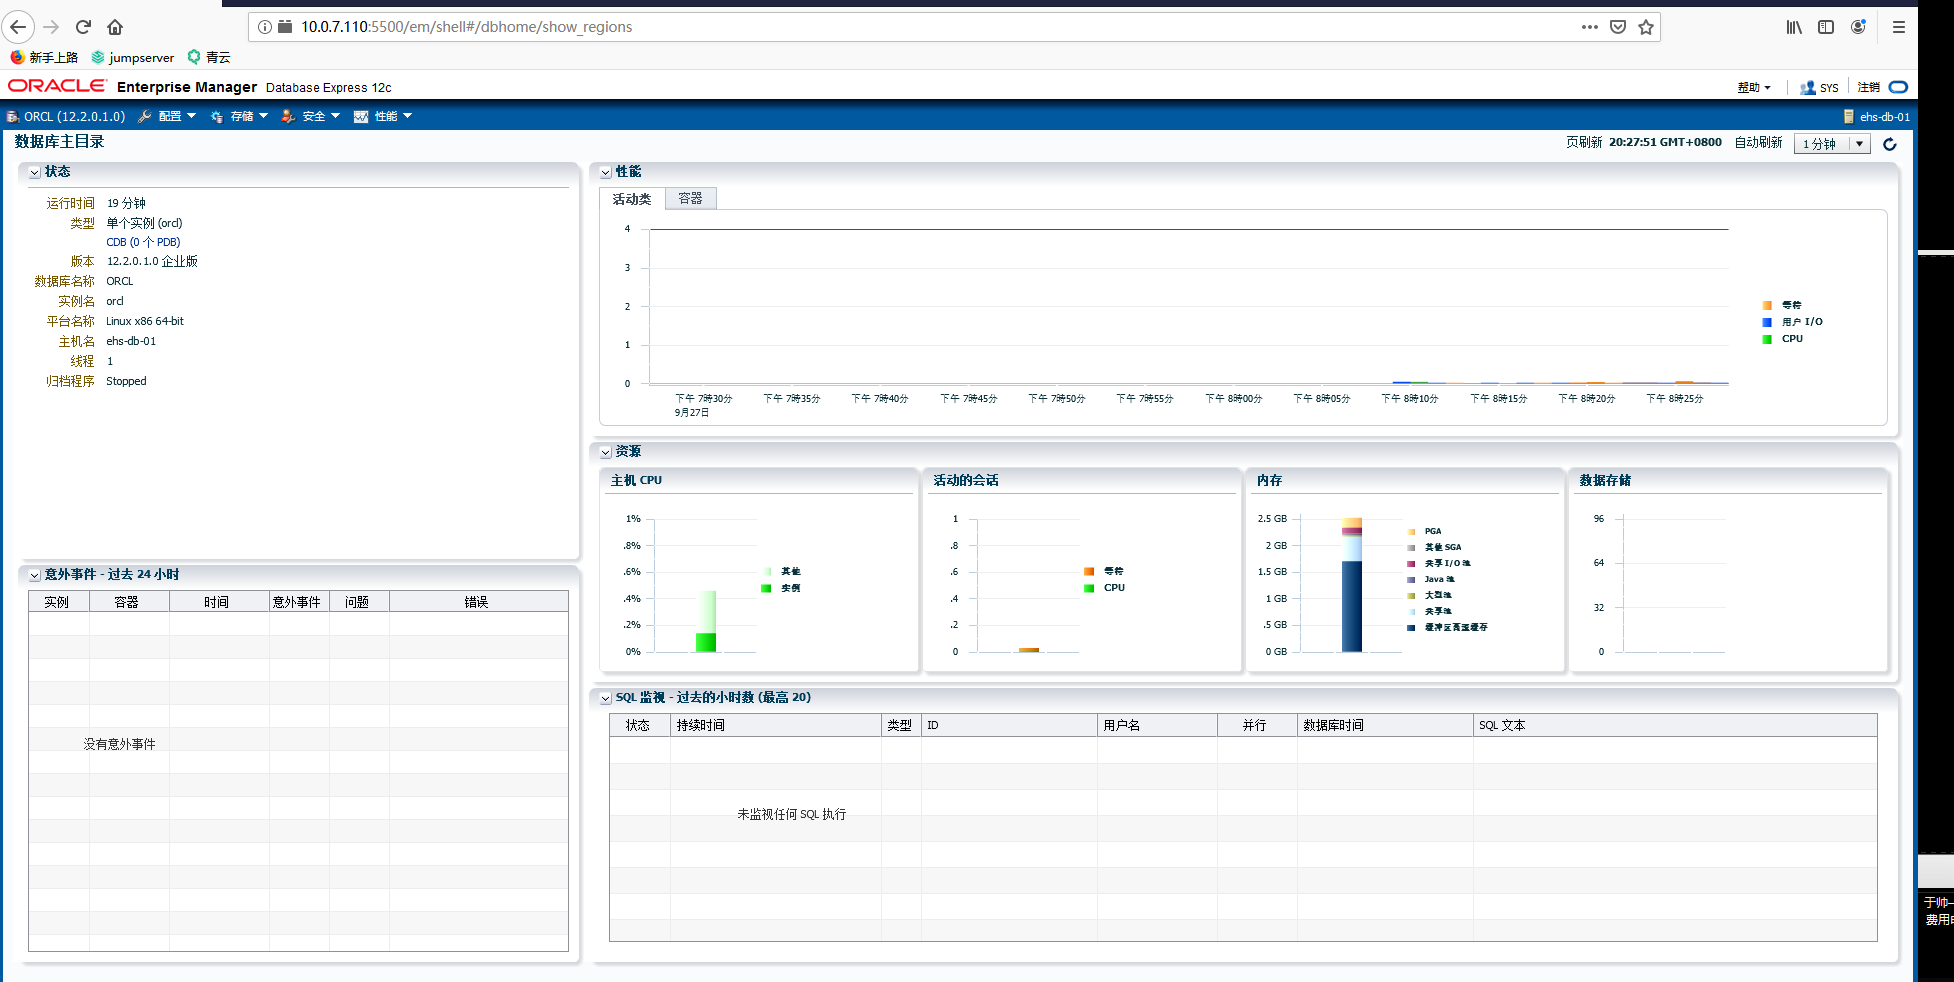
所有服务已经启动完成,可以使用http://10.0.7.110:5500/em来管理数据库了。注意,登录的时候使用用户名sys,密码oracle,不指定容器名,并选择以sysdba身份登录。
http://10.0.7.110:5500/em

EM Express启用HTTPS
为CDB启用HTTPS
确认当前的数据库是CDB:
[oracle@ehs-db-01 ~]$ sqlplus system@orcl SQL> select name,cdb,con_id from v$database; NAME CDB CON_ID --------- --- ---------- ORCL YES 0
查看,并设置CDB的EM Express的HTTPS访问端口为5501:
SQL> select dbms_xdb_config.gethttpsport() from dual; DBMS_XDB_CONFIG.GETHTTPSPORT() ------------------------------ 0 SQL> exec dbms_xdb_config.sethttpsport(5501); PL/SQL procedure successfully completed. SQL> select dbms_xdb_config.gethttpsport() from dual; DBMS_XDB_CONFIG.GETHTTPSPORT() ------------------------------ 5501 SQL>
现在,CDB的用户就可以通过https://192.178.78.122:5501/em来访问EM Express了。
为PDB启用HTTPS
先切换到PDB中:
SQL> col name for a20;
SQL> select con_id,name,open_mode from v$pdbs;
  CON_ID NAME OPEN_MODE
---------- -------------------- ----------
        2 PDB$SEED READ ONLY
        3 PDB READ WRITE
SQL> alter session set container=pdb;
Session altered.
SQL>
查看,并设置PDB的EM Express的HTTPS访问端口为5502:
SQL> exec dbms_xdb_config.sethttpsport(5502);
PL/SQL procedure successfully completed.
SQL> select dbms_xdb_config.gethttpsport() from dual;
DBMS_XDB_CONFIG.GETHTTPSPORT()
------------------------------
                         5502
SQL>
现在,PDB的用户就可以通过https://192.178.78.122:5502/em来访问EM Express了。这时,从登陆界面上就看不到那个容器名的输入框了。
普通用户启用访问EM Express
普通用户想要访问EM Express,还需要以下权限:
EM_EXPRESS_ALL,或者
EM_EXPRESS_BASIC
譬如,对于PDB中的一个普通用户test01,可以通过下面的方式赋予访问EM Express的权限:
SQL> grant EM_EXPRESS_ALL to test01;
Grant succeeded.
SQL>