vue中通过路由跳转的三种方式
原文:https://blog.csdn.net/qq_40072782/article/details/82533477
router-view 实现路由内容的地方,引入组件时写到需要引入的地方
需要注意的是,使用vue-router控制路由则必须router-view作为容器。
通过路由跳转的三种方式
1、router-link 【实现跳转最简单的方法】
<router-link to='需要跳转到的页面的路径>
浏览器在解析时,将它解析成一个类似于<a> 的标签。
|
1
2
3
4
|
#div和css样式略 <li > <router-link to="keyframes">点击验证动画效果 </router-link> </li> |
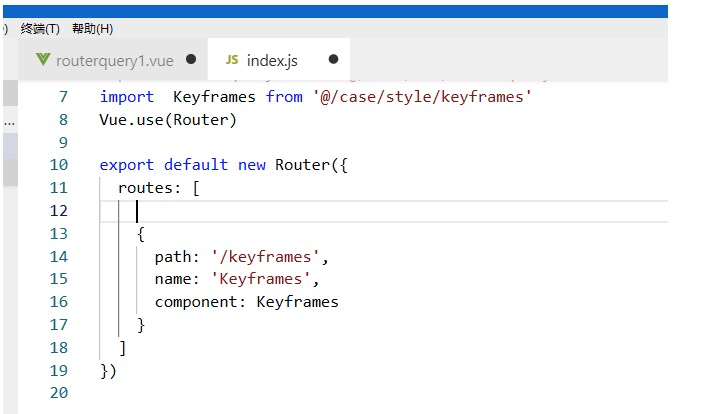
别忘记给需要跳转的路径在需要提前在router/index.js下引入哦。
2、this.$router.push({ path:’/user’})
常用于路由传参,用法同第三种
区别:
1.query引入方式
params只能用name来引入路由
而query 要用path引入
2.query传递方式
类似于我们ajax中get传参,在浏览器地址栏中显示参数
params则类似于post,在浏览器地址栏中不显示参数
在helloworld.vue文件中
|
1
2
3
4
5
6
7
8
9
10
11
12
13
14
15
16
17
18
19
20
21
22
23
24
|
<template>.....<li @click="change">验证路由传参</li></template><script>export default { data () { return { id:43, //需要传递的参数 } }, methods:{ change(){ this.$router.push({ //核心语句 path:'/select', //跳转的路径 query:{ //路由传参时push和query搭配使用 ,作用时传递参数 id:this.id , } }) } }}</script> |
在select.vue文件中
|
1
2
3
4
5
6
7
8
9
10
11
12
13
14
15
16
17
18
19
20
|
<template> <select> <option value="1" selected="selected">成都</option> <option value="2">北京</option> </select></template><script> export default{ data(){ return{ id:'', } }, created(){ //生命周期里接收参数 this.id = this.$route.query.id, //接受参数关键代码 console.log(this.id) } }</script> |
3、this.$router.replace{path:‘/’ }类似,不再赘述
做有积累的事~~