日期:2020.02.02
博客期:141
星期日
【本博客的代码如若要使用,请在下方评论区留言,之后再用(就是跟我说一声)】
所有相关跳转:
a.【简单准备】
b.【云图制作+数据导入】
c.【拓扑数据】
d.【数据修复】
e.【解释修复+热词引用】(本期博客)
f.【JSP演示+页面跳转】
g.【热词分类+目录生成】
h.【热词关系图+报告生成】
i . 【App制作】
j . 【安全性改造】
嗯~昨天相当于把数据重新爬了一边,但是貌似数据仍然不合适。问题到底出在什么地方呢?我直接回答了吧!如果我们的需求仅仅是云图展示,那么这些数据就够用了,甚至还多,因为任务是要实现“标记热词出现在哪个新闻里”,这就需要我们记录一下标题。当然!这也不难实现。我先把我所有的 Python 类全部单独分包做成一个.py文件。然后,我将数据库文件重新配置,将sql文件覆盖到上一篇博客中(本篇博客也会发出下载链接)。然后找到之前的添加解释的类,进行二次利用,重新爬取!这个任务也做完了以后呢,我会把之前的链接分别对应到每一个热词,利用 jsp 技术实现热词相关信息的展示。最后,将探索一下热词之间的紧密程度(说实在的我现在有点儿不太理解这是什么意思,等睡一觉,起来问了老师,再修改本篇博客),利用 ECharts 接口制作可供展示的关系图,努力肝了一天发现只做到了展示,没能完成热词关系探索,嗯,交给今后的我了。
1、整理文件(修改之前的 爬取网页的 文件 不再 撰写)
嗯,现在我已经将文件规整好了,如下图。先说一下,改造以后的python代码将每一个类分别单独封装成一个.py文件,每一个执行过程将单独使用一个.py文件,并放入到 itWords.process 包当中!我想过可以将所有执行过程写到一个.py文件里,但这样的话就有点儿乱,最终还是决定分开写。
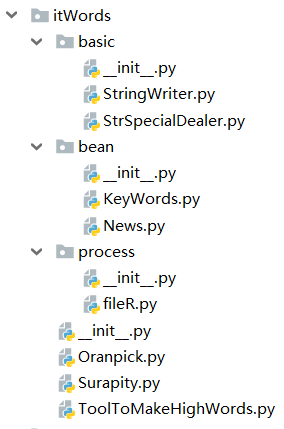
itWords.basic 包:
此包类已经被整合,详细参照博客: Python 爬取的类封装【将来可能会改造,持续更新...】(2020年寒假小目标09)
itWords.bean 包:


 1 import codecs
 2
 3
 4 class KeyWords:
 5     # 热词
 6     word = ""
 7     # 对应链接
 8     link = ""
 9     # 频数
10     num = 0
11
12     def __init__(self,word,link,num):
13         self.word = word
14         self.link = link
15         self.num = num
16
17     # 整理成 一行 字符串
18     def __toString__(self):
19         return self.word +"	"+str(self.num)+"	"+self.link
20
21     # 将 自动整理好的字符串 带换行符 追加 到文件后
22     def __toFile__(self,filePath):
23         f = codecs.open(filePath, "a+", 'utf-8')
24         f.write(self.__toString__() + "
")
25         f.close()
 1 import codecs
 2
 3
 4 class News:
 5     # 标题
 6     title = ""
 7     # 内容
 8     info = ""
 9     # 链接
10     link = ""
11
12     # 初始化
13     def __init__(self,title,info,link):
14         self.title = title
15         self.info = info
16         self.link = link
17
18     # 整理成 一行 字符串
19     def __toString__(self):
20         return self.link+"	"+self.title+"	"+self.info
21
22     # 将 自动整理好的字符串 带换行符 追加 到文件后
23     def __toFile__(self,filePath):
24         f = codecs.open(filePath, "a+", 'utf-8')
25         f.write(self.__toString__() + "
")
26         f.close()
27
28     # 将 标题和内容 衔接的 字符串 予以返回 ( 计算词语频率 )
29     def getSimple(self):
30         return self.title+self.info
itWords.process 包:
 1 import codecs
 2
 3
 4 def makeSql():
 5     file_path = "../../testFile/rc/words_sql.txt"
 6     f = codecs.open(file_path, "w+", 'utf-8')
 7     f.write("")
 8     f.close()
 9
10     fw = open("../../testFile/rc/news.txt", mode='r', encoding='utf-8')
11     tmp = fw.readlines()
12
13     num = tmp.__len__()
14
15     for i in range(0,num):
16         group = tmp[i].split("	")
17         group[0] = "'" + group[0] + "'"
18         group[2] = "'" + group[2][0:group[2].__len__()-1] + "'"
19         f = codecs.open(file_path, "a+", 'utf-8')
20         f.write("Insert into words values ("+group[0]+","+group[1]+","+group[2]+");"+"
")
21         f.close()
22
23
24 def makeOne():
25     file_path = "../../testFile/rc/keyword_moreinfo.txt"
26     fw = open("../../testFile/rc/keywords.txt", mode='r', encoding='utf-8')
27     tmp = fw.readlines()
itWords 包:
 1 import jieba
 2 import jieba.analyse
 3
 4
 5 # 新闻段落高频词分析器
 6 class ToolToMakeHighWords:
 7     # 要处理的字符串
 8     test_str = ""
 9
10     # 初始化
11     def __init__(self,test_str):
12         self.test_str = str(test_str)
13         pass
14
15     # 使用 文件 建立数据
16     def buildWithFile(self,filePath,type):
17         file = open(filePath, encoding=type)
18         self.test_str = file.read()
19
20     # 直接给予 字符串 建立
21     def buildWithStr(self,test_str):
22         self.test_str = test_str
23         pass
24
25     # 统计词
26     def getWords(self,isSimple,isAll):
27         if(isSimple):
28             words = jieba.lcut_for_search(self.test_str)
29             return words
30         else:
31             # True - 全模式 , False - 精准模式
32             words = jieba.cut(self.test_str, cut_all=isAll)
33             return words
34
35     # 统计词频并排序
36     def getHighWords(self,words):
37         data = {}
38         for charas in words:
39             if len(charas) < 2:
40                 continue
41             if charas in data:
42                 data[charas] += 1
43             else:
44                 data[charas] = 1
45
46         data = sorted(data.items(), key=lambda x: x[1], reverse=True)  # 排序
47
48         return data
49
50     # 获取 前 num 名的高频词 ( 带频率 )
51     def selectObjGroup(self,num):
52         a = jieba.analyse.extract_tags(self.test_str, topK=num, withWeight=True, allowPOS=())
53         return a
54
55     # 获取 前 num 名的高频词 ( 不带频率 )
56     def selectWordGroup(self,num):
57         b = jieba.analyse.extract_tags(self.test_str, topK=num, allowPOS=())
58         return b
 1 import parsel
 2 from urllib import request
 3 import codecs
 4
 5 from itWords.bean.KeyWords import KeyWords
 6 from itWords.Oranpick import Oranpick
 7
 8 # [ 连续网页爬取的对象 ]
 9 from itWords.ToolToMakeHighWords import ToolToMakeHighWords
10
11
12 class Surapity:
13     page = 1
14     headers = {
15         'User-Agent': 'Mozilla/5.0 (Windows NT 10.0; WOW64) AppleWebKit/537.36 (KHTML, like Gecko) Chrome/55.0.2883.75 Safari/537.36'}
16     basicURL = ""
17     oran = ""
18
19     # ---[定义构造方法]
20     def __init__(self):
21         self.page = 1
22         self.basicURL = "https://news.cnblogs.com/"
23         self.oran = Oranpick("https://start.firefoxchina.cn/")
24
25     def __close__(self):
26         self.oran.__close__()
27
28     def __next__(self):
29         self.page = self.page + 1
30         self.basicURL = 'https://news.cnblogs.com/n/page/'+str(self.page)+'/'
31
32     # 获取 url 的内部 HTML 代码
33     def getHTMLText(self):
34         req = request.Request(url=self.basicURL, headers=self.headers)
35         r = request.urlopen(req).read().decode()
36         return r
37
38     # 获取页面内的基本链接
39     def getMop(self,filePath):
40         index_html = self.getHTMLText()
41         index_sel = parsel.Selector(index_html)
42         links = index_sel.css(".news_entry a::attr(href)").extract()
43         size = links.__len__()
44         for i in range(0,size):
45             link = "https://news.cnblogs.com"+links[i]
46             self.oran.__reset__(link)
47             news = self.oran.getNews()
48             ttm = ToolToMakeHighWords(news.getSimple())
49             words = ttm.getHighWords(ttm.getWords(False,False))
50             leng = words.__len__()
51             # 频数 要在 15次 以上
52             for i in range(0,leng):
53                 if words[i][1]<=15:
54                     break
55                 keyw = KeyWords(word=words[i][0],link=link,num=words[i][1])
56                 keyw.__toFile__(filePath)
 1 import parsel
 2 import time
 3 from selenium import webdriver
 4
 5 from itWords.basic import StrSpecialDealer
 6 from itWords.bean import News
 7
 8
 9 # [ 一次性网页爬取的对象 ]
10
11
12 class Oranpick:
13     basicURL = ""
14     profile = ""
15
16     # ---[定义构造方法]
17     def __init__(self, url):
18         self.basicURL = url
19         self.profile = webdriver.Firefox()
20         self.profile.get("https://account.cnblogs.com/signin?returnUrl=https%3A%2F%2Fnews.cnblogs.com%2Fn%2F654191%2F")
21         self.profile.find_element_by_id("LoginName").send_keys("youraccount")
22         self.profile.find_element_by_id("Password").send_keys("yourpassword")
23         time.sleep(2)
24         self.profile.find_element_by_id("submitBtn").click()
25         # 给予 15s 的验证码人工验证环节
26         time.sleep(15)
27         self.profile.get(url)
28
29     # 重新设置
30     def __reset__(self,url):
31         self.basicURL = url
32         self.profile.get(url)
33
34     # ---[定义释放方法]
35     def __close__(self):
36         self.profile.quit()
37
38     # 获取 url 的内部 HTML 代码
39     def getHTMLText(self):
40         a = self.profile.page_source
41         return a
42
43     # 获取基本数据
44     def getNews(self):
45         index_html = self.getHTMLText()
46         index_sel = parsel.Selector(index_html)
47         context = index_sel.css('#news_title a')[0].extract()
48         context = StrSpecialDealer.getReaction(context)
49         context = StrSpecialDealer.simpleDeal(context)
50         conform = index_sel.css('#news_body')[0].extract()
51         conform = StrSpecialDealer.deleteRe(conform)
52         conform = StrSpecialDealer.simpleDeal(conform)
53         news = News(title=context, info=conform, link=self.basicURL)
54         return news
整理完成,接下来还会改代码的,上面的 basic 包应该是不会改了。
2、重写 Bean 相关的基础类,并重新爬取(可记录标题)
需要将表示 标题 的 title 属性加到 KeyWords 类中,并修改 init 初始化方法 和 toString 转性方法:
 1 import codecs
 2
 3
 4 class KeyWords:
 5     # 热词
 6     word = ""
 7     # 对应链接
 8     link = ""
 9     # 频数
10     num = 0
11     # 链接标题
12     title = ""
13
14     def __init__(self,word,link,num,title):
15         self.word = word
16         self.link = link
17         self.num = num
18         self.title = title
19
20     # 整理成 一行 字符串
21     def __toString__(self):
22         return self.word +"	"+str(self.num)+"	"+self.title+"	"+self.link
23
24     # 将 自动整理好的字符串 带换行符 追加 到文件后
25     def __toFile__(self,filePath):
26         f = codecs.open(filePath, "a+", 'utf-8')
27         f.write(self.__toString__() + "
")
28         f.close()
之后找到引用 KeyWords 的地方,也就是 Surapity 类的 getMop() 方法,将 keyw = KeyWords(word=words[i][0],link=link,num=words[i][1]) 一句改成
keyw = KeyWords(word=words[i][0],link=link,num=words[i][1],title=news.title) ,修改完成后:
 1 import parsel
 2 from urllib import request
 3 import codecs
 4
 5 from itWords.bean.KeyWords import KeyWords
 6 from itWords.Oranpick import Oranpick
 7
 8 # [ 连续网页爬取的对象 ]
 9 from itWords.ToolToMakeHighWords import ToolToMakeHighWords
10
11
12 class Surapity:
13     page = 1
14     headers = {
15         'User-Agent': 'Mozilla/5.0 (Windows NT 10.0; WOW64) AppleWebKit/537.36 (KHTML, like Gecko) Chrome/55.0.2883.75 Safari/537.36'}
16     basicURL = ""
17     oran = ""
18
19     # ---[定义构造方法]
20     def __init__(self):
21         self.page = 1
22         self.basicURL = "https://news.cnblogs.com/"
23         self.oran = Oranpick("https://start.firefoxchina.cn/")
24
25     def __close__(self):
26         self.oran.__close__()
27
28     def __next__(self):
29         self.page = self.page + 1
30         self.basicURL = 'https://news.cnblogs.com/n/page/'+str(self.page)+'/'
31
32     # 获取 url 的内部 HTML 代码
33     def getHTMLText(self):
34         req = request.Request(url=self.basicURL, headers=self.headers)
35         r = request.urlopen(req).read().decode()
36         return r
37
38     # 获取页面内的基本链接
39     def getMop(self,filePath):
40         index_html = self.getHTMLText()
41         index_sel = parsel.Selector(index_html)
42         links = index_sel.css(".news_entry a::attr(href)").extract()
43         size = links.__len__()
44         for i in range(0,size):
45             link = "https://news.cnblogs.com"+links[i]
46             self.oran.__reset__(link)
47             news = self.oran.getNews()
48             ttm = ToolToMakeHighWords(news.getSimple())
49             words = ttm.getHighWords(ttm.getWords(False,False))
50             leng = words.__len__()
51             # 频数 要在 15次 以上
52             for i in range(0,leng):
53                 if words[i][1]<=15:
54                     break
55                 keyw = KeyWords(word=words[i][0],link=link,num=words[i][1],title=news.title)
56                 keyw.__toFile__(filePath)
之后,在 process 编写 过程文件 paData.py 重新爬取
 1 from itWords.Surapity import Surapity
 2 from itWords.basic.StringWriter import StringWriter
 3
 4
 5 def main():
 6     filepath = "../../testFile/rc/news.txt"
 7     s = Surapity()
 8     StringWriter(filepath).makeFileNull()
 9     s.getMop(filepath)
10     s.__next__()
11     s.getMop(filepath)
12     while s.page <= 100:
13         s.__next__()
14         s.getMop(filepath)
15     s.__close__()
16
17
18 main()
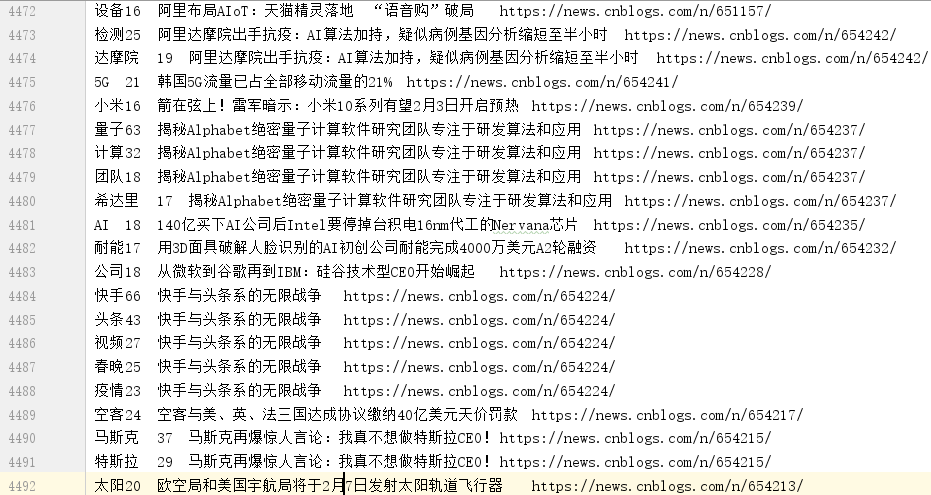
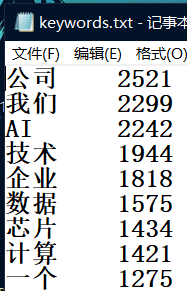
爬取得到结果如下:
3、简单的数据导入(附带sql文件)
在MySql中,重新建立 words 表:
准备 Insert 语句,修改 fileR.py ,并执行:
 1 import codecs
 2
 3
 4 def makeSql():
 5     file_path = "../../testFile/rc/words_sql.txt"
 6     f = codecs.open(file_path, "w+", 'utf-8')
 7     f.write("")
 8     f.close()
 9
10     fw = open("../../testFile/rc/news.txt", mode='r', encoding='utf-8')
11     tmp = fw.readlines()
12
13     num = tmp.__len__()
14
15     for i in range(0,num):
16         group = tmp[i].split("	")
17         group[0] = "'" + group[0] + "'"
18         group[3] = "'" + group[3][0:group[3].__len__()-1] + "'"
19         f = codecs.open(file_path, "a+", 'utf-8')
20         f.write("Insert into words values ("+group[0]+","+group[1]+",'"+group[2]+"',"+group[3]+");"+"
")
21         f.close()
22
23 makeSql()
之后,进入数据库,选择新建查询,输入 testFile/rc/words_sql.txt 文件内的sql语句,并予以执行
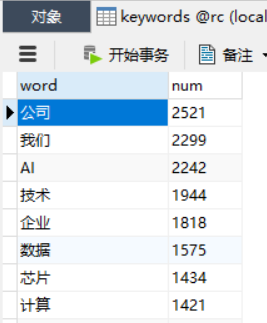
使用上次建视图的代码重新建立视图(也可以建成新表)名称:keywords,如图:
Sql 文件下载地址:https://files.cnblogs.com/files/onepersonwholive/words.zip
4、解释修复——重新利用 百度百科 进行解释性文字爬取
先使用 Navicat 导出 keywords 表,设置 为列间隔, 为行间隔,导出 txt 文件(不要文本限定符)
之后,将此文件剪切到 testFile/rc/keywords.txt 处
编写新的Bean类 ExplainThings:
 1 class ExplainThings:
 2     # --- [ 方法域 ]
 3     # 初始化
 4     def __init__(self,word,exp,num):
 5         self.word = word
 6         self.num = num
 7         self.exp = exp
 8
 9     # 整理成 一行 字符串
10     def __toString__(self):
11         return self.word + "	" + str(self.num) + "	" + self.exp
12
13     # 整理成 Insert 语句
14     def __toSql__(self):
15         return "Insert into keywords VALUES ('"+self.word+"',"+str(self.num)+",'"+self.exp+"');"
16
17     # --- [ 属性域 ]
18     # 热词
19     word = ""
20     # 解释
21     exp = ""
22     # 频数
23     num = 0
之后将老代码,进行整合和修改
 1 from itWords.WebConnector import WebConnector
 2 from itWords.basic.StrSpecialDealer import StrSpecialDealer
 3 from itWords.basic.StringWriter import StringWriter
 4 from itWords.bean.ExplainThings import ExplainThings
 5
 6 wc = WebConnector()
 7 sw = StringWriter("../../testFile/rc/moreinfo.txt")
 8
 9 sw.makeFileNull()
10
11 fw = open("../../testFile/rc/keywords.txt", mode='r', encoding='utf-8')
12 lines = fw.readlines()
13
14 num = lines.__len__()
15 print(num)
16 for i in range(0, num):
17     print(str(i))
18     str_line = lines[i]
19     gr = str_line.split("	")
20     name_b = StrSpecialDealer.simpleDeal(gr[0])
21     num_b = StrSpecialDealer.simpleDeal(gr[1])
22     wc.__reset__()
23     wc.getMore(name_b)
24     more_b = wc.getFirstChanel()
25     ex = ExplainThings(word=name_b,exp=more_b,num=num_b)
26     sw.write(ex.__toSql__())
27
28 wc.__close__()
爬取得到Insert数据以后,将keywords表删掉(或视图),新建 keywords表,将 Insert文件执行一边

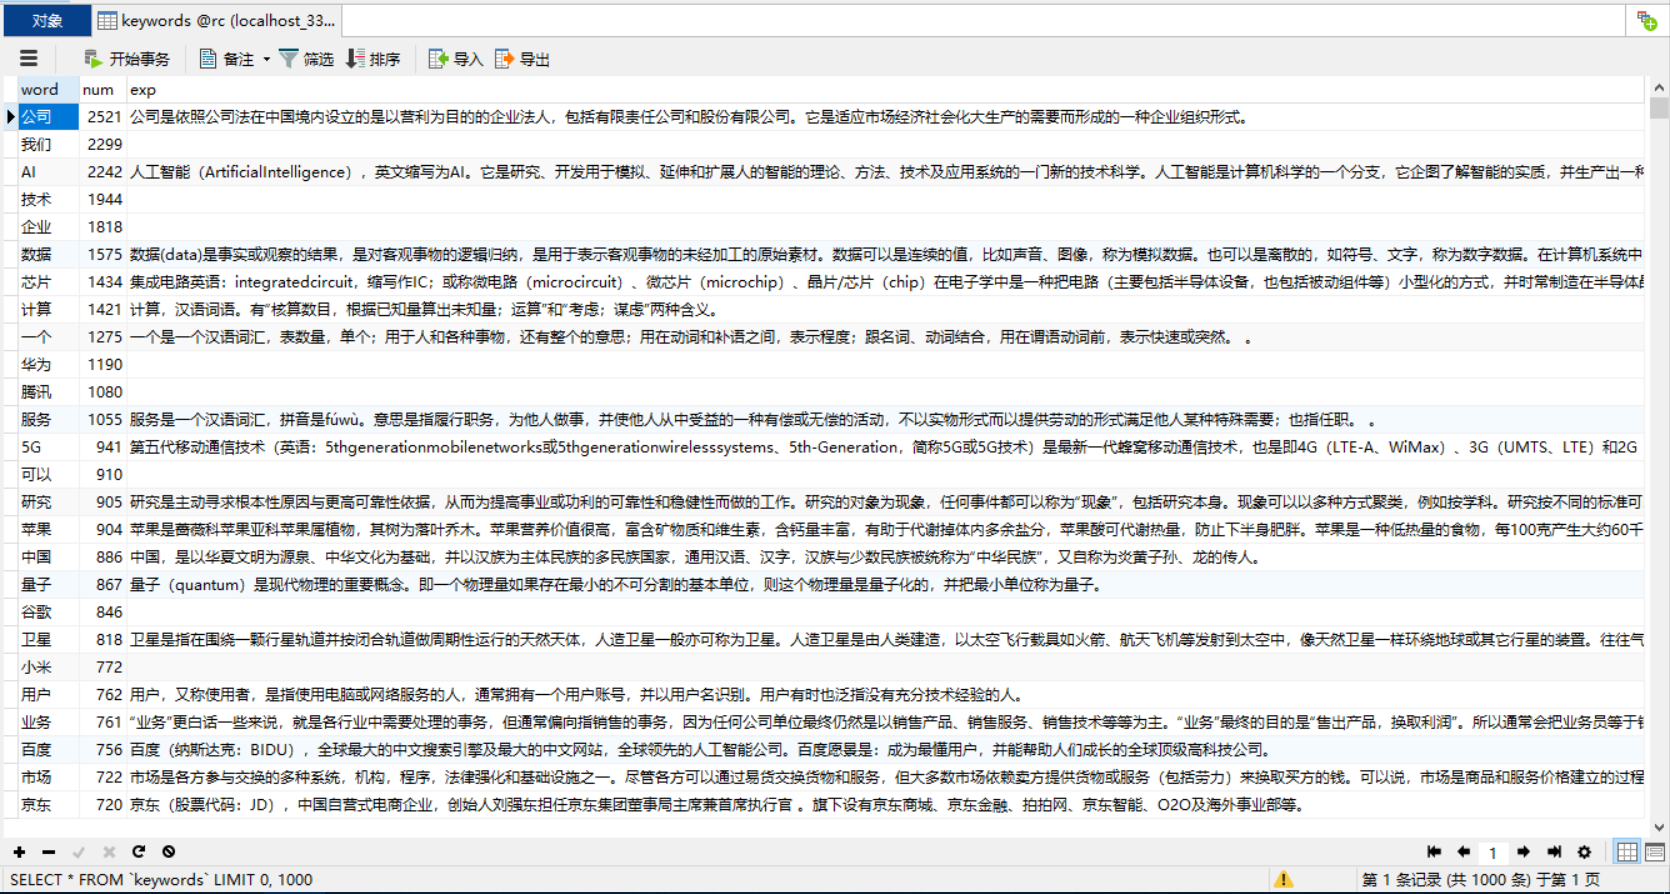
最终得到数据,如图所示:
5、jsp实现热词的信息展示(附带 按照 词频或热词拼写 的 顺序或逆序 排序)——先显示单页30条数据
紧赶慢赶,写了展示部分,这还需要进一步的改造,今天时间不多了,还要抓紧时间赶另一项任务呢!
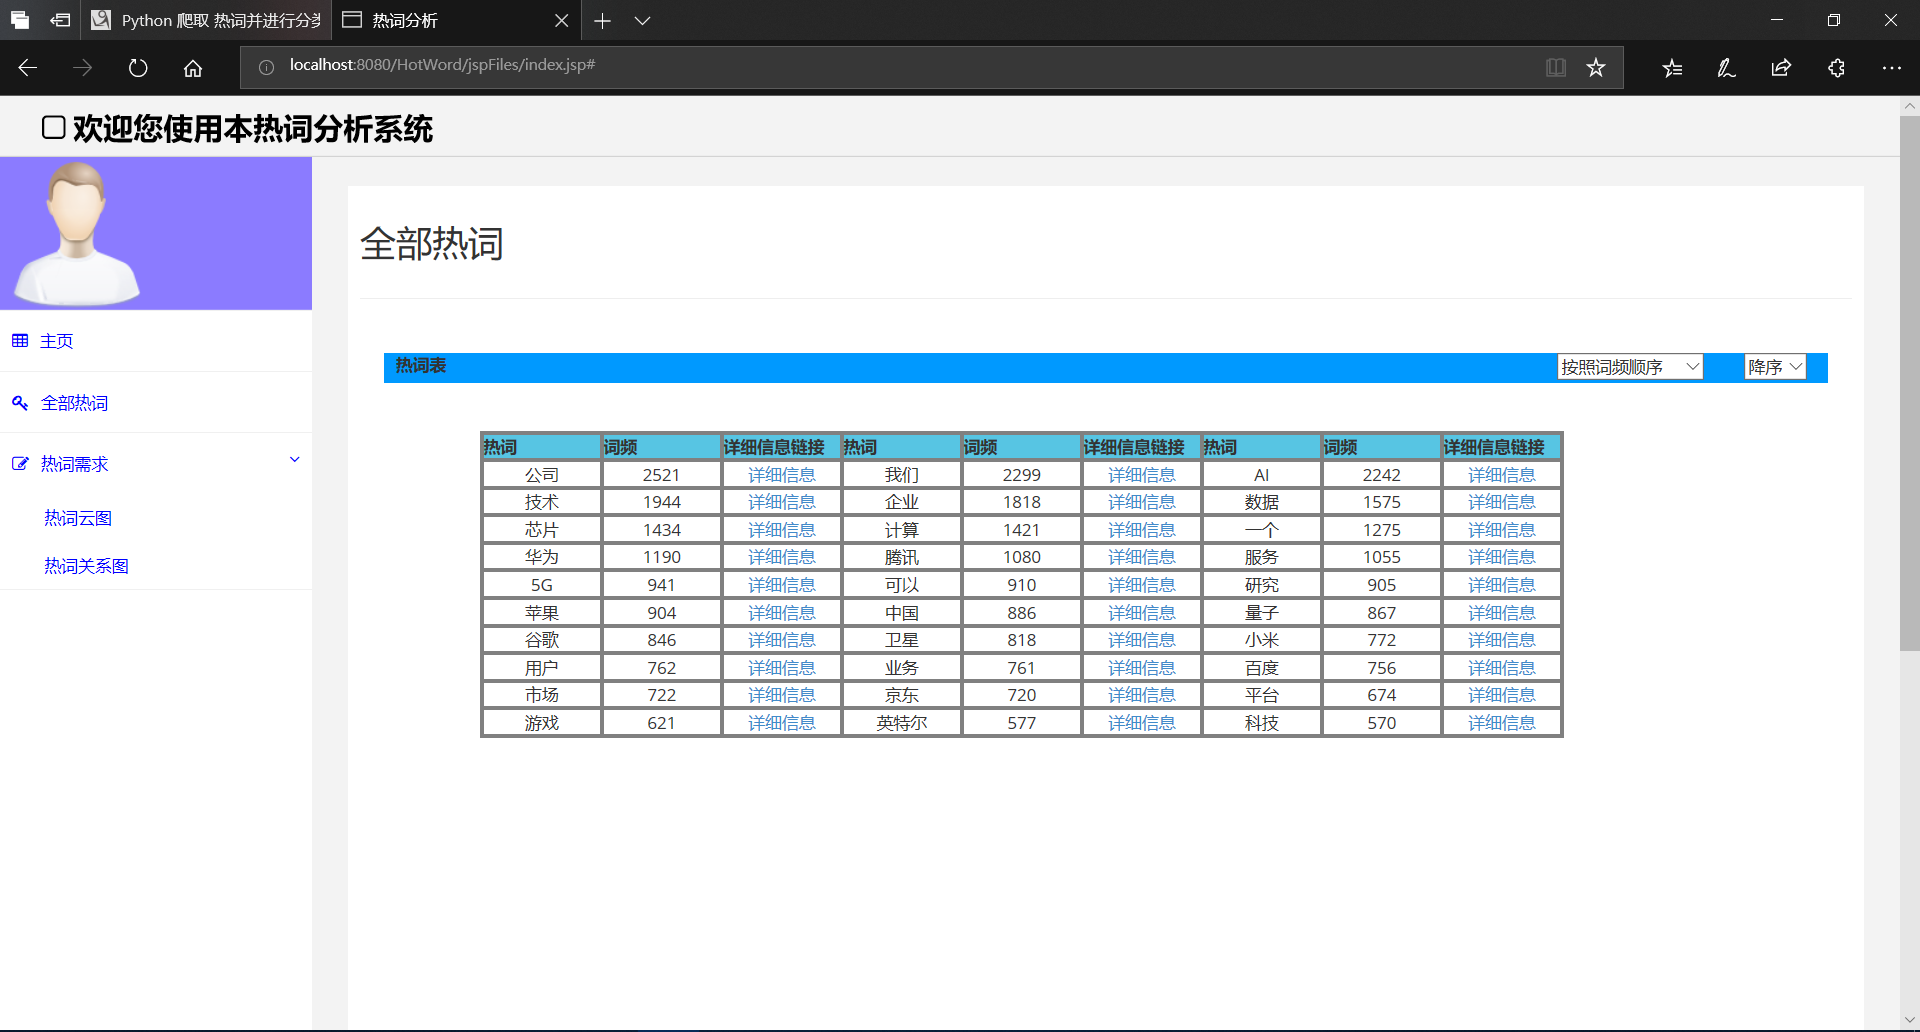
先设置每一页30个数据,数据横向显示好像有点儿不妥,竖向感觉也不太合适啊!页面跳转交给明天的我来写。
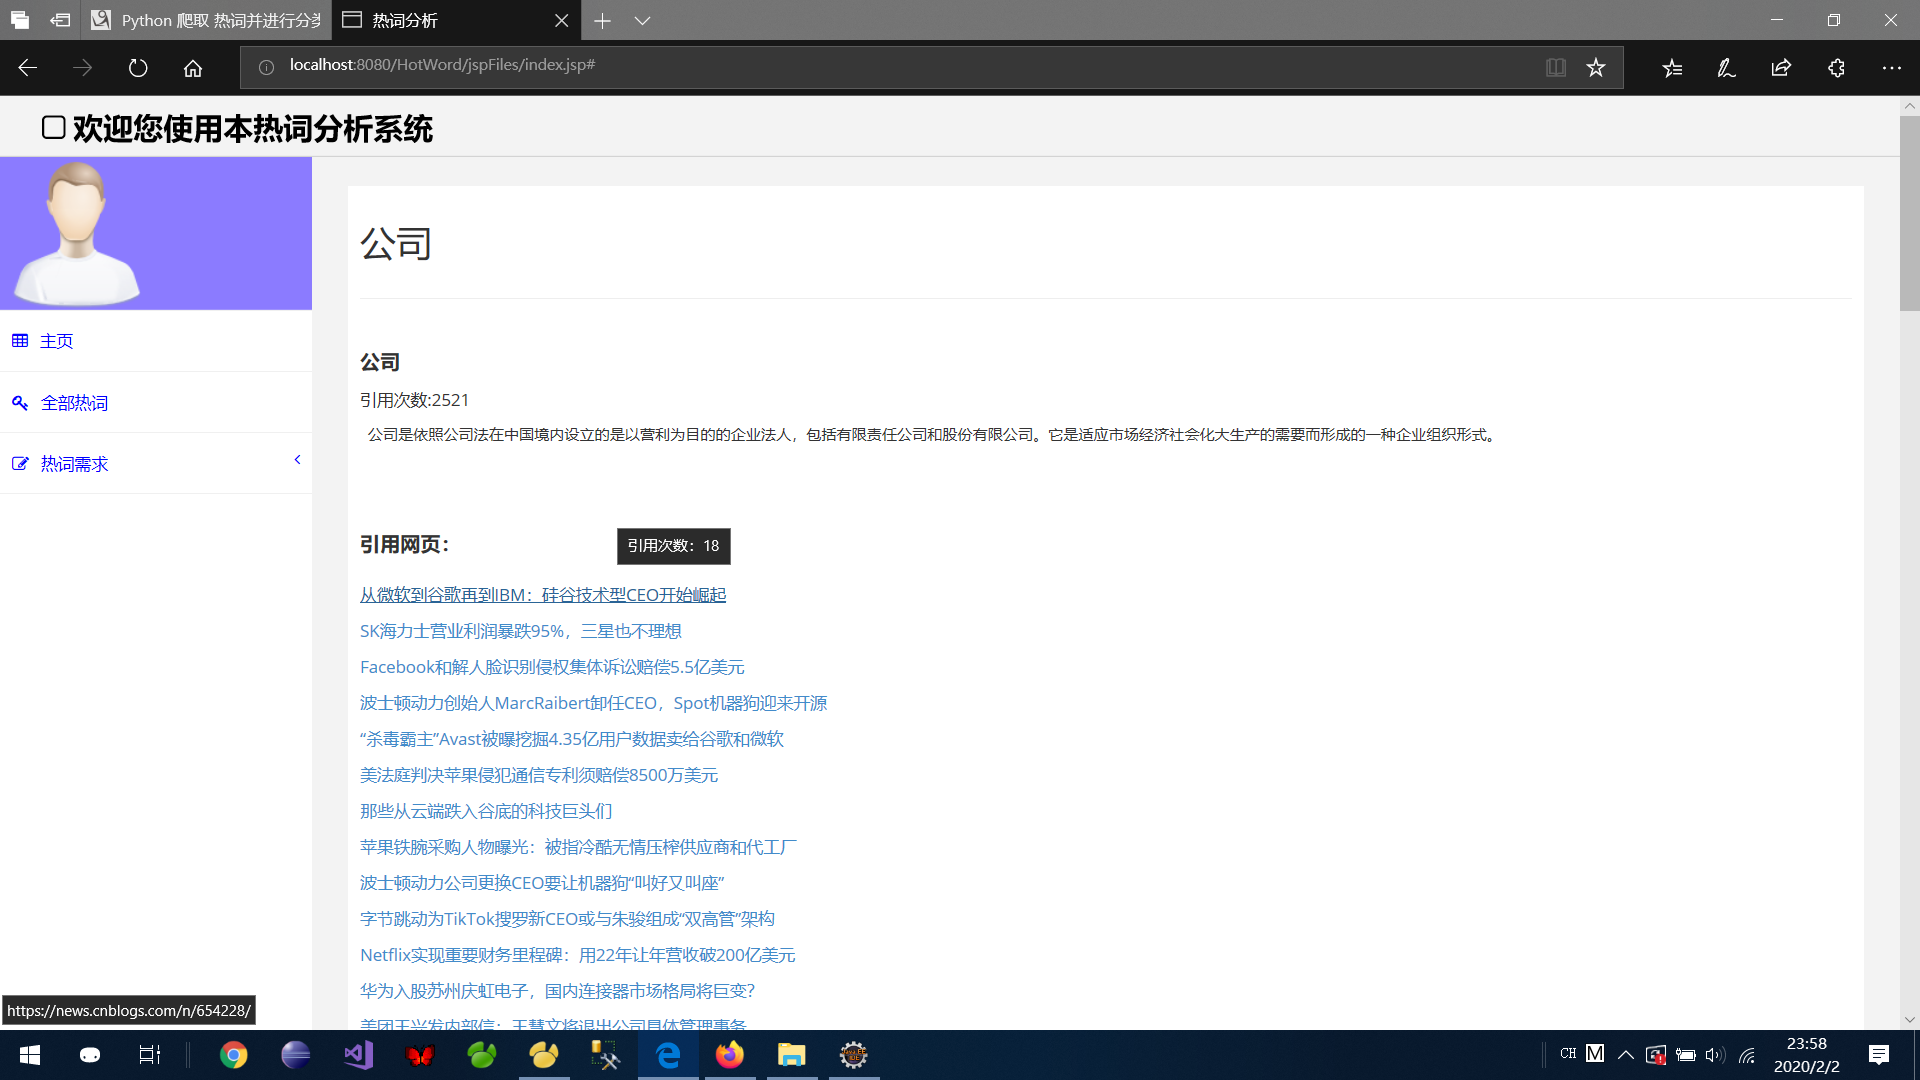
6、将链接写到每一个对应热词当中去
实现了点击 “详细信息”链接可以跳转页面至单个热词的页面
总算是在2月3号以前写完了,呼!明天整理页面的问题!