需要安装的插件
Kubernetes Cli Plugin:该插件可直接在Jenkins中使用kubernetes命令行进行操作。
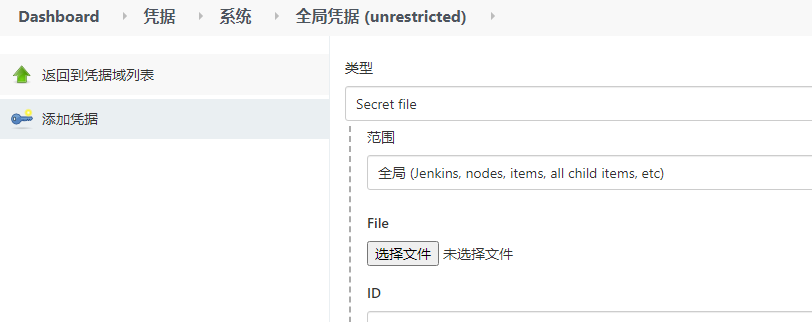
用此插件可以使用kubectl命令来管理k8s,首先需要在jenkins凭据中添加一个类型为"secret file" 类型的凭据,上传k8s的config文件

设置完后可以用以下类似脚本来管理k8s
// Example when used in a pipeline
node {
  stage('Apply Kubernetes files') {
    withKubeConfig([credentialsId: 'user1', serverUrl: 'https://api.k8s.my-company.com']) {
      sh 'kubectl apply -f my-kubernetes-directory'
    }
  }
}
前提条件:
需要提前安装kuberctl工具,不然会报错找不到执行插件,这里我直接将宿主机的kubectl挂载到容器中,直接使用即可
Kubernetes plugin: 使用kubernetes则需要安装该插件
Kubernetes Continuous Deploy Plugin:kubernetes部署插件,可根据需要使用
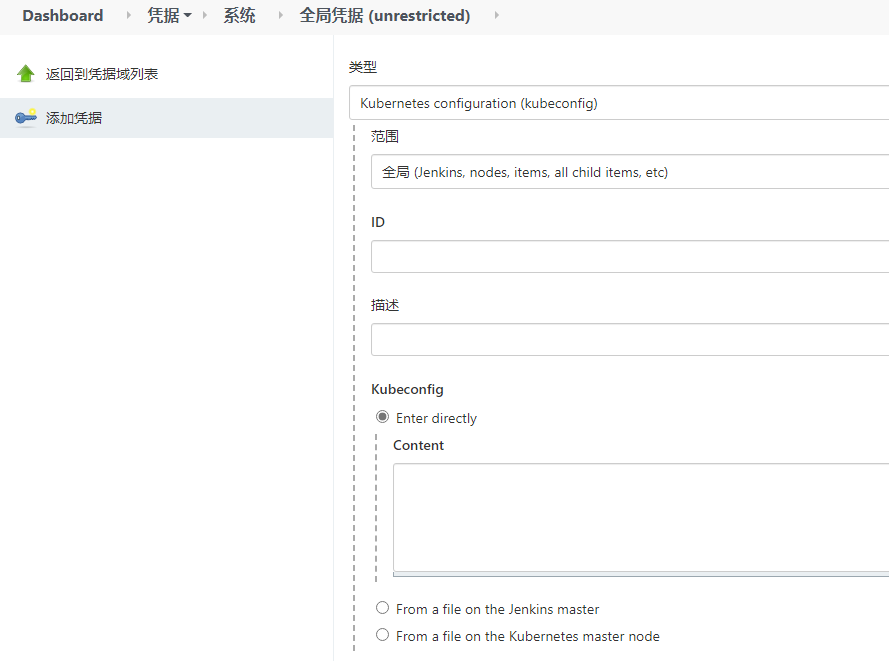
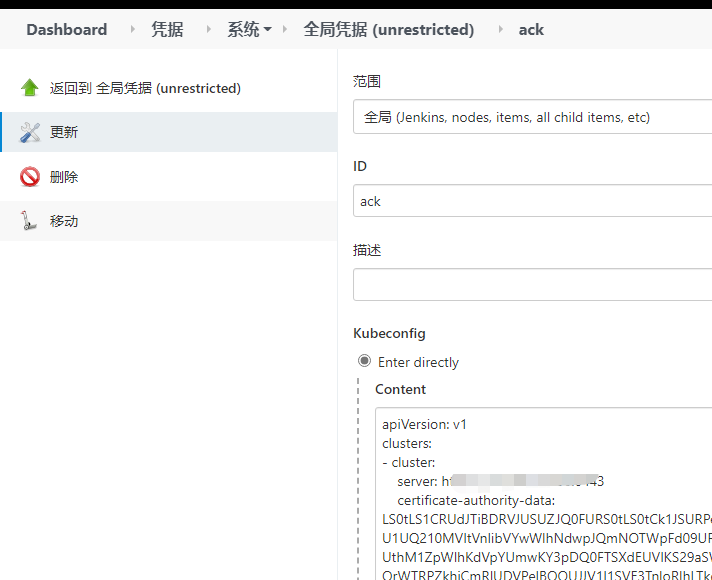
deploy 插件部署时需要在jenkins中添加凭据,凭据类型选择“Kubernetes configuration(kubeconfig)”,kubeconfig将k8s集群config文件内容贴到content中即可

添加完成后,pipeline中deploy时配置kubeconfigID即可
eg://调用Kubernetes Continuous Deploy Plugin 插件
stage('Deploy ACK') {
kubernetesDeploy configs: 'doc/yaml/sys-user.yaml', kubeconfigId: "ack"
}

kubernetes Credentials Plugin:在jenkins中增加k8s cloud
pipeline部署脚本:
def git_auth = "0427bb2b-2ae3-4e1f-a48e-xxxx"
//git的url地址
def git_url = "git@ssh.dev.azure.com:v3xxxxm"
//发布分支
def branch_pipeline="${branch}"
//镜像的版本号
def tag = "$BUILD_NUMBER"
//发布模块
def deploy_module="sys-user"
//yaml文件文件文件
def yaml_path="doc/yaml/sys-user.yaml"

node {
    // 从gitlab拉取代码
   stage('CheckOutCode') {
      checkout([$class: 'GitSCM', branches: [[name: "*/${branch_pipeline}"]], doGenerateSubmoduleConfigurations: false, extensions: [], submoduleCfg: [], userRemoteConfigs: [[credentialsId: "${git_auth}", url: "${git_url}"]]])
   }

   //配置已安装的maven插件及环境变量
   def mvnHome = tool 'maven'
   env.PATH = "${mvnHome}/bin:${env.PATH}"

   stage('Maven Build') {
       //单独构建xxx模块,同时会构建xxx模块依赖的其他模块
       sh "mvn clean install -Dmaven.test.skip=true -pl ${deploy_module} -am"
   }

   stage('Image Build&Push') {

    sh """
        docker build -t registry-vpc.cn-beijing.aliyuncs.com/xxxx/sys-user:$BUILD_NUMBER sys-user/
        docker push registry-vpc.cn-beijing.aliyuncs.com/xxxx/sys-user:$BUILD_NUMBER
    """

   }
   //调用Kubernetes Continuous Deploy Plugin 插件
    stage('Deploy ACK') {
        kubernetesDeploy configs: '${yaml_path}', kubeconfigId: "ack"
    }
}