springboot 配置
我们在开发springboot应用时,通常同一个程序会安装到不同环境中,比如:开发、测试、生产及其运维压力测试中。其中连接数据库、服务器地址及接口地址都不邓,每次重复打包都需要浪费时间。通过profile功能
就可以动态对配置进行切换。
二、profile激活方式
1)profile 配置文件
A、多profile文件方式
B、yml多文档形式
2)虚拟机参数
3)命令行参数
下面举例说明
1、多profile配置文件方式
1) 建立四个profile文件和一个导入类:application.properties、application-dev.properties、application-pro.properties及application-test.properties及springBootProfileApplication
springBootProfileApplication 为导入类,内容为:
@SpringBootApplication
public class springBootProfileApplication {
    public static void main(String[] args) {
        SpringApplication.run(springBootProfileApplication.class, args);
    }

}
2)说明
application.properties 文件内容为:spring.profiles.active=pro
application-dev.properties 内容为:server.port=8081
application-pro.properties 内容为:server.port=8082
application-test.properties 内容为:server.port=8083
运行结果得知,使用的文件为 : application-dev.properties
2、yml多文档形式
1)建议导入类通上,建立一个yml文件,既:application.yml
2)application.yml文件内容为
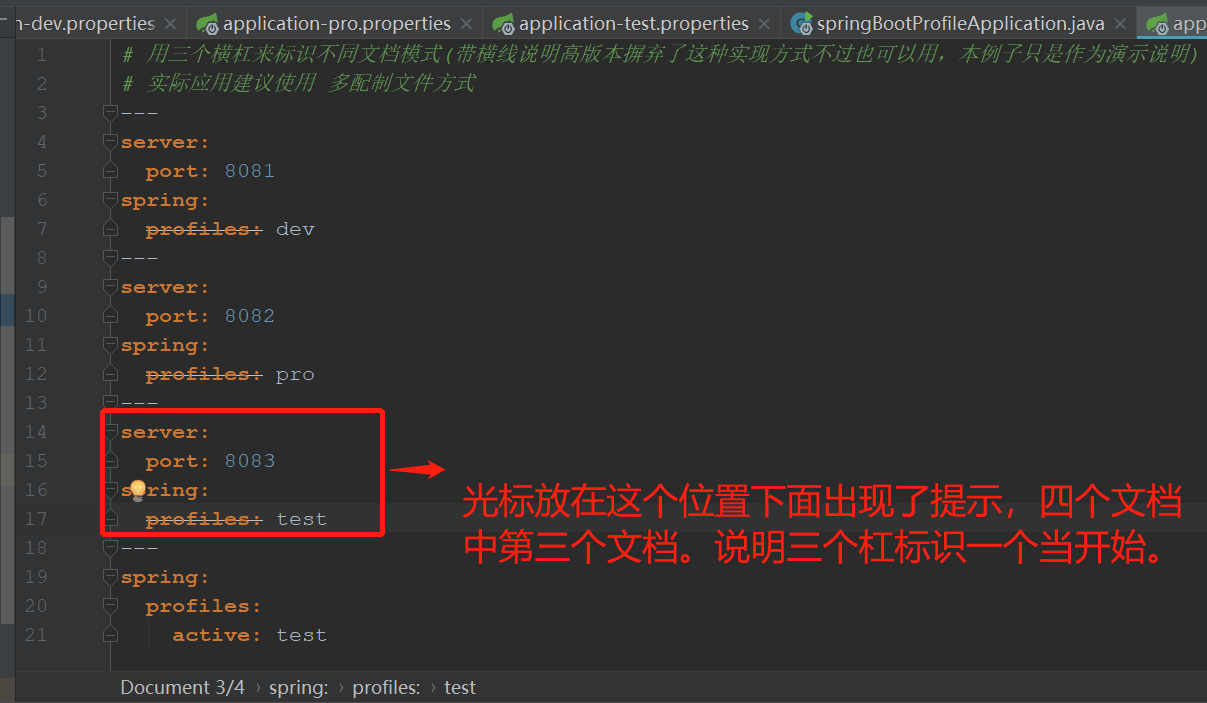
# 用三个横杠来标识不同文档模式(带横线说明高版本摒弃了这种实现方式不过也可以用,本例子只是作为演示说明)
# 实际应用建议使用 多配制文件方式
---
server:
  port: 8081
spring:
  profiles: dev
---
server:
  port: 8082
spring:
  profiles: pro
---
server:
  port: 8083
spring:
  profiles: test
---
spring:
  profiles:
    active: test
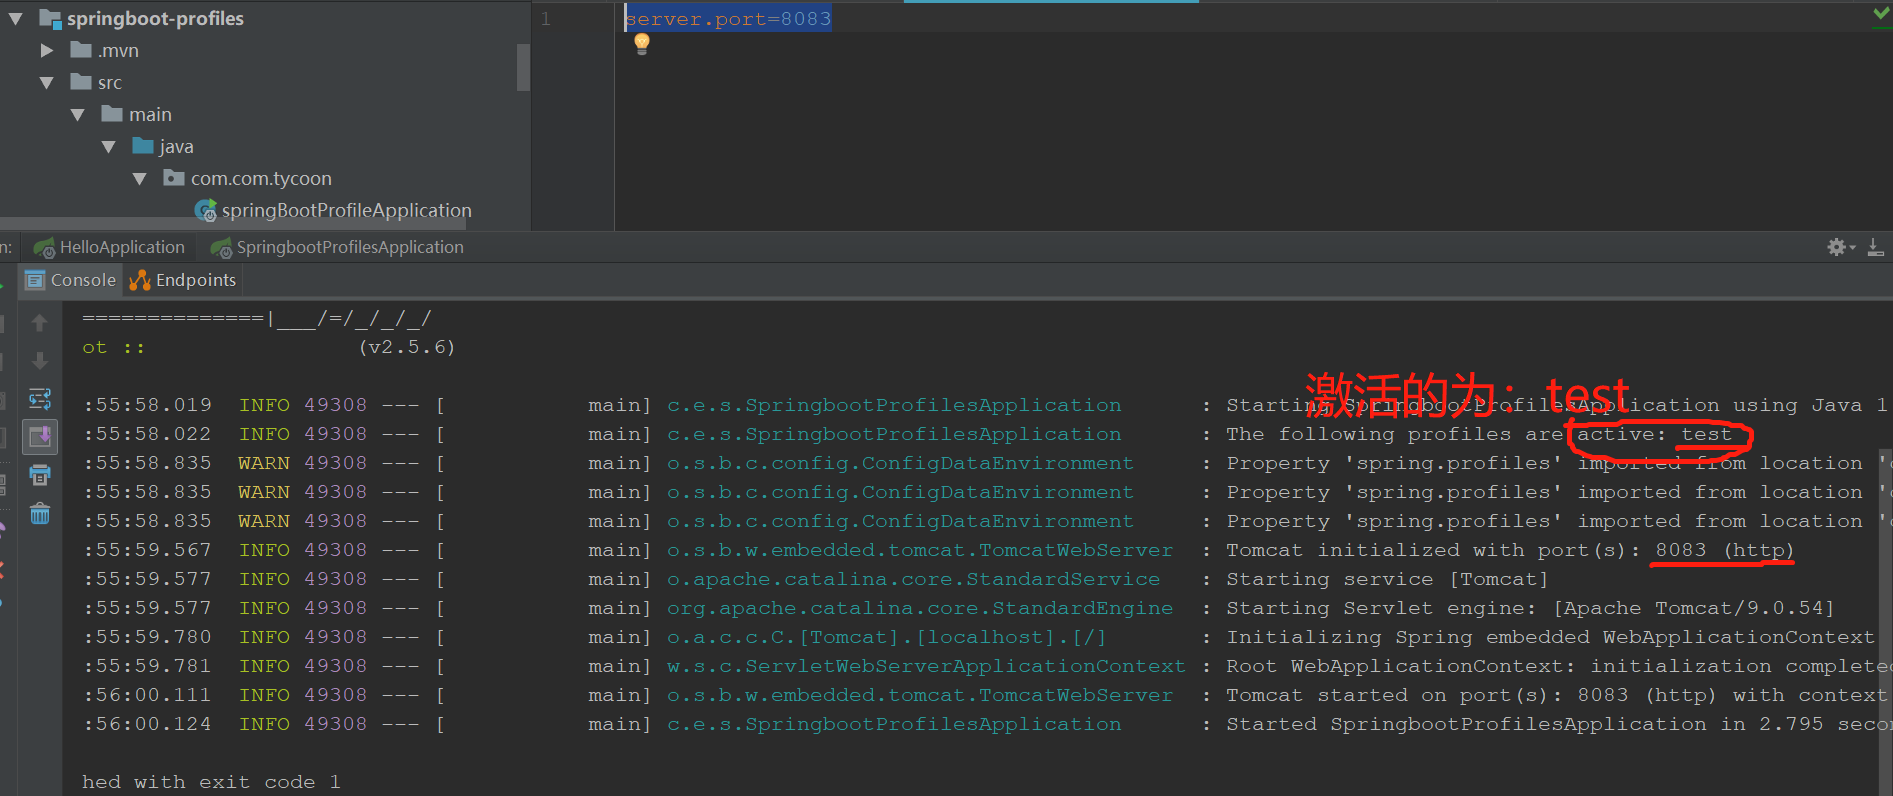
3) 启动项目得知采用的为:test文档
运行结果: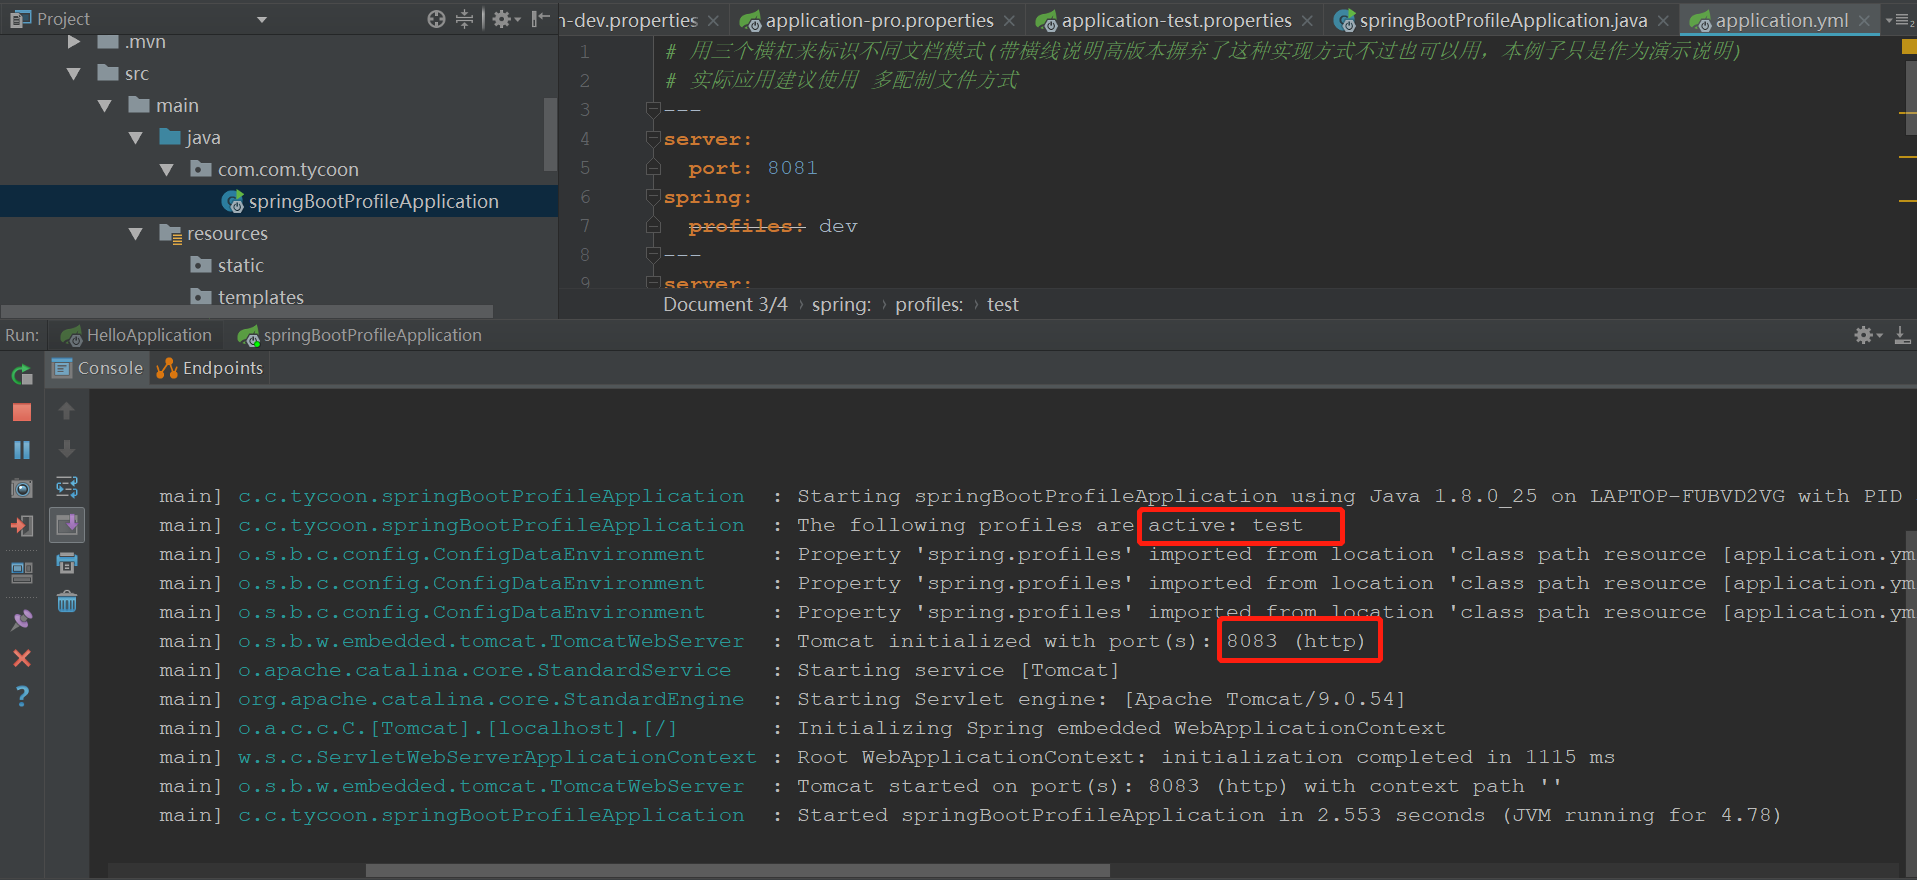
3、虚拟机配置方式
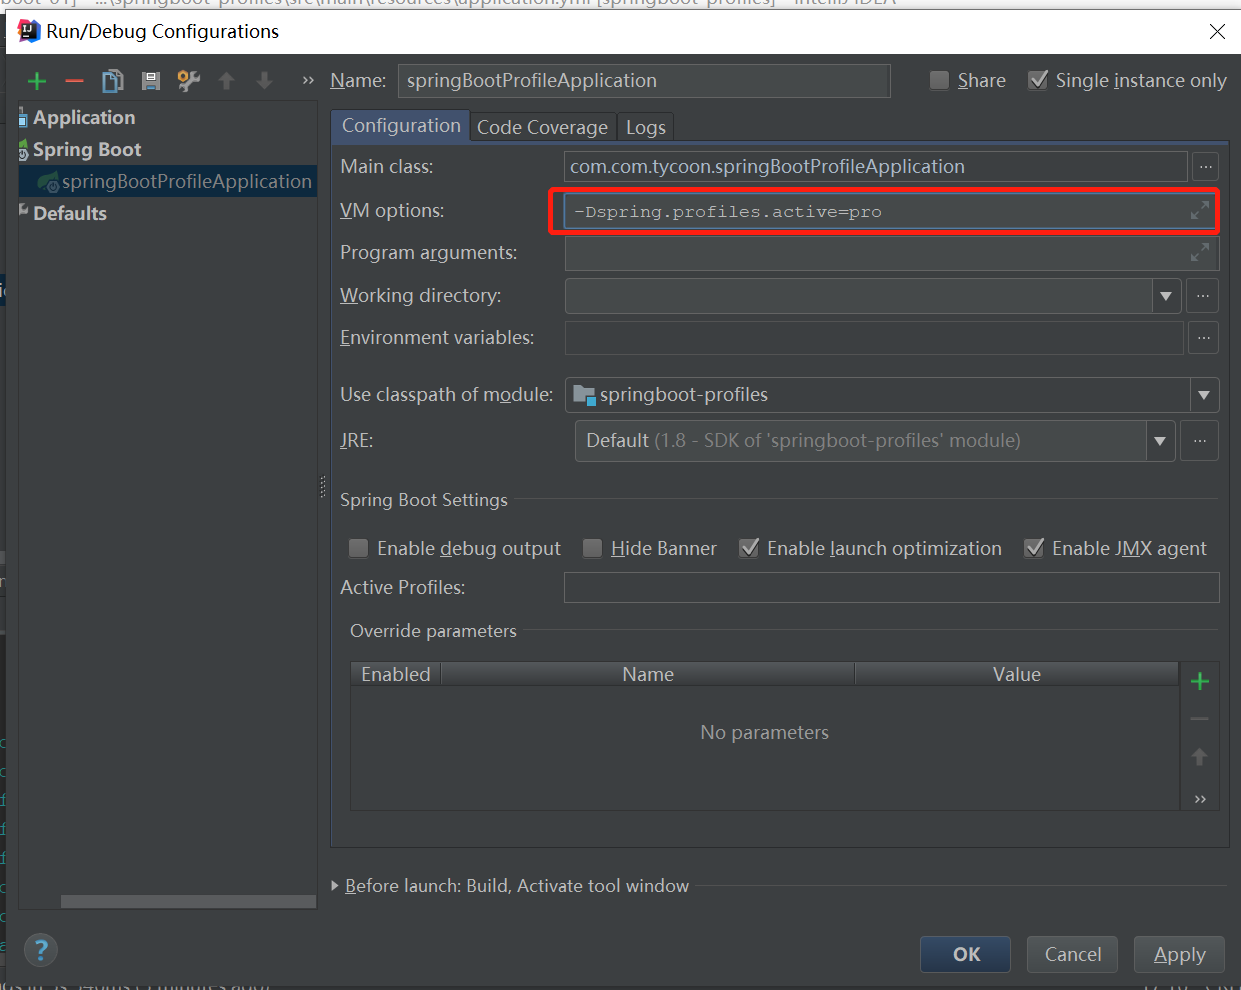
【运行结果】:

4、第四种就是程序运行时参数
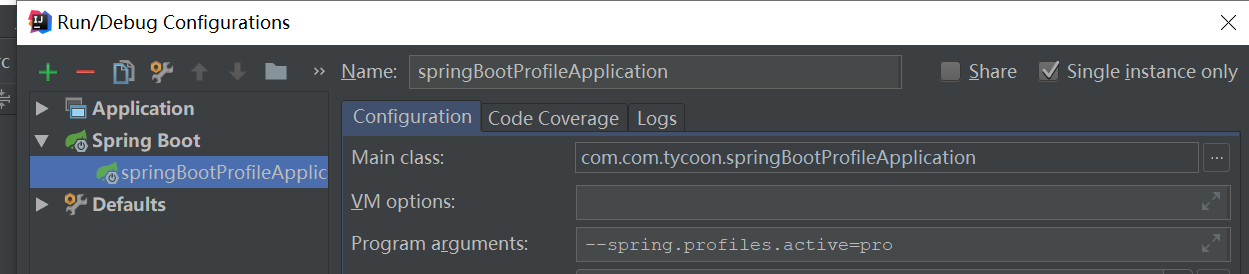
不做演示,运行观察结果即可。
5、命令行
1) 程序打包
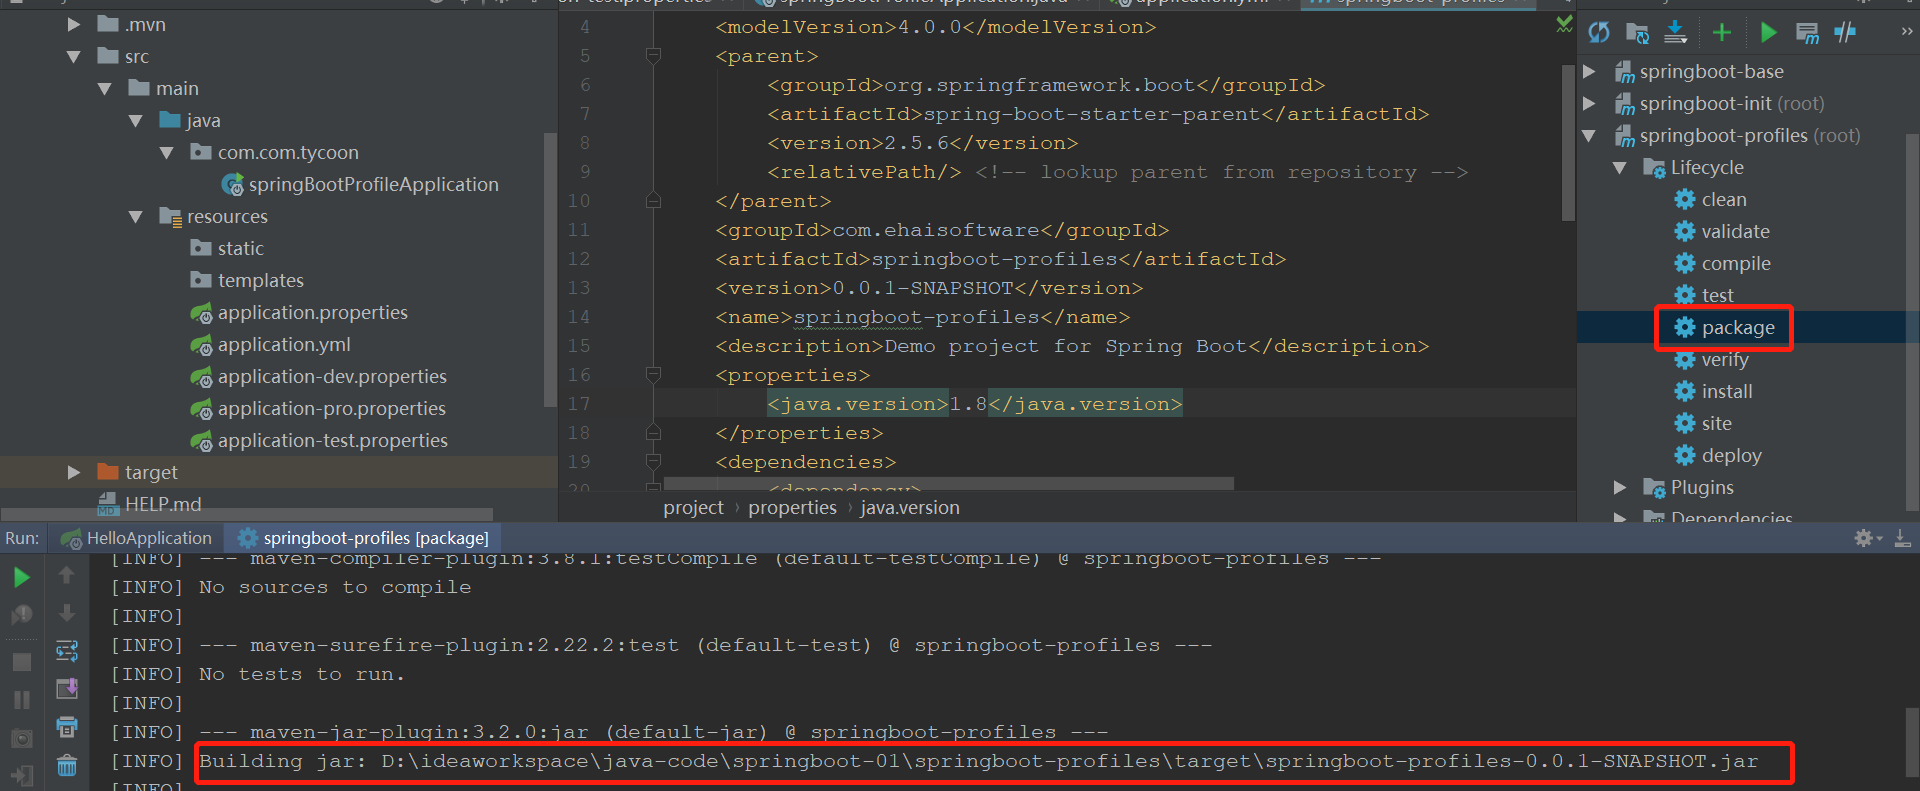
2) 在打包对应目录下执行

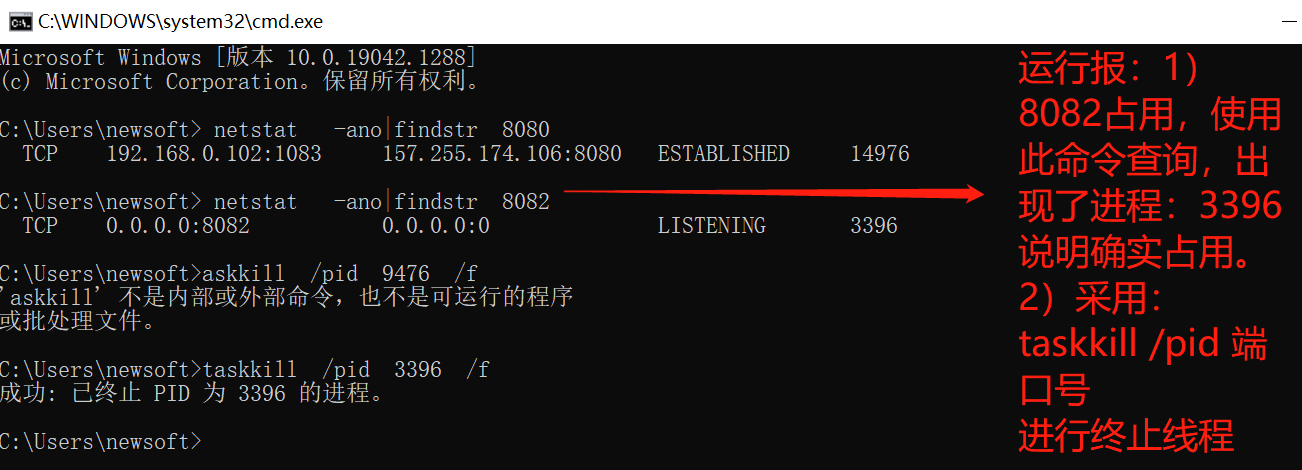
总结:通过实现以上配置后运行,可能会出现端口占用情况解决办法如下。