1.canvas 标签
<canvas>
        <span>不支持canvas标签</span>
</canvas>
2.绘制环境: getContext('2d') //目前支持2d的场景
3.绘画方块:(1) fillRect(L,T,W,H) //默认颜色是黑色
(2) strokeRect(L,T,W,H) //带边框的方块(默认一像素黑色边框,但是由于边框开始位置为一个像素点的1/2+相邻像素点的1/2,所以会显示2像素,解决办法:top值和left值增加0.5个像素)
注:(1)和(2)顺序不同那么绘制的方块也不同
(3) 当使用 fillRect(L,T,W,H) 设置canvas的宽度和高度时,只有内嵌css有效,外部css会出现拉伸的情况,例如:
<!DOCTYPE html>
<html lang="en">
<head>
	<meta charset="UTF-8">
	<title>Document</title>
	<script>
		window.onload=function(){
		    var canvas=document.getElementById('canvas').getContext('2d');
		    canvas.fillRect(50,50,50,50);
		}
	</script>
	<style>
		body{
		    background: #000;
		}
		#canvas{
		     300px;
		    height: 400px;
		    background:#fff;
		}
	</style>
</head>
<body>
	<canvas id="canvas">
		<span>不支持canvas标签</span>
	</canvas>
</body>
</html>
显示情况如下:
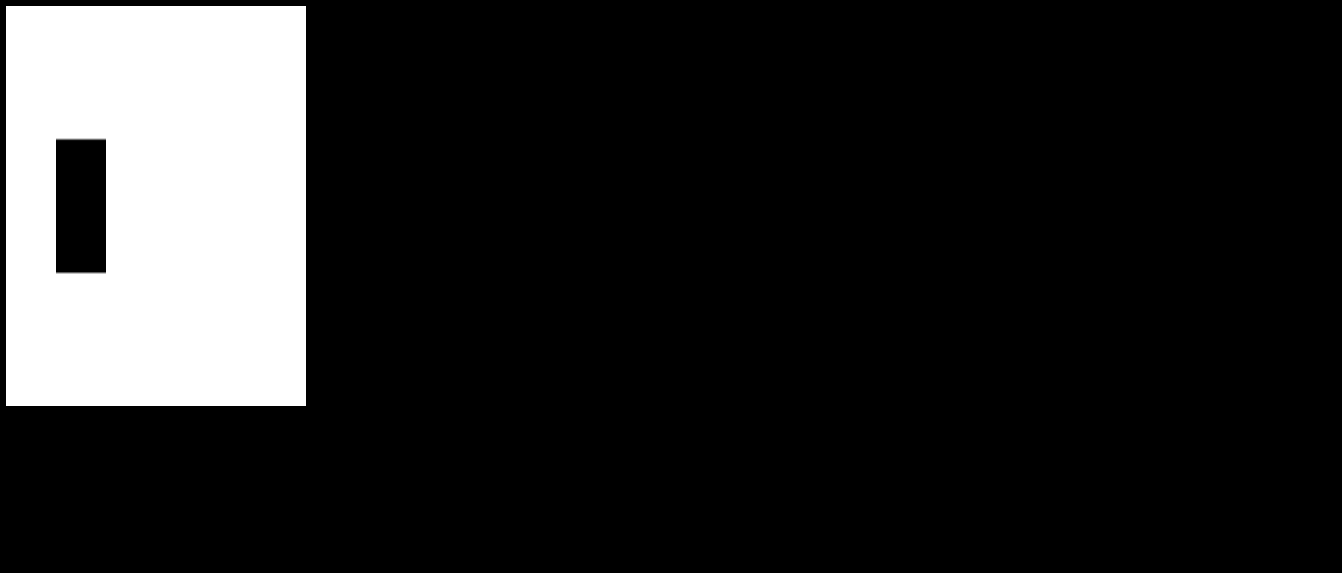
该效果与我们预想的不同,这是因为标签中的宽高是画布中的真正宽度和高度,样式中的宽高等比例缩放,此时有两种修改方案:
①在代码js中添加设置宽高属性的代码设置宽度和高度:
canvas.setAttribute("height",canvas.clientHeight);
canvas.setAttribute("width",canvas.clientWidth);
②除去外部css中设置宽高属性的代码,给canvas标签直接添加宽度和高度属性:
<canvas id="canvas" width="300" height="400" style="background:#fff;">
	<span>不支持canvas标签</span>
</canvas>
或
<script>
    canvas.width = 300;
    canvas.height = 500;
</scritp>
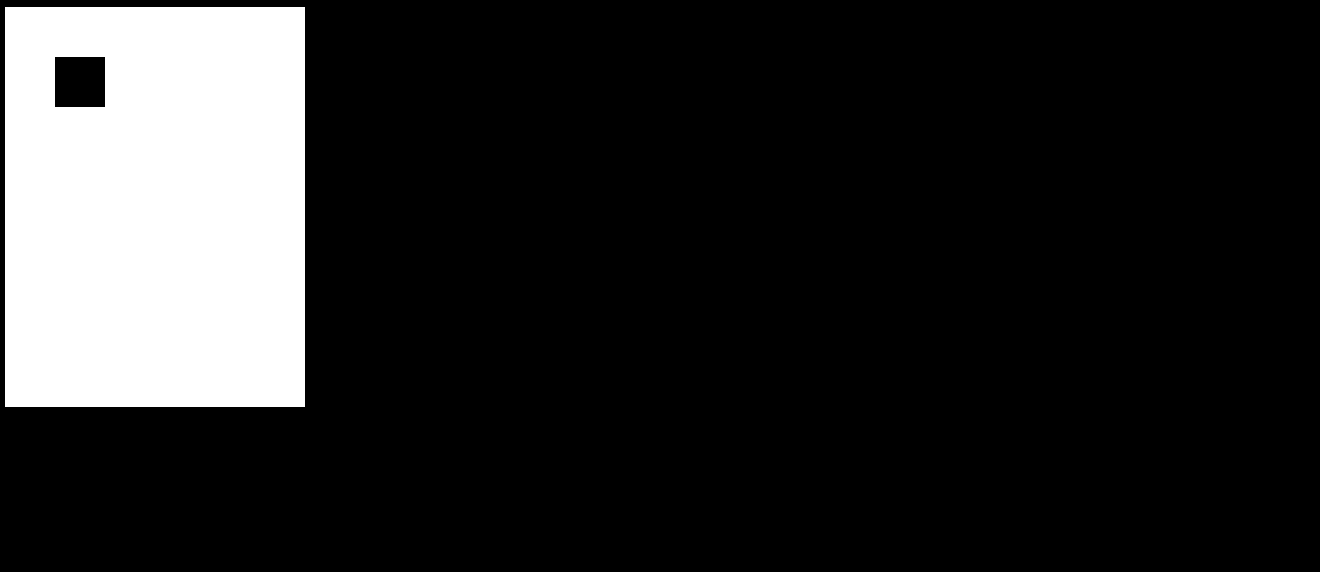
最后显示效果如下:
4.设置绘图,边界绘制:
 window.onload=function(){
      var canvas=document.getElementById('canvas').getContext('2d');
      canvas.fillStyle='red';  //填充颜色(绘制canvas是有顺序的)
      canvas.lineWidth=10;  //线高度(数值)
      canvas.strokeStyle='blue';//边线颜色

      canvas.lineJoin='round';   //边界连接点样式,属性值:miter(默认),round(圆角),bevel(斜角)

      //  lineCap //端点样式,一条线的两个端点,属性值:butt(默认),round(圆角),square(高度多出为宽一半的值)

      canvas.fillRect(50,50,100,100);
      canvas.strokeRect(50.5,50.5,100,100);
  }
6.绘图路径:
window.onload=function(){
        var canvas=document.getElementById('canvas').getContext('2d');
       canvas.fillStyle='red';
           canvas.beginPath();    //开始绘制路径
           canvas.moveTo(100,200);  //移动到绘制路径的新目标点
           canvas.lineTo(100,300);  //新的目标点
           canvas.lineTo(200,300);  //新的目标点
           canvas.closePath();    //结束绘制路径,闭合(起点和终点连接)
       canvas.stroke();      //画线

       canvas.beginPath();
       canvas.rect(10,10,100,100);//矩形区域
       canvas.closePath();
       ccanvas.fill();
       canvas.clearRect(10,10,100,100);//清除画布中的矩形区域

       canvas.save();//保存路径
      //相当于函数,写在这中间的代码相当于局部变量,不会影响外部属性值
       canvas.restore();//恢复路径
}
7.[ 案例 ] 鼠标画线
window.onload=function(){
         var canvas=document.getElementById('canvas')
           var ctx=canvas.getContext('2d');
           canvas.onmousedown=function(ev){
               var ev= ev || window.event;
                  ctx.moveTo(ev.clientX-canvas.offsetLeft,ev.clientY-canvas.offsetTop);
                  document.onmousemove=function(ev){
                      var ev= ev || window.event;
                      ctx.lineTo(ev.clientX-canvas.offsetLeft,ev.clientY-canvas.offsetTop);
                      ctx.stroke();
                 }
                  document.onmouseup=function(){
                      document.onmousemove=null;
                      document.onmouseup=null;
                  }
            }
}