局部组件的使用:
如果实例化对象Vue对象中既有el,又有 template,并且 template 中定义了模板的内容,那么 template 模板的优先级大于el 。
示例代码:
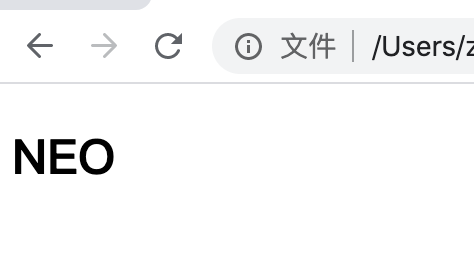
<!DOCTYPE html>
<html lang="en">
<head>
    <meta charset="UTF-8">
    <meta name="viewport" content="width=device-width, initial-scale=1.0">
    <title>Document</title>
</head>
<body>
    <!-- 虽然 id="app" 的 div 没有渲染,但是这个标签必须得有,因为 el:"#app" 对它进行了绑定 -->
    <div id="app">

    </div>
</body>
<script src="./vue.js"></script>
<script>

    // 如果实例化对象Vue对象中既有el,又有 template,并且 template 中定义了模板的内容,那么 template 模板的优先级大于el
    new Vue({
        el: "#app",
        data(){
            return {
                msg: "NEO"
            }
        },
        template:`
            <div>
                <h2>{{ msg }}</h2>
            </div>
        `
        // 由于 template 的优先级高于 el, 所以浏览器上会优先渲染 template 中的内容
    })
</script>
</html>
浏览器效果示例:
组件三步走:
1、 声明子组件
2、 挂载子组件: 在 components 中挂载子组件
3、 使用子组件: 在 html标签中,或 其它子组件的 template 中使用子组件,并且 在template中定义html标签时,一定要用一对闭合标签包裹起来。
示例代码:
<!DOCTYPE html>
<html lang="en">
<head>
    <meta charset="UTF-8">
    <meta name="viewport" content="width=device-width, initial-scale=1.0">
    <title>Document</title>
</head>
<body>
    <!-- 虽然 id="app" 的 div 没有渲染,但是这个标签必须得有,因为 el:"#app" 对它进行了绑定 -->
    <div id="app">

    </div>
</body>
<script src="./vue.js"></script>
<script>

    // App 组件: header组件、 aside组件、 content组件
    // 1. 声明子组件: Vue中组件的名字首字母要大写(跟标签做区分)
    let App = {     // 声明App组件,其对应的是一个对象,该对象跟 Vue 实例化的时候一样,唯一不同的是没有 el
        data(){
            // 在这个 data 中绑定当前组件()的数据属性
            return {
                myText: "neoneoneo"
            }
        },
        // 渲染页面的时候, template 中的内容会替换到 <App /> --- 该组件(App)会渲染到页面
        template:`
            <div id="aa">
                <h2>{{ myText }}</h2>
            </div>
        `,
    }


    // 如果实例化对象Vue对象中既有el,又有 template,并且 template 中定义了模板的内容,那么 template 模板的优先级大于el
    new Vue({
        el: "#app",
        data(){
            return {
                msg: "NEO"
            }
        },
        // 3. 使用子组件; <App /> 相当于一个自定义标签,你也可以把这个自定义标签定义为Div,为了和 <div> 标签区分,所以自定义的标签首字母要大写
        template:`
            <div id="bb">
                <App />
            </div>
        `,
        // 由于 template 的优先级高于 el, 所以浏览器上会优先渲染 template 中的内容

        // 2. 挂载子组件
        components:{
            App     // 等价于 App: App; key 和 value 一样的时候,可以只写一个 key
        }
    })
</script>
</html>
浏览器效果示例:

局部组件:Vue中没有 template 且 子组件挂载子组件
示例代码:
<!DOCTYPE html>
<html lang="en">
<head>
    <meta charset="UTF-8">
    <meta name="viewport" content="width=device-width, initial-scale=1.0">
    <title>Document</title>
</head>
<body>
    <div id="app">
        <!-- 使用子组件 -->
        <App />
    </div>
</body>
<script src="./vue.js"></script>
<script>
    let Vheader = {
        data(){
            return {

            }
        },

        // 所有template 中的html内容,都要用一对闭合标签包裹起来,如: <div></div>
        template:`
            <div>
                <h2>HELLO</h2>
                <h2>WORLD</h2>
            </div>
        `
    }

    // 声明子组件
    let App = {
        data(){
            return {
                myText: "neoneoneo"
            }
        },

        // template 用于定义模板的内容
        // 把 Vheader 子组件在下面的template中使用
        template:`
            <div id="aa">
                <h2>{{ myText }}</h2>
                <Vheader />
            </div>
        `,

        // 挂载子组件
        components:{
            Vheader
        }
    }

    new Vue({   // 没有 template
        el: "#app",
        data(){
            return {
                msg: "NEO"
            }
        },

        // 2. 挂载子组件
        components:{
            App     // 等价于 App: App; key 和 value 一样的时候,可以只写一个 key
        }
    })
</script>
</html>
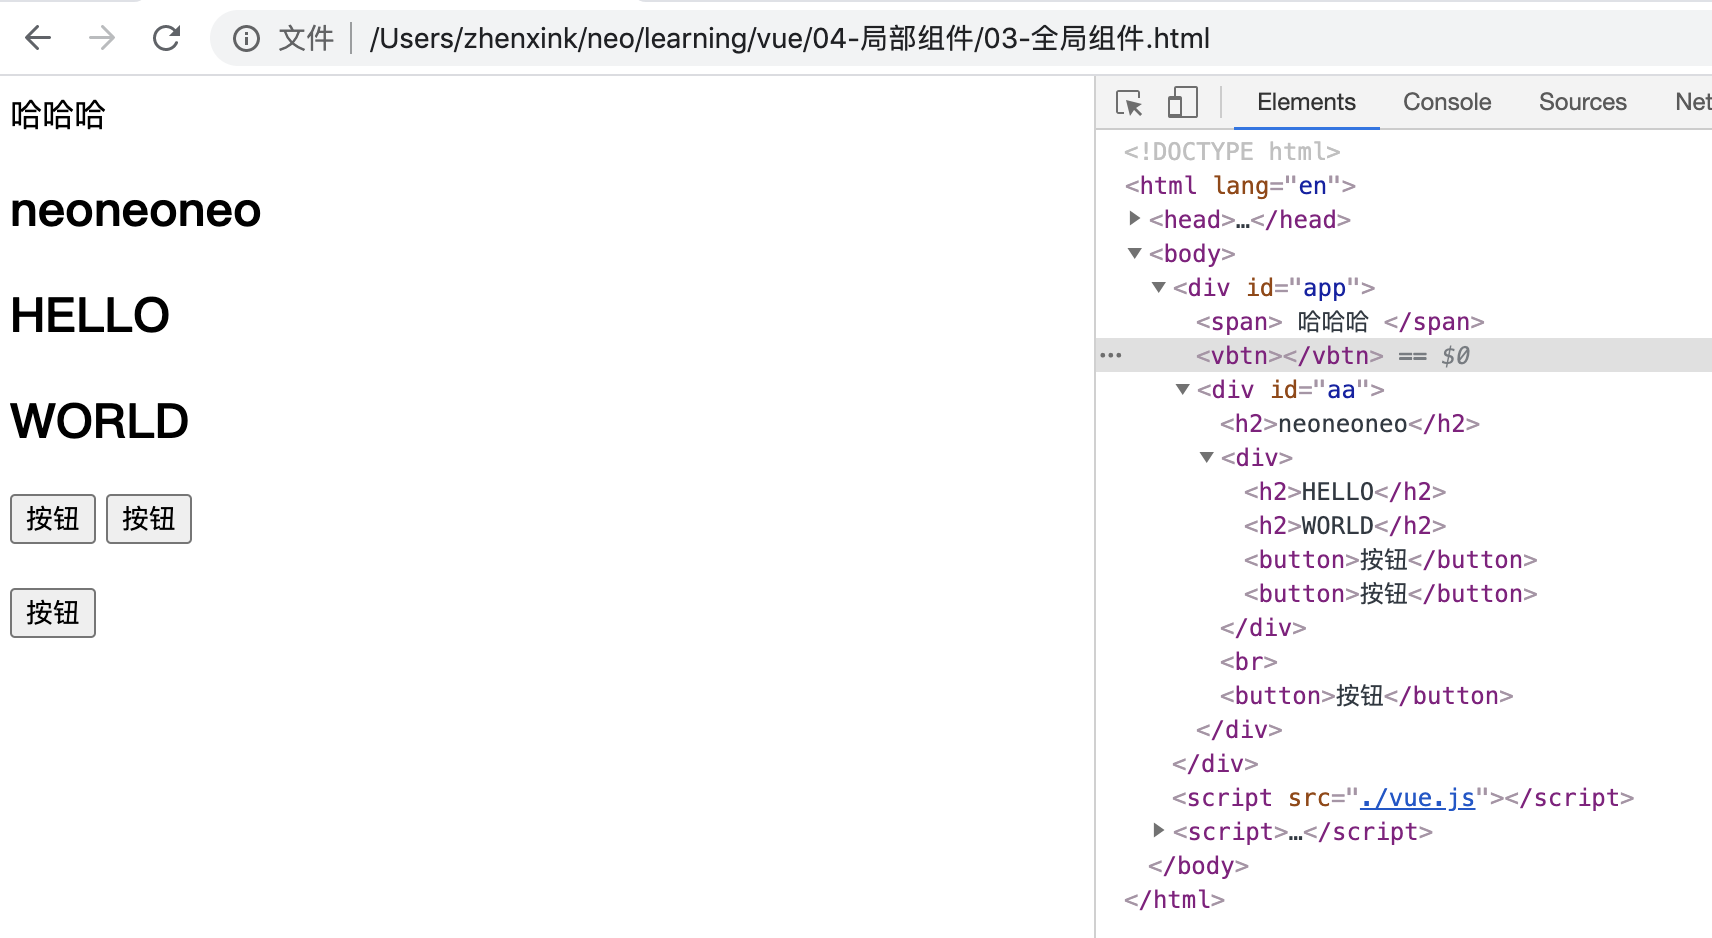
浏览器效果示例:

全局组件:
Vue全局组件用 Vue.component 去声明
示例代码:
<!DOCTYPE html>
<html lang="en">
<head>
    <meta charset="UTF-8">
    <meta name="viewport" content="width=device-width, initial-scale=1.0">
    <title>Document</title>
</head>
<body>
    <div id="app">
        <App></App>
    </div>
</body>
<script src="./vue.js"></script>
<script>
    // 全局组件的注册: Vue.component(),第一个参数是组件的名字,第二个参数 options参数。全局组件可以在全局任意地方使用
    Vue.component("VBtn",{
        data(){
            return {

            }
        },
        template:`<button>按钮</button>`,
    })

    let Vheader = {
        data(){
            return {

            }
        },
        // 全局组件使用的时候,,不需要再挂载
        template:`
            <div>
                <h2>HELLO</h2>
                <h2>WORLD</h2>
                <VBtn></VBtn>
                <VBtn />
            </div>
        `
    }

    let App = {
        data(){
            return {
                myText: "neoneoneo"
            }
        },
        // 全局组件使用的时候,,不需要再挂载
        template:`
            <div id="aa">
                <h2>{{ myText }}</h2>
                <Vheader />
                <br/>
                <VBtn />
            </div>
        `,

        components:{
            Vheader
        }
    }

    new Vue({
        el: "#app",
        data(){
            return {}
        },
        components:{
            App
        }
    })
</script>
</html>
浏览器效果示例:
slot 组件:
<slot></slot> slot 是Vue 提供的内置组件,它能够分发内容
示例代码:
<!DOCTYPE html>
<html lang="en">
<head>
    <meta charset="UTF-8">
    <meta name="viewport" content="width=device-width, initial-scale=1.0">
    <title>Document</title>
</head>
<body>
    <div id="app">
        <App></App>
    </div>
</body>
<script src="./vue.js"></script>
<script>

    Vue.component("VBtn",{
        data(){
            return {

            }
        },
        // slot 标签是 Vue 的内置组件,<VBtn></VBtn>中的内容能够被分发到 slot 处
        template:`
            <button>
                <slot></slot>
            </button>
        `,
    })

    let Vheader = {
        data(){
            return {

            }
        },

        // <VBtn></VBtn> 中的“登陆”、“注册”能够被分发到 slot 处
        template:`
            <div>
                <h2>HELLO</h2>
                <h2>WORLD</h2>
                <VBtn>登陆</VBtn>
                <VBtn>注册</VBtn>
            </div>
        `
    }

    let App = {
        data(){
            return {
                myText: "neoneoneo"
            }
        },

        template:`
            <div id="aa">
                <h2>{{ myText }}</h2>
                <Vheader />
                <br/>
                <VBtn />
            </div>
        `,

        components:{
            Vheader
        }
    }

    new Vue({
        el: "#app",
        data(){
            return {}
        },
        components:{
            App
        }
    })
</script>
</html>
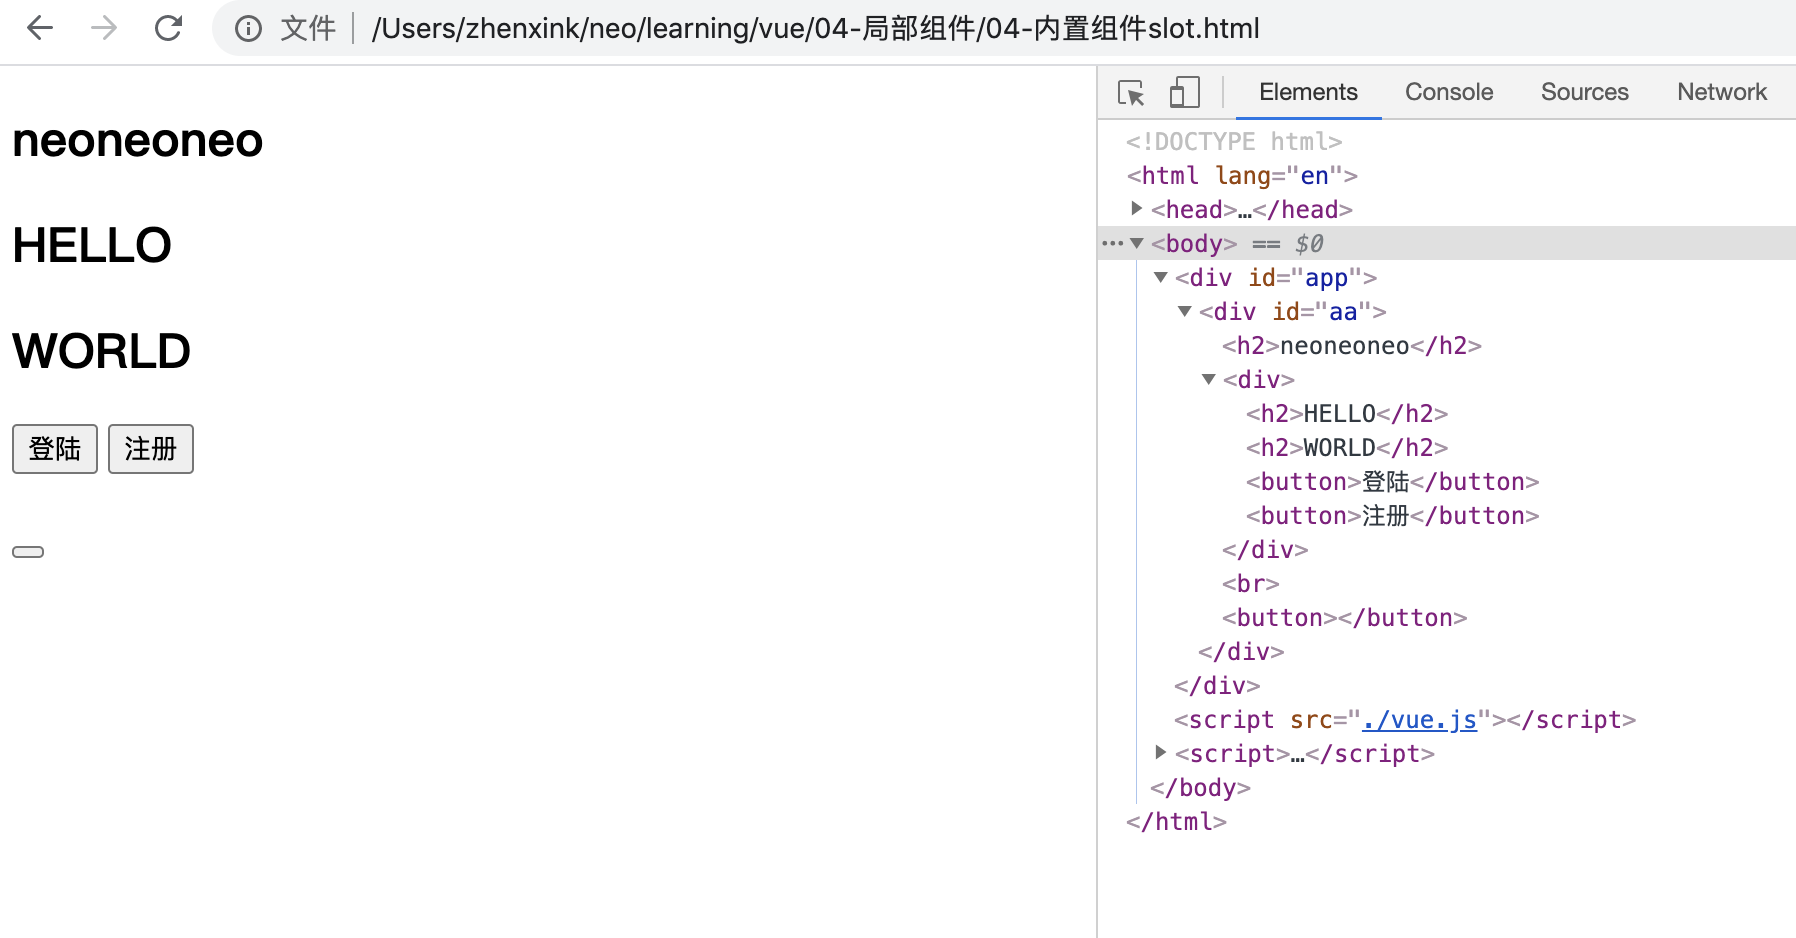
浏览器效果示例:
父子组件传值:
父组件向子组件传值:
1. 在子组件中使用 props 声明自定义属性,这些自定义属性就可以直接在子组件中任意使用;
2. 父组件中要定义这些属性(步骤1中 props 声明的属性)
示例代码:
<!DOCTYPE html>
<html lang="en">

<head>
    <meta charset="UTF-8">
    <meta name="viewport" content="width=device-width, initial-scale=1.0">
    <title>Document</title>
</head>

<body>
    <div id="app">

    </div>
</body>
<script src="./vue.js"></script>
<script>
    // 全局组件 VBtn 从 父组件 Vheader 中获取值
    Vue.component("VBtn",{
        data(){
            return {

            }
        },
        template:`
            <button>
                按钮 {{ btid }}
            </button>
        `,
        props: ['btid']
    })

    let Vheader = {
        data() {
            return {

            }
        },

        // props 挂载父组件的属性;props 对应的是一个数组; props 中声明的属性就相当于在 data 中绑定了
        // mypro 这个属性要在父组件中定义传值
        props: ['mypro', 'post'],

        // 在 template 中可以使用 mypro 这个自定义属性
        template: `
            <div>
                <h2>HELLO</h2>
                <h2>WORLD</h2>
                <h6>{{ mypro }}</h6>

                <p>{{ post.title }}</p>

                <VBtn :btid="post.id"></VBtn>
            </div>
        `
    }

    // 声明子组件
    let App = {
        data() {
            return {
                myText: "我是父组件App中的数据",
                child_pro: "要传给子组件的值",

                post: {
                    id: 1,
                    title: 'My Journey with Vue'
                }
            }
        },

        // 父组件要把子组件自定义属性的值传过去,通过 v-bind
        template: `
            <div id="aa">
                <h2>{{ myText }}</h2>
                <Vheader :mypro='child_pro' v-bind:post="post"></Vheader>
            </div>
        `,

        components: {
            Vheader
        }
    }

    new Vue({
        el: "#app",
        data() {
            return {
                msg: "NEO"
            }
        },
        template: `<App />`,
        components: {
            App
        }
    })
</script>

</html>
浏览器效果示例:

子组件往父组件传值:
触发父组件中自定义声明的事件,需要使用 Vue 提供的内置 $emit 方法
示例代码:
<!DOCTYPE html>
<html lang="en">

<head>
    <meta charset="UTF-8">
    <meta name="viewport" content="width=device-width, initial-scale=1.0">
    <title>Document</title>
</head>

<body>
    <div id="app">

    </div>
</body>
<script src="./vue.js"></script>
<script>
    /* 想要实现的效果:点击 VBtn 中的按钮,修改App 中post对象的id值 */


    Vue.component("VBtn",{
        data(){
            return {
                // 把 父组件传递过来的 btnid 赋值给 bid
                bid: this.btnid
            }
        },

        // 给 button 添加一个点击事件
        template:`
            <button @click="vbtnToHeader">
                按钮 {{ bid }}
            </button>
        `,
        // props 中声明的属性,即相当于绑定到了 data 中
        props: ['btnid'],

        // 给button 中的点击事件添加对应的方法
        methods: {
            vbtnToHeader(){
                console.log(this)   // 每个组件中的 this 都是指该组件对象,即一个 VueComponent 对象
                this.bid++;
                console.log(this.btnid)
                // $emit 是 Vue 提供的内置方法,用于触发父组件中自定义声明的事件。 this.$emit("父组件中自定义声明的事件", "要传递的值")
                // vheaderClickHandler 是 VBtn 的父组件 Vheader 中对应的 自定义事件;后面的参数是传递到 vheaderClickHandler 对应的方法中
                this.$emit('vheaderClickHandler', this.bid);
            }
        }
    })

    let Vheader = {
        data() {
            return {

            }
        },

        props: ['mypro', 'post'],

        // vheaderClickHandler 是自定义的事件(属性能自定义,事件也能自定义),该自定义事件绑定了一个方法 clickHandler
        template: `
            <div>
                <h2>HELLO</h2>
                <h2>WORLD</h2>
                <h6>{{ mypro }}</h6>

                <p>{{ post.title }}</p>

                <VBtn :btnid="post.id" @vheaderClickHandler="clickHandler"></VBtn>
            </div>
        `,


        methods:{
            clickHandler(val){
                alert(val);
                // 这个 this 表示 Vheader 当前组件 VueComponent 对象
                this.id = val;      // 到这一步,就已经实现点击 VBtn 按钮修改按钮中id数据;但此时 post对象中id的值并没有改变;所以, 如果想要修改 post对象中id的值,就要接着往父组件emit

                // 继续往父组件 emit 来修改 post 中id的值
                this.$emit('updatePost', val)
            }
        }
    }

    let App = {
        data() {
            return {
                myText: "我是父组件App中的数据",
                child_pro: "要传给子组件的值",

                post: {
                    id: 1,
                    title: 'My Journey with Vue'
                }
            }
        },

        template: `
            <div id="aa">
                <h1>post中的id :{{ post.id }}</h1>
                <h2>{{ myText }}</h2>
                <Vheader :mypro='child_pro' v-bind:post="post" @updatePost="updatePostHandler"></Vheader>
            </div>
        `,

        components: {
            Vheader
        },

        methods:{
            updatePostHandler(val){
                this.post.id = val;
            }
        }
    }

    new Vue({
        el: "#app",
        data() {
            return {
                msg: "NEO"
            }
        },
        template: `<App />`,
        components: {
            App
        }
    })
</script>

</html>
浏览器效果示例:

平行组件传值:
假如 A 组件要向 B组件传值,即 A ==> B,那么接收方B要用 $on 声明事件, 发送方要用 $emit 触发事件。
$on('事件的名字', function(val){})    // val 是要传过来的数据
$emit('A组件中声明的事件名', val)    // val 是要传递过去的数据

// $on 和 $emit 这两个方法必须绑定在同一个实例化对象中(bus 对象)

平行组件的这种传值方式,不仅能用于平行组件之间传值,同样也能用于父传子、子传父。
示例代码:
<!DOCTYPE html>
<html lang="en">
<head>
    <meta charset="UTF-8">
    <meta name="viewport" content="width=device-width, initial-scale=1.0">
    <title>Document</title>
</head>
<body>
    <div id="app">
        <!-- 使用 App 组件 -->
        <App />
    </div>

</body>
<script src="./vue.js"></script>
<script>

    // $emit 和 $on 要绑定在同一个实例化对象中;该示例中我们绑定到一个全局变量 Vue 实例
    let bus = new Vue();    // 这是一个新的 Vue 对象,和下面的Vue 对象不是同一个内存地址

    // Test01 和 Test02 是平行的关系;现在想要实现的效果是点击按钮,就把 Test01 中的数据传递级给 Test02

    Vue.component('Test02', {
        data(){
            return {
                passedData:''
            }
        },
        template:`
            <h2>{{ passedData }}</h2>
        `,

        created(){
            // 注意:要把 $on 绑定到 bus 上,而不能绑定到 this上;
            bus.$on('passDataEvent', (val) => {
                this.passedData = val;
                console.log(this);      // VueComponent
                /*
                注意:$on的第二个参数回调函数,不能用 function(){},要用箭头函数。如果用 function(){},那么函数中的 this 指的是当前对象,即 bus (Vue 对象);
                用 箭头函数,this 的指向会发生改变,改为 声明了该对象的上下文,即 Test02 组件。

                判断 this 指的是谁,只需要看是谁调用的该函数即可
                */
            })
        }
    })

    Vue.component('Test01', {
        data(){
            return {
                msg:"我是 Test01 中的数据,我要去Test02"
            }
        },
        template:`
            <button @click="passDataHandler">传递</button>
        `,

        methods:{
            passDataHandler(){
                // $emit 绑定到 bus 上;注意:不能绑定到 this 上
                bus.$emit('passDataEvent', this.msg);   // 第一个参数是 $on 中声明的事件名,第二个参数是要传递的数据
            }
        }
    })

    let Vheader = {
        data(){
            return {

            }
        },
        template:`
            <div class="vheader">
                <Test01 />
                <Test02 />
            </div>
        `,
    }

    let App = {
        data(){
            return {

            }
        },
        template:`
            <div class="apps">
                <Vheader />
            </div>
        `,

        // 挂载
        components:{
            Vheader
        }
    }
    new Vue({
        el: "#app",
        data(){
            return {

            }
        },

        // 挂载 App组件
        components:{
            App
        }
    })
</script>
</html>
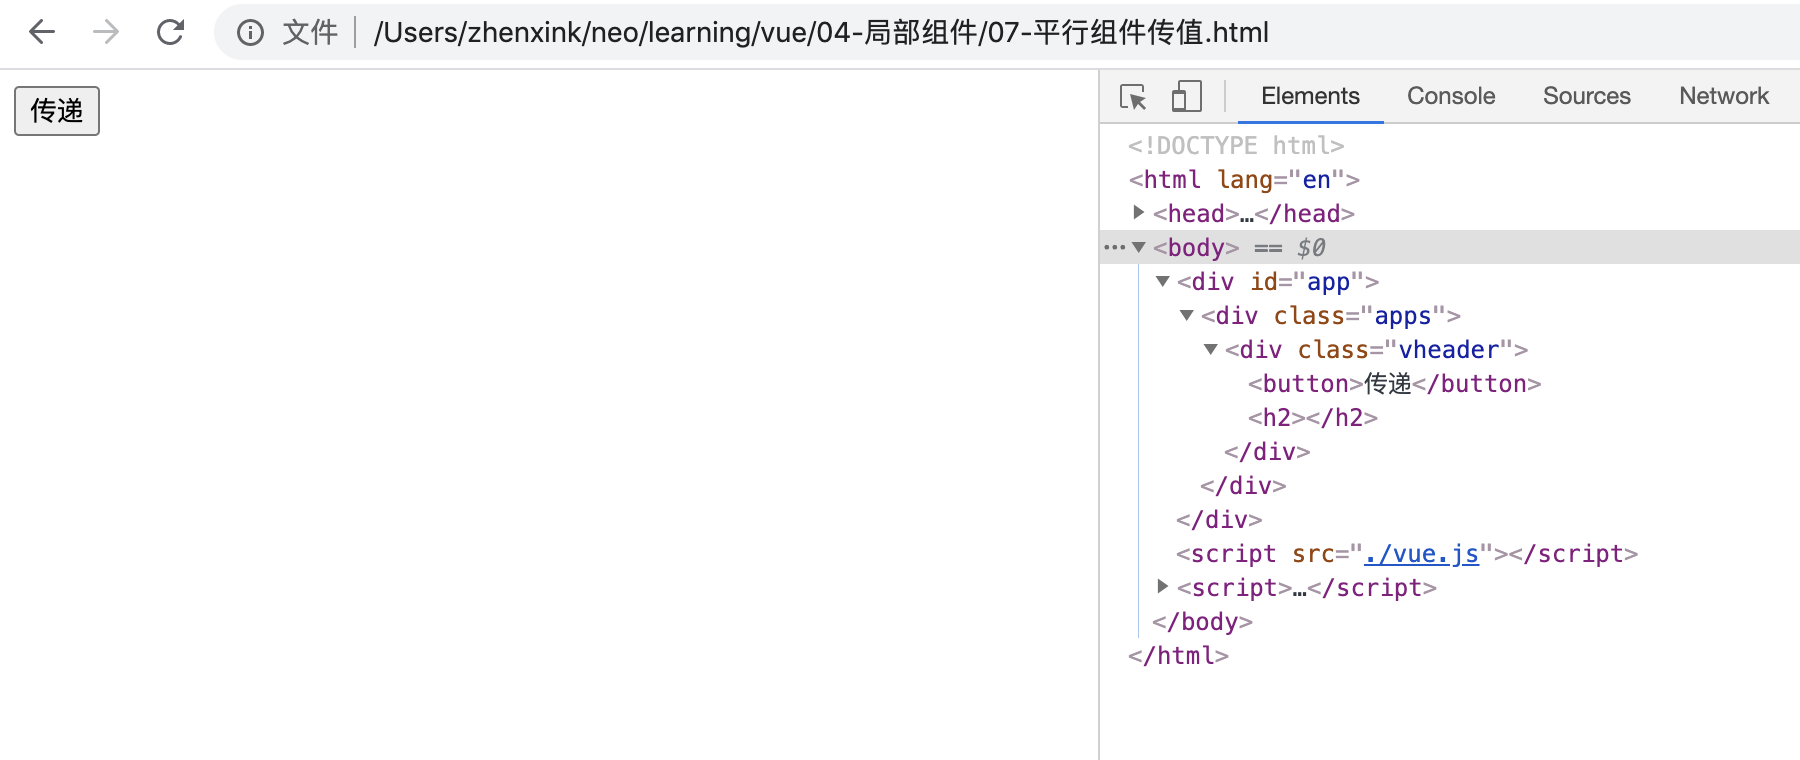
浏览器效果示例:
点击按钮前:
点击按钮后:
