1.安装Caffe所有依赖包,由于网络情况,有时候会安装失败,一般重复输入命令,再次安装即可。这里把所有依赖包分开安装便于查看是哪个未安装成功。
$ sudo apt-get install libprotobuf-dev
$ sudo apt-get install libleveldb-dev
$ sudo apt-get install libsnappy-dev
$ sudo apt-get install libopencv-dev
$ sduo apt-get install libhdf5-serial-dev
$ sudo apt-get install protobuf-compiler
$ sudo apt-get install --noinstall-recommends libboost-all-dev
$ sudo apt-get install libatlas-base-dev
$ sudo apt-get install python-dev
$ sudo apt-get install libgflags-dev libgoogle-glog-dev liblmdb-dev
2.安装git
$ sudo apt-get install git
3.安装OpenCV
- github上下载OpenCV
$ git clone https://github.com/jayrambhia/Install-OpenCV
- 对脚本增加可执行权限
$ cd Ubuntu/2.4
$ sudo chmod +x *.sh
- 安装依赖项
$ cd ..
$ sudo ./dependencies.sh
- 安装opencv
$ sudo sh ./opencv2_4_10.sh
4.配置caffe
- github上下载caffe
$ git clone https://github.com/bvlc/caffe.git
- 复制一份Makefile.config文件,并修改参数(CPU模式)
$ cd caffe
$ cp Makefile.config.example Makefile.config
- 修改结果:
CPU_ONLY :=1

注释掉CUDA有关的行:
#CUDA_DIR := /usr/local/cuda
#CUDA_ARCH := -gencode arch=compute_20,code=sm_20 \
#        -gencode arch=compute_20,code=sm_21 \
#        -gencode arch=compute_30,code=sm_30 \
#        -gencode arch=compute_35,code=sm_35 \
#        -gencode arch=compute_50,code=sm_50 \
#        -gencode arch=compute_50,code=compute_50

WITH_PYTHON_LAYER := 1

INCLUDE_DIRS := $(PYTHON_INCLUDE) /usr/local/include /usr/include/hdf5/serial

LIBRARY_DIRS := $(PYTHON_LIB) /usr/local/lib /usr/lib /usr/lib/i386-linux-gnu/hdf5/serial /usr/lib/x86_64-linux-gnu /usr/lib/x86_64-linux-gnu/hdf5/serial

#TEST_GPUID := 0
- 编译
$ make all
$ make test
$ make runtest
$ make pycaffe
- 编译遇到问题:

- 解决办法:
$ sudo find / -name 'Python.h'

- 将Makefile.config文件中PYTHON_LIB的路径替换为找到的‘usr/include’
- 重新编译,然后:
$cd caffe/python
$python
>>>import caffe
成功
5.配置py-faster-rcnn
- github上下载py-faster-rcnn
$ git clone --recursive https://github.com/rbgirshick/py-faster-rcnn.git
- 安装pip
$ sudo apt-get install python-pip
- 安装cython,
python-opencv,easydict
$ pip install cython
$ pip install easydict
$ apt-get install python-opencv
- 修改cython的setup.py文件,编译
$ cd py-faster-rcnn/lib/
$ make
- 修改结果
#CUDA = locate_cuda()
#self.set_executable('compiler_so', CUDA['nvcc'])
    #Extension('nms.gpu_nms',
        #['nms/nms_kernel.cu', 'nms/gpu_nms.pyx'],
        #library_dirs=[CUDA['lib64']],
        #libraries=['cudart'],
        #language='c++',
        #runtime_library_dirs=[CUDA['lib64']],
        # this syntax is specific to this build system
        # we're only going to use certain compiler args with nvcc and not with
        # gcc the implementation of this trick is in customize_compiler() below
        #extra_compile_args={'gcc': ["-Wno-unused-function"],
        #                    'nvcc': ['-arch=sm_35',
        #                             '--ptxas-options=-v',
        #                             '-c',
        #                             '--compiler-options',
        #                             "'-fPIC'"]},
        #include_dirs = [numpy_include, CUDA['include']]
    #),
- 编译py-faster-rcnn
- 参照配置caffe过程修改Makefile.config文件
- 修改CMakeLists.txt
caffe_option(CPU_ONLY "Build Caffe without CUDA support" ON)
- 编译
$ cd ~/py-faster-rcnn/caffe-fast-rcnn
$ make
$ make pycaffe
- 下载测试用的数据集
$ cd ~/py-faster-rcnn
$ ./data/scripts/fetch_faster_rcnn_models.sh
- 修改/py-faster-rcnn/lib/fast_rcnn/config.py文件
# Use GPU implementation of non-maximum suppression
__C.USE_GPU_NMS = False
- 修改/py-faster-rcnn/tools/test_net.py和 /py-faster-rcnn/tools/train_net.py
caffe.set_mode_cpu()//原为caffe.set_mode_gpu()
- 修改/py-faster-rcnn/lib/fast_rcnn/nms_wrapper.py文件
def nms(dets, thresh, force_cpu=True):
- 运行demo.py
$ cd ~/py-faster-rcnn
$ ./tools/demo.py --cpu
- 遇到问题

默认载入的模型是VGG16网络,可能出现内存不足,如果运行过程中出现kill,需要把模型换成ZF。
$ ./tools/demo.py --cpu --net zf
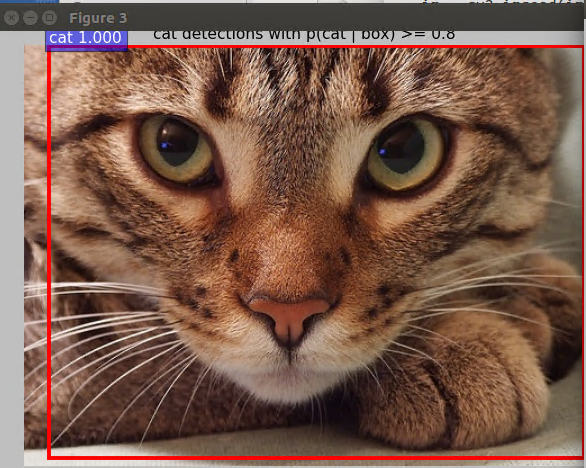
成功~